Best Power Sander for Sanding Stair Treads
Old, dull stair treads can make a beautiful home feel aged and neglected. Over time, heavy foot traffic, dust, and paint layers wear down the finish, leaving scratches and uneven textures.
Restoring these stairs to their natural charm requires more than just patience—it demands the right tool. A power sander can turn a tedious, time-consuming job into a fast and flawless transformation.
According to Home Improvement Research Institute, nearly 70% of homeowners use power sanders when refinishing stairs or floors because they deliver consistent results with less effort (source). The right machine can strip paint, smooth wood grain, and prepare surfaces for stain or sealant in a fraction of the time.
But not every sander fits every stair type. Too much power can damage softwood, while too little control can leave swirl marks or ridges. Understanding what power sander to buy for sanding stair treads is the key to a professional finish that’s both durable and elegant.
This guide explains how to choose the best sander for stairs, how to prepare and sand safely, and what mistakes to avoid—so every tread ends up smooth, uniform, and ready for years of use.
Why Choosing the Right Power Sander for Stair Treads
Matters
Stair treads are not flat floors—they have edges, corners, and angles that demand precision. Using the wrong power sander can remove too much wood or leave rough spots that affect both appearance and safety.
The shape of stair treads makes even sanding difficult without a tool designed for control and balance. Lightweight sanders with adjustable speeds offer better results on narrow steps.
Each stair tread faces constant friction from shoes, dust, and cleaning tools. Choosing the right sander ensures the finish is even, slip-resistant, and visually appealing.
Why is sanding stair treads more challenging than flat floors?
Because stair treads are narrow and vertical edges require more precision and control.
What happens if you use a heavy belt sander on delicate treads?
It can remove too much material and cause deep grooves or uneven surfaces.
How does the right tool reduce sanding time?
Proper power and grit balance allow faster paint or varnish removal without damaging the wood.
Which parts of stairs need the most precision?
Edges, corners, and nosings require careful sanding with smaller detail sanders.
What finish quality can you expect from professional sanding tools?
A smooth, even texture ready for staining or sealing with minimal swirl marks.
Types of Power Sanders Suitable for Sanding Stair Treads
Different power sanders serve different purposes. The goal is to combine efficiency with control while minimizing surface damage.
A random orbital sander is ideal for most stair projects because it balances power and precision. It moves in circular and elliptical motions, reducing swirl marks.
A belt sander removes heavy paint or thick coatings fast but can be too aggressive for softwood or fine edges. A detail sander works perfectly for corners, while a palm sander suits small, flat surfaces.
What’s the difference between an orbital and a random orbital sander?
An orbital sander moves in small circles, while a random orbital adds rotation, providing a cleaner finish.
Is a belt sander too aggressive for stair treads?
Yes, it’s powerful but risky for beginners; it can over-sand edges or gouge wood.
Can a detail sander handle tight stair corners?
Absolutely. Its pointed design reaches corners and edges that larger sanders can’t.
What type of sander leaves the smoothest finish?
A random orbital sander with fine-grit paper provides a swirl-free, professional finish.
Which sander provides best dust extraction?
Models with built-in HEPA filtration or vacuum attachments keep dust to a minimum.
What Power Sander to Buy for Sanding Stair Treads (Top Picks)
Choosing the best power sander depends on your project needs—size, surface condition, and experience level. Here are the top options suited for stair refinishing.
Best Overall: Random Orbital Sander
Ideal for most wood types, combining control and efficiency. Brands like DEWALT 5-inch and Bosch ROS20VSC are reliable choices.
Best for Edges & Corners: Detail Sander
Tools like the BLACK+DECKER Mouse Detail Sander fit tight corners and offer fine control for edges.
Best for Heavy Paint Removal: Belt Sander
For stairs covered in multiple paint layers, the Makita 3×18 Belt Sander offers speed and precision with adjustable pressure.
Best for Beginners: Palm Sander
Compact and lightweight, palm sanders allow steady control for small stair surfaces.
Best for Dust-Free Operation: HEPA-Filter Sanders
Models with integrated dust ports or vacuum adapters minimize cleanup and improve air quality.
Which power sander is easiest to control for beginners?
A palm or random orbital sander offers lightweight design and smoother control.
What sander gives the smoothest finish on oak stair treads?
Random orbital sanders with 150-grit paper give consistent, professional texture.
Which tool is most efficient for removing old paint or varnish?
A belt sander or coarse-grit random orbital sander removes old coatings quickly.
Can one sander handle both treads and risers?
Yes, multi-speed random orbital sanders work for both horizontal and vertical sections.
What brands are most reliable for home stair refinishing?
DEWALT, Bosch, Makita, and Black+Decker consistently receive top ratings.
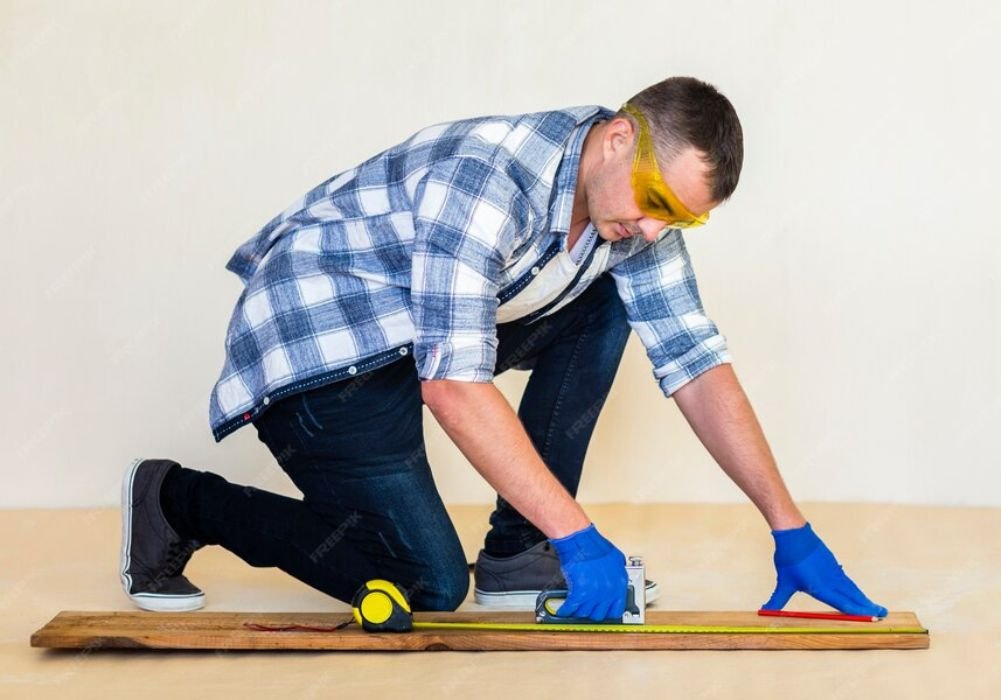
Preparing Stair Treads Before Sanding
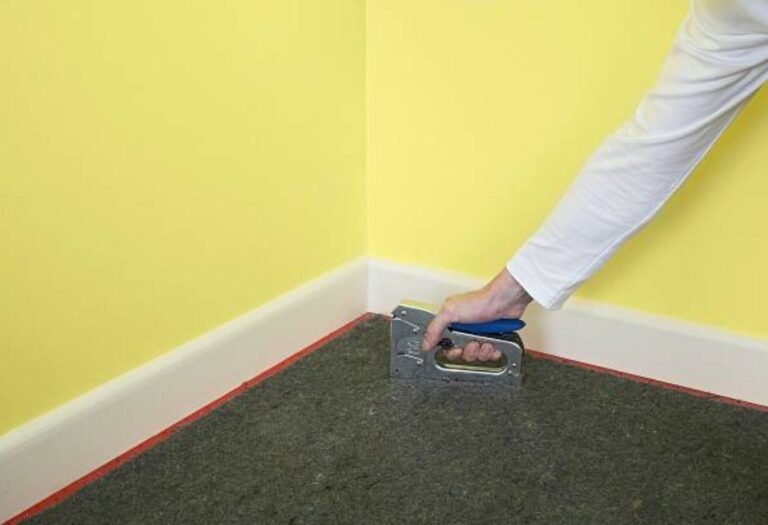
Preparation determines the quality of the final result. Before sanding, remove all nails, staples, or carpet adhesives. Loose debris can tear sandpaper and damage the sander pad.
Clean each stair thoroughly with a vacuum or damp cloth. Any dirt left behind can scratch the wood.
Examine the wood grain to decide sanding direction. Always follow the grain to maintain a natural, smooth texture.
Why should stairs be cleaned before sanding?
Dirt and residue can cause scratches and reduce sanding efficiency.
How do you deal with old varnish or glue residue?
Use a scraper or solvent before sanding to prevent paper clogging.
What’s the best way to protect stair edges while sanding?
Mask delicate areas with painter’s tape to prevent over-sanding.
How do you determine wood type before selecting grit?
Hardwoods like oak require finer grits, while softwoods handle coarser paper.
Should stair risers be sanded before or after treads?
Always sand risers first to prevent dust from falling on freshly sanded treads.
Step-by-Step Process to Sand Stair Treads Efficiently
Sanding stair treads follows a structured process to ensure even and professional results. Begin with coarse grit (60–80) to remove paint or old finish.
Once the surface feels smooth and most coatings are gone, move to medium grit (120) to even out the texture. Finish with fine grit (150–180) for a flawless finish.
Work one stair at a time using overlapping strokes. Keep the sander flat and apply light, steady pressure.
Between each grit change, vacuum and wipe down the surface to remove dust. This prevents debris from scratching the next sanding stage.
What sanding pattern should be used on stair treads?
Move in long, overlapping passes along the grain direction.
How many passes are needed for full paint removal?
Typically two to three passes—coarse, medium, and fine grit.
Can you sand stairs without removing the railing?
Yes, but use smaller sanders and extra caution around tight areas.
What’s the best direction to move the sander?
Always sand parallel to the grain to maintain smooth texture.
How do you clean dust between sanding stages?
Vacuum thoroughly and wipe the surface with a damp cloth.
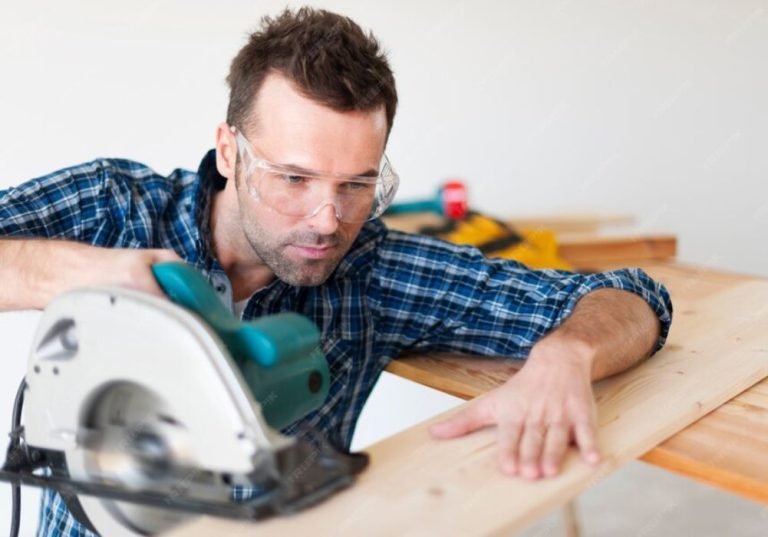
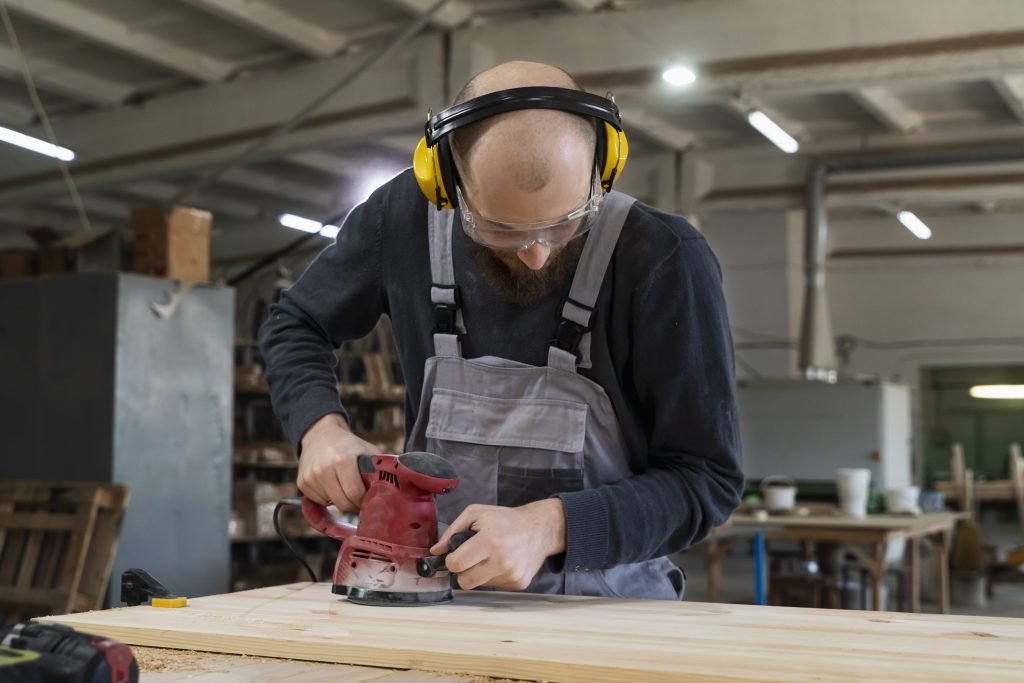
Safety Tips When Using Power Sanders on Stair Treads
Power sanding produces fine dust and noise, which can affect health and visibility. Always wear proper PPE such as goggles, respirator, and hearing protection.
Use a dust extraction system or attach a HEPA vacuum to minimize airborne particles. Secure the area by covering nearby furniture and vents.
When working on older stairs, test the paint for lead before sanding. Lead dust can be hazardous if inhaled.
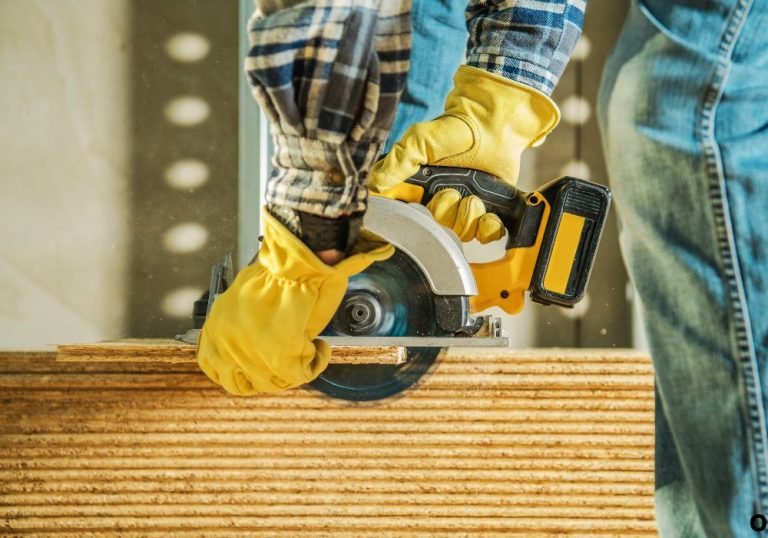
What safety gear should be worn when sanding stairs?
Safety goggles, respirator mask, gloves, and non-slip shoes.
Why is dust containment critical in indoor stair sanding?
Dust can spread quickly and settle on nearby surfaces, affecting air quality.
Can sanding lead-based paint be dangerous?
Yes, it releases toxic particles—use certified lead-safe procedures.
How do you keep balance while sanding vertical steps?
Work one stair at a time and use stable footing or a safety mat.
What’s the safest way to operate a sander on narrow treads?
Hold with both hands and move slowly to maintain full control.
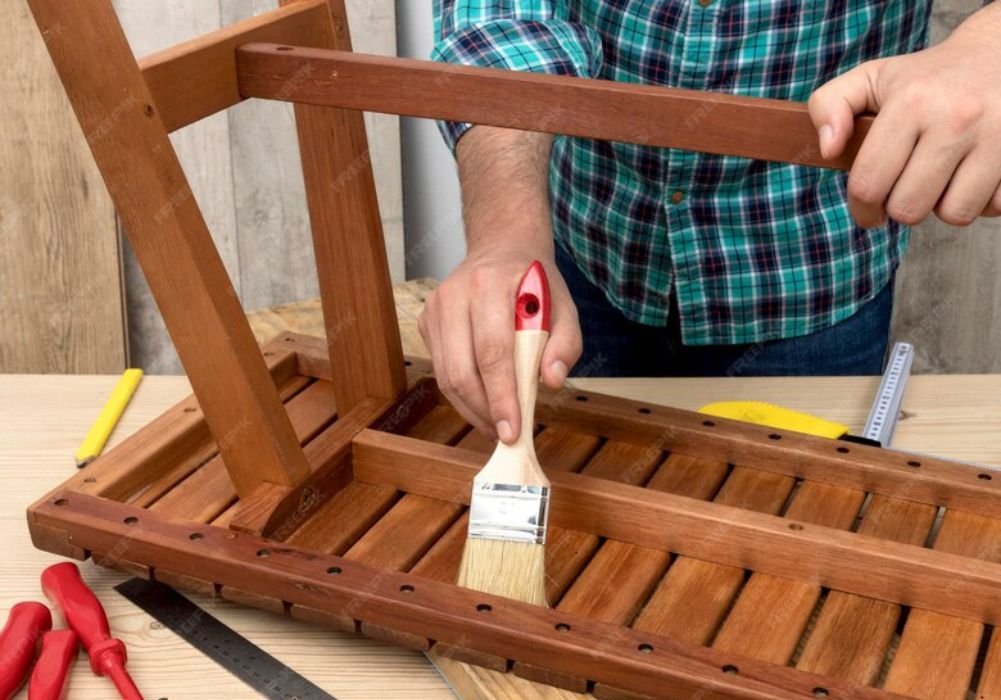
Finishing After Sanding — Staining, Sealing, and Maintenance
After sanding, proper finishing protects the wood and enhances its beauty. Clean all dust with a vacuum and tack cloth before applying any product.
Apply a wood conditioner or primer to improve stain absorption. Then add a stain or sealant to match your interior design.
Polyurethane finishes offer excellent durability for high-traffic areas like stairs. Allow each coat to dry fully before re-sanding lightly with 220-grit paper.
What’s the best finish for high-traffic stair treads?
Oil-based polyurethane provides long-lasting protection and shine.
How long should stairs dry after staining or sealing?
Typically 24–48 hours depending on humidity and product type.
Should you sand between coats of finish?
Yes, light sanding between coats ensures better adhesion and smoothness.
Can you skip sealing after sanding?
No, sealing prevents moisture absorption and protects from wear.
How can you maintain a smooth finish long-term?
Regular cleaning and re-coating every few years keep treads looking new.
Common Mistakes to Avoid When Sanding Stair Treads
Even small errors can ruin the finish. Using fine grit first wastes time and leaves paint residue. Always start coarse.
Applying uneven pressure creates dents or swirl marks. Keep movements consistent and steady.
Neglecting dust extraction shortens sandpaper life and leaves a cloudy finish.
What happens if you start with grit that’s too fine?
It polishes the surface instead of removing old coating.
Why do swirl marks appear after sanding?
Uneven motion or dirty sandpaper causes scratches.
How can dust affect finish quality?
Dust left behind prevents proper stain and seal adhesion.
What’s the risk of skipping final sanding stage?
It results in uneven surfaces and visible imperfections.
How often should sandpaper be replaced?
Change paper when it looks clogged or loses bite, typically every few stairs.
Final Buying Checklist — What to Look for in a Power Sander
Before purchasing, compare key features that impact performance and comfort. Look for variable speed control, dust collection ports, and ergonomic handles.
Lightweight designs reduce fatigue when working on multiple stairs. Cordless options add mobility, while corded sanders provide consistent power.
What motor power range suits stair sanding best?
A 2–3 amp motor offers a good balance between control and performance.
Why is variable speed important?
It allows precise sanding on both soft and hard surfaces.
Should you prioritize brand or features?
Features like dust control and pad stability matter more than brand names.
Is cordless better than corded for stairs?
Cordless sanders improve mobility but have shorter runtimes.
What price range offers good durability for homeowners?
Mid-range models ($70–$150) balance quality, longevity, and performance.
Conclusion
Knowing what power sander to buy for sanding stair treads ensures your project ends with a professional, long-lasting finish. With the right equipment and method, sanding stairs becomes faster, cleaner, and safer.
Choose a tool that fits your skill level, prioritize dust control, and follow grit progression carefully. The result will be smooth, durable stair treads that enhance both safety and beauty in your home.

I’m Michael R. Turner, the founder, lead writer, and passionate DIY enthusiast behind 101diytools.com. With years of hands-on experience in home improvement and power tools, I built this platform to share practical tips, in-depth guides, and honest reviews to help DIYers of all skill levels tackle projects with confidence and the right tools.