What Power Sander Is Best for Walls and Ceilings
Renovating a room often begins with sanding. But anyone who has tried smoothing out old paint or plaster knows the frustration of streaks, dust clouds, and uneven patches. The wrong tool can turn a simple wall-prep job into a tiring, dusty nightmare. Choosing the right power sander for walls and ceilings changes everything.
Most DIYers underestimate sanding. According to industry data, surface preparation accounts for nearly 60 % of total painting time, and improper sanding causes over 40 % of finish defects (finehomebuilding.com). A suitable power sander can cut that time nearly in half while delivering a cleaner, smoother finish ready for paint or primer.
Imagine gliding a lightweight drywall sander across a ceiling with a built-in vacuum pulling dust away as you work. The air stays clear, your arms don’t ache, and the surface ends up flawless. Whether you’re tackling drywall seams, patch repairs, or full-room resurfacing, understanding which power sander is best for walls and ceilings is the difference between a professional-looking result and a dusty disappointment.
This guide will break down every detail — from sander types and must-have features to safety tips, common mistakes, and future innovations — so you can make the perfect choice for your next wall or ceiling project.
Understanding the Task – Why Walls & Ceilings Are Different
Walls and ceilings require different sanding techniques than wood or furniture. Unlike flat workbenches, they’re vertical or overhead surfaces that make dust control, reach, and stability far more challenging.
Using a wood sander on plaster or drywall can leave swirl marks or gouges that show through paint. The best power sanders for walls and ceilings must combine light weight, large coverage area, and superior dust extraction to manage fine gypsum powder.
What makes sanding walls and ceilings different from furniture?
These surfaces are broader, vertical, and prone to visible light reflection. Even small imperfections show up easily after painting.
Why does dust control matter more on vertical surfaces?
Drywall dust is extremely fine and airborne. Without extraction, it coats floors, lungs, and electrical components, creating both health and cleanup problems.
Can the same sander used for floors be used on walls or ceilings?
No — floor or belt sanders are too aggressive. They’ll remove too much material and damage drywall or plaster.
What problems arise from using the wrong sander?
Uneven texture, sanding grooves, and residue that prevents primer adhesion are common mistakes from using inappropriate tools.
How much effort can the right wall sander save?
Studies show drywall sanders with integrated vacuums reduce manual labor by up to 70 % compared to hand-sanding (buildreview.org).
Types of Power Sanders Suitable for Walls & Ceilings
There isn’t one perfect sander for every wall or ceiling. The right choice depends on the surface condition, area size, and the type of material being sanded. Let’s compare the most practical options.
Drywall Sander (Pole-Mounted)
A drywall sander is built specifically for walls and ceilings. It features an extendable pole, a large round pad (8-9 inches), and a built-in vacuum hose.
When should it be used?
Ideal for large drywall areas and ceilings where reach and dust control are priorities.
Main advantage
Long reach, integrated suction, and smooth orbital motion make it the go-to tool for most wall professionals.
Primary drawback
More expensive than small hand sanders and slightly bulky in tight spaces.
Pro tip
Models with swivel heads handle ceiling angles effortlessly, keeping surfaces uniform.
Random Orbital Sander
Random orbital sanders move in both circular and elliptical motions, minimizing swirl marks.
When to use it
Great for smoothing small wall areas or blending patched sections before painting.
Benefit
Provides a finer finish and more control compared to belt or sheet sanders.
Limitation
Lacks the reach of pole-mounted tools and may struggle with ceilings.
Performance stat
Random orbital sanders remove material two times faster than manual sanding while keeping surfaces even (thisoldhouse.com).
Detail (Corner) Sander
A small, pointed-tip sander ideal for edges, moldings, and corners.
When to use
When sanding near window frames, ceiling corners, or baseboard joints.
Advantage
Reaches tight spaces no other sander can touch.
Drawback
Covers less surface area and takes longer for big projects.
Extra note
Best used as a finishing or spot-repair tool alongside a larger wall sander.
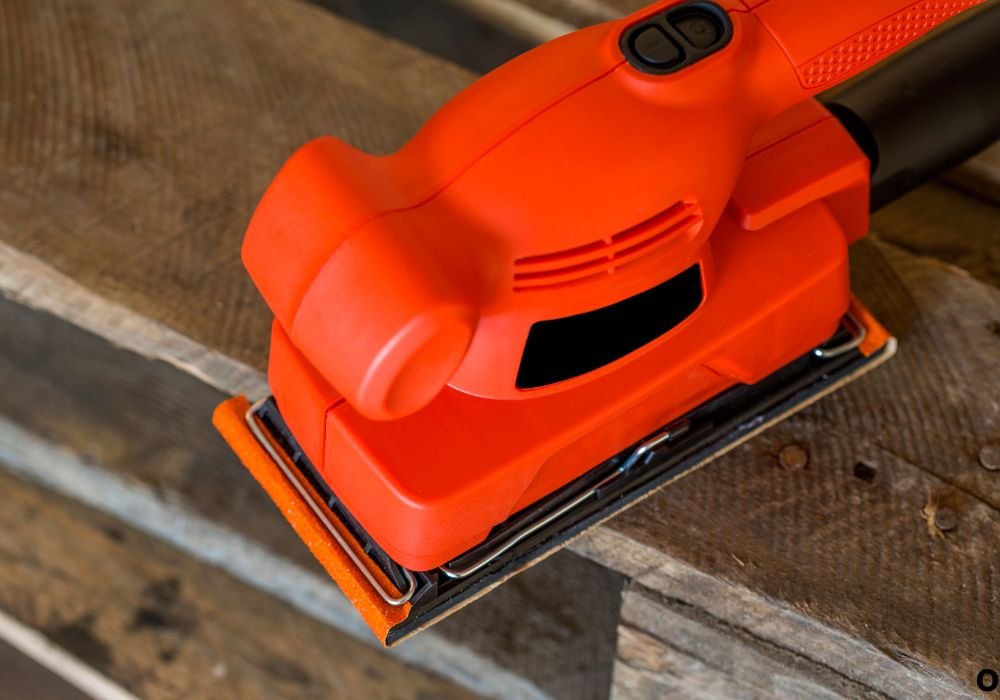
Orbital Sheet Sander
Uses square sandpaper sheets and vibrates in small orbits.
When to use
For small drywall patches or flat wall sections needing gentle smoothing.
Advantage
Affordable, lightweight, and easy to control.
Limitation
Does not remove heavy coatings quickly and can leave visible swirl patterns on large surfaces.
Belt Sander
Aggressive and powerful, but risky for drywall.
When to use
Only for removing stubborn paint from plaster walls, and even then with caution.
Benefit
Extremely fast material removal on hard surfaces.
Danger
Can easily gouge walls or tear through compound. Use sparingly with fine grit and low pressure.
Key Features to Look for in a Sander for Walls and Ceilings
Not every power sander is comfortable or safe for vertical and overhead work. The following features define the tools professionals rely on.
Dust Extraction System
Drywall dust can linger for days without proper suction. A sander with a built-in vacuum or hose port maintains air quality and visibility while working overhead.
Weight and Ergonomics
Ceiling work requires extended reach. Lightweight designs (under 10 lb) reduce fatigue and maintain control during long sanding sessions.
Variable Speed Control
Speed control lets you slow down for delicate drywall seams or increase speed for thicker paint removal.
Pad Size and Flexibility
Larger heads (8–9 inches) are perfect for walls, while flexible neck designs prevent gouging uneven plaster.
Extension Pole or Telescoping Handle
A long pole allows you to sand ceilings without ladders, keeping posture safer and coverage consistent.
Grit Compatibility
Ensure the tool supports sanding discs from coarse (80 grit) to fine (240 grit) for layered surface preparation.
Why these features matter
Each one improves comfort, finish quality, and dust control — the three pillars of professional wall and ceiling preparation.
Choosing the Best Sander for Your Specific Wall or Ceiling Project
Every project is different, so the ideal sander depends on surface area, height, and texture.
Best choice for large flat walls
A pole-mounted drywall sander with vacuum attachment delivers maximum coverage with minimal dust.
For high ceilings
Lightweight, telescopic sanders like the Festool or WEN models help maintain balance and reduce strain.
For small wall repairs
A random orbital or orbital sheet sander offers the right blend of control and finesse.
For textured plaster surfaces
Use medium grit (100–150) on a variable-speed random orbital to avoid flattening the natural texture.
If on a tight budget
Start with a basic 6-inch orbital sander and a shop-vac adapter — it costs less but still handles small to medium walls effectively.
How to Use a Power Sander Safely and Effectively on Walls & Ceilings
Technique is as important as tool selection. The following steps ensure clean, even results without mess or fatigue.
Prepare the workspace
Cover floors and vents, tape electrical outlets, and ensure good ventilation. Connect dust hose to a HEPA vacuum if available.
Choose proper grit sequence
Start with 120-grit for smoothing joint compound, move to 150 for blending, and finish with 220 for pre-paint polishing.
Sand in sections
Work in overlapping vertical strokes. Keep the pad flat against the surface and avoid pressing down.
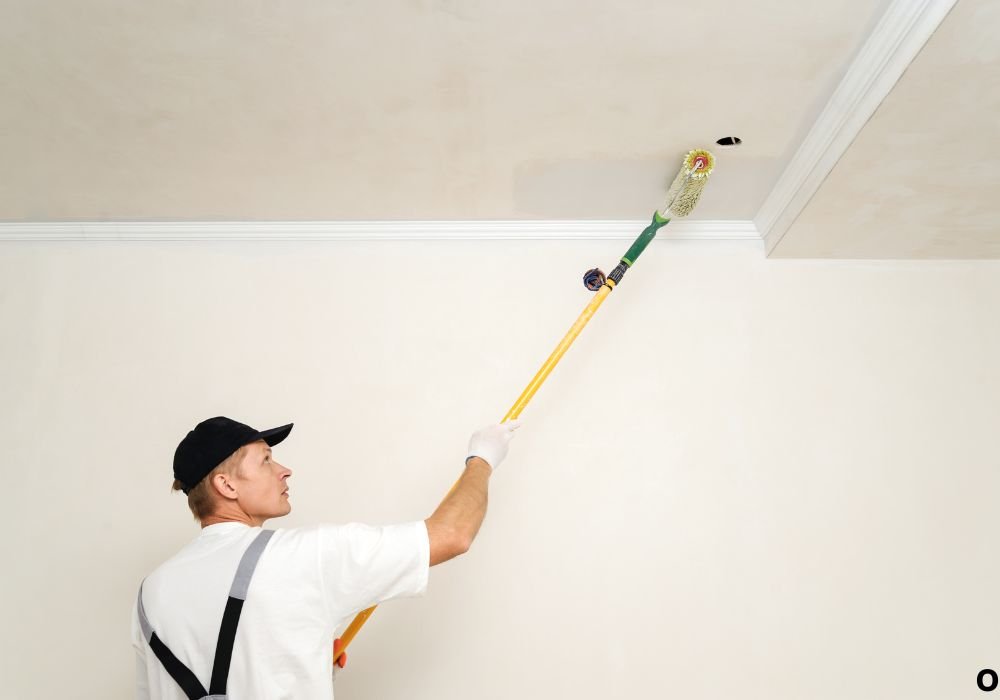
Manage overhead sanding
Hold the pole at shoulder height or slightly above, and move continuously to prevent dips or over-sanding.
Inspect after each pass
Shine a light along the wall to highlight uneven spots before applying paint.
Safety fact
Drywall dust contains fine silica particles that can irritate lungs. Always wear a respirator rated for fine particulates (cdc.gov).
Common tips for better results
Keep extra sanding discs nearby, clean filters regularly, and never skip intermediate grits between rough and fine stages.
Common Mistakes and How to Avoid Them
Even experienced DIYers make these avoidable sanding errors.
Using too coarse grit
Coarse paper creates deep scratches that appear through paint. Begin with mid-range grits unless heavy buildup exists.
Skipping dust control
Uncollected dust settles on wet primer and ruins finishes. Always connect a vacuum or dust bag.
Applying excess pressure
Let the sander’s motion do the work. Too much pressure bogs the motor and leaves divots in drywall.
Ignoring ergonomics
Working overhead with heavy tools leads to shoulder pain and uneven sanding angles. Use adjustable poles and lightweight designs.
Failing to inspect surfaces under light
Without angled lighting, flaws remain invisible until after painting — when fixing them is too late.
Summary insight
Avoiding these small mistakes can reduce sanding time by nearly 30 % while delivering a perfectly even surface ready for painting.
Future Trends & What to Expect in Wall/Ceiling Sanding Tools
The sanding industry continues evolving toward smarter, cleaner, and more ergonomic designs.
Cordless Innovation
Modern brushless cordless sanders now offer full power with extended battery life — ideal for working far from outlets.
Improved Dust Extraction
Upcoming HEPA-integrated sanders capture 99 % of fine dust, meeting new environmental and health standards.
Smart Control Systems
Next-gen tools include digital displays for speed and vibration monitoring, even automatic suction adjustment based on pressure.
Lightweight Carbon-Fiber Poles
Manufacturers are developing telescopic handles made from carbon fiber to reduce fatigue on overhead jobs.
AI-Assisted Sanding Robots
In commercial projects, semi-autonomous sanders can now map wall geometry and sand evenly without direct manual control.
Takeaway
Future power sanders will make wall and ceiling prep cleaner, quieter, and smarter — cutting time while protecting your health.
Conclusion
The secret to a flawless painted wall or ceiling lies in choosing the right tool long before the first coat. A drywall sander with vacuum extraction remains the top choice for large surfaces and ceilings, while random orbital sanders excel at finishing small areas and patches.
Focus on weight, reach, dust control, and variable speed — not just price. Use proper grit progression, safety gear, and patient technique to transform dusty frustration into a quick, professional finish.
Before you start your next project, ask yourself: What power sander is best for my walls and ceilings? Once you have the answer, you’ll never go back to hand sanding again.

I’m Michael R. Turner, the founder, lead writer, and passionate DIY enthusiast behind 101diytools.com. With years of hands-on experience in home improvement and power tools, I built this platform to share practical tips, in-depth guides, and honest reviews to help DIYers of all skill levels tackle projects with confidence and the right tools.