What Grit Sandpaper to Use With a Power Sander Explained
Sanding may look simple, but one wrong choice can ruin a beautiful piece of furniture. Using the wrong grit sandpaper can leave swirl marks, uneven surfaces, or even strip away too much material.
Many DIYers and professionals alike underestimate how much grit selection affects the final result when using a power sander.
The right sandpaper grit determines how quickly material is removed, how smooth the surface becomes, and how well the finish adheres later. Choosing the wrong one often means wasted time and an unprofessional look.
According to Home Depot, most sanding projects require grits ranging between 60 and 220 depending on the task. Meanwhile, Wood Magazine notes that proper grit progression can reduce visible scratches by up to 70 percent during finishing.
Every stage of sanding serves a specific purpose. Coarse grits remove imperfections and old finishes, medium grits smooth and level surfaces, and fine grits prepare the wood for stain or paint. Without following the right sequence, the surface may appear dull or feel uneven to the touch.
Understanding what grit sandpaper to use with a power sander is more than just knowing numbers—it’s about knowing how each grit interacts with your tool and surface. Power sanders amplify both the efficiency and the potential mistakes caused by wrong grit selection.
Understanding Sandpaper Grit and Power Sander Compatibility
Choosing the right sandpaper grit is the foundation of any successful sanding project. Each grit number represents the size of the abrasive particles, and that tiny difference can determine whether your furniture turns out smooth or scarred.
On a power sander, grit choice becomes even more critical because these tools remove material faster and more aggressively than manual sanding.
When using a power sander, matching the grit to both the material and task ensures consistent results.
Too coarse and you’ll gouge the surface; too fine and you’ll polish over flaws instead of removing them. The goal is to balance cutting speed with surface smoothness so each stage of sanding prepares the wood for the next.
What “Grit Number” Means and Why It Matters
Sandpaper grit refers to the number of abrasive particles per square inch. The lower the number, the coarser the sandpaper; the higher the number, the finer and smoother the finish.
What does a grit number represent?
It represents how large or small the abrasive particles are. Lower numbers like 40 or 60 cut quickly, while higher numbers like 180 or 220 refine the surface.
Why does grit selection matter more with a power sander?
Because a power sander multiplies the pressure and speed, even a slightly coarse grit can remove too much material too fast.
What are the main grit ranges for sanding?
Coarse (40–80) for heavy removal, medium (100–150) for smoothing, and fine (180–220) for finishing.
Can you skip grit numbers?
No. Skipping grits leaves deeper scratches that appear after staining or painting, ruining the final look.
Does abrasive material affect sanding results?
Yes. Materials like aluminum oxide last longer and cut cleaner on power sanders than traditional garnet paper.
How Grit Affects Sanding Performance
Each grit size changes how the power sander interacts with the surface. Coarse grits remove layers fast, medium grits refine texture, and fine grits ensure flawless finishes.
What happens if you start too coarse?
You risk cutting too deeply into the wood, creating dips that are hard to repair.
Why is finishing with fine grit essential?
Fine grits remove tiny scratches and prepare the wood for finish adhesion, especially for stains and varnishes.
Can grit choice affect dust generation?
Yes. Coarser grits generate more wood dust, so strong dust extraction is vital during early sanding stages.
Does grit influence sanding marks?
Definitely. Coarser grits leave visible scratch lines, while finer grits blend them into a uniform surface.
Is there a universal grit for all power sanders?
No. Each sander type—belt, random orbital, or detail—requires its own optimal grit range depending on power and speed.
What Grit Sandpaper to Use With a Power Sander
Selecting the correct grit for your project determines how quickly you’ll remove material and how smooth the final finish will look.
When using a power sander, grit choice isn’t just about smoothness—it’s about control, speed, and precision. Each grit has a purpose, and understanding when to use it can save hours of rework.
Power sanders work best when grits are used in progression. Starting with a coarse grit and gradually moving to finer grits ensures all scratches are removed from the previous stage.
Below is a detailed breakdown of which grit to use depending on your task and surface condition.
Starting Grit for Material Removal and Paint Stripping
The first stage focuses on removing imperfections, old finishes, or uneven surfaces. Coarse grits help strip material efficiently but must be used carefully to avoid gouging.
What grit sandpaper should be used to remove paint or varnish?
Use 40–60 grit for heavy coatings and 60–80 grit for moderate paint or stain removal.
Is 40 grit too coarse for furniture?
Usually yes, unless the surface is heavily damaged. Always test on a hidden area first.
Which tool works best with coarse grits?
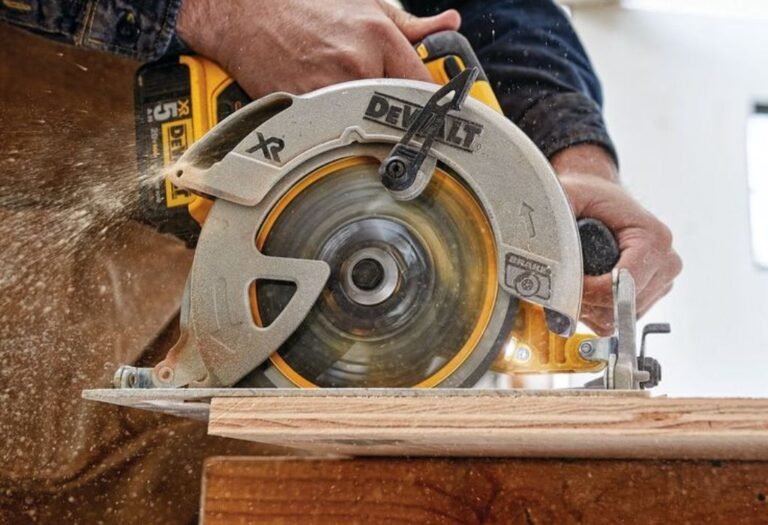
Belt sanders and large random orbital sanders are ideal for rapid removal on flat furniture surfaces.
How to prevent deep scratches with coarse grit?
Keep steady motion, avoid pressure, and overlap each pass slightly.
Should you use coarse grit on veneer surfaces?
Never. Veneer is thin and can easily be sanded through, ruining the finish.
Medium Grit for Surface Smoothing
After stripping or leveling, switch to medium grits to refine the surface and remove scratches left by the coarse stage. This step ensures the surface is even and ready for finishing preparation.
What grit range is considered medium?
Typically between 100 and 150 grit, depending on the wood type and sander motion.
When should you move from coarse to medium grit?
Once all old finishes or rough marks are gone and the wood feels relatively smooth.
What type of power sander works best here?
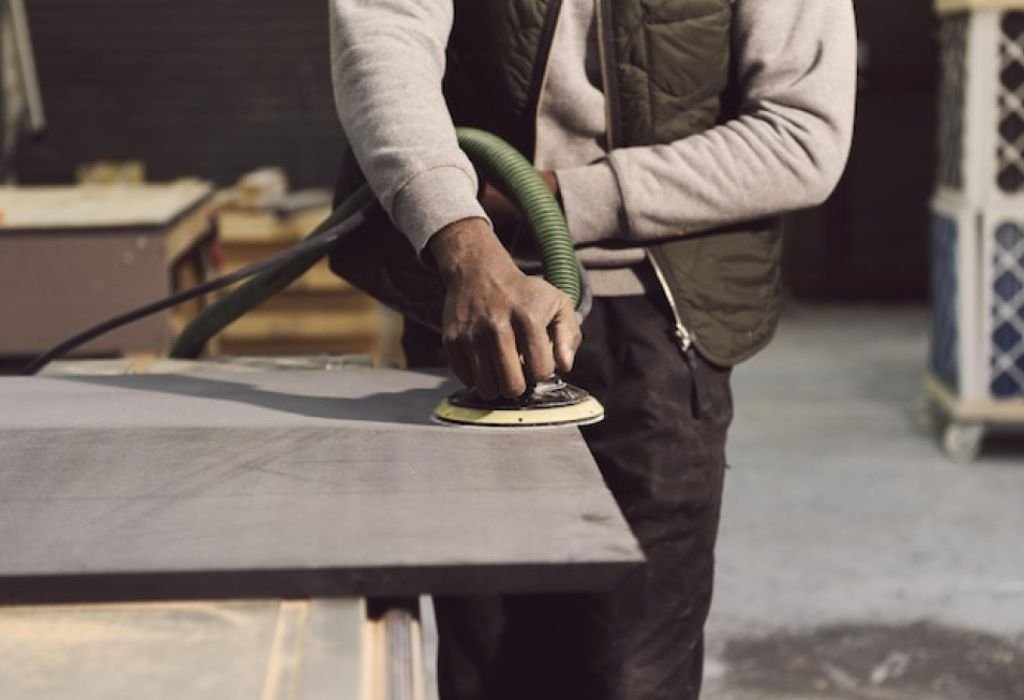
A random orbital sander with 120 grit provides excellent control for mid-stage sanding.
Is it okay to skip from 60 to 150 grit?
No. Always move gradually through 80, 100, and then 150 to maintain an even surface texture.
Does sanding direction still matter?
Yes. Even with random orbital sanders, following the grain helps hide micro-scratches.
Fine Grit for Final Finishing
The final sanding stage determines the surface quality before applying stain, paint, or clear coat. Finer grits create a polished texture and prepare the wood for perfect finish adhesion.
What grit should you use for finishing?
Use 180–220 grit for furniture that will be stained or sealed.
Can sanding too fine cause issues?
Yes. Over-sanding with 320 grit or higher can close the wood’s pores, preventing stain absorption.
Should you sand between finish coats?
Yes. Lightly sand with 220 grit between coats to remove dust particles and improve bonding.
What tool is best for finishing grit?
A random orbital sander or detail sander ensures smooth, swirl-free results.
Do you need to clean the surface before finishing?
Absolutely. Always vacuum or wipe with a tack cloth to remove dust before applying finish.
Tool Compatibility and Sandpaper Selection
Knowing what grit sandpaper to use with a power sander is only part of the process. To get consistent and professional results, you must also understand how sandpaper interacts with different types of power sanders.
Each tool — from belt sanders to random orbital sanders — behaves differently based on speed, pressure, and motion pattern. Using the wrong grit or sandpaper material for your tool can lead to clogging, uneven finishes, or premature wear.
Matching the grit, backing, and abrasive type to your tool ensures efficiency, smoother results, and longer sandpaper life. Selecting the right combination is as important as grit progression itself.
Choosing the Right Abrasive Material and Backing
Not all sandpapers are created equal. The abrasive material and backing determine how the sandpaper cuts, lasts, and handles heat and pressure.
Which abrasive material is best for wood furniture?
Aluminum oxide and ceramic abrasives are the best choices. They are durable, self-sharpening, and ideal for hardwoods.
What about sanding painted or metal furniture surfaces?
Silicon carbide works better for metals or coated finishes because it cuts quickly and resists clogging.
Does the sandpaper backing matter for power sanders?
Yes. Cloth or film backings handle vibration and heat better than paper backings, especially for high-speed tools.
What is the difference between open-coat and closed-coat sandpaper?
Open-coat sandpaper has spaced abrasive grains, ideal for softwoods and dusty materials. Closed-coat offers full coverage and works better on hardwoods or finishes.
Can you use hand-sanding paper on a power sander?
No. Power sanders generate more friction, and hand-sanding paper can tear or wear out too quickly.
Matching Grit to Power Sander Type
Every power sander moves differently. The choice of grit must match the sander’s strength and surface application.
What grit works best with a belt sander?
Coarse grits like 40–80 are perfect for rapid stock removal, leveling uneven surfaces, or stripping paint.
What grit should you use with a random orbital sander?
Medium to fine grits (100–220) work best since random orbital motion reduces swirl marks and delivers a cleaner finish.
What grit suits a detail or palm sander?
Fine grits like 180–240 help refine edges, corners, and tight spaces without overcutting the surface.
Is grit selection the same for corded and cordless sanders?
Mostly, but cordless sanders may perform better with slightly finer grits to prevent excessive power draw and heat buildup.
Should grit choice vary by wood type?
Yes. Hardwoods like oak or maple tolerate lower grits (80–120), while softwoods like pine benefit from higher grits (150–220) to avoid scratching.
Choosing the Right Sandpaper Shape and Attachment
Power sanders come with different attachment systems. Choosing compatible shapes and fastening methods ensures stability and better control during sanding.
What attachment method is best for frequent grit changes?
Hook-and-loop (Velcro) discs make grit switching faster and prevent tearing.
Can adhesive-backed sandpaper work for power sanders?
Yes, but it’s less reusable and can leave residue on the pad.
Do holes in sandpaper matter?
Yes. Multi-hole patterns align with your sander’s dust extraction system and reduce clogging.
How to ensure correct hole alignment?
Match the pattern precisely to your sander pad; misaligned holes reduce suction efficiency.
Should you invest in premium discs or rolls?
Premium options last longer, resist clogging, and often reduce total sanding time — making them more cost-effective in the long run.
Common Sanding Mistakes and How to Avoid Them

Even with the right tools and knowledge of what grit sandpaper to use with a power sander, mistakes can happen easily.
Using the wrong grit at the wrong stage or applying poor technique can ruin the surface texture, waste time, and even damage furniture beyond repair. Recognizing these errors early ensures a smoother, more professional finish every time.
Most sanding flaws come from rushing or misunderstanding grit progression. Avoiding these pitfalls will save you hours of rework and help maintain a consistent, blemish-free surface.
Mistake 1: Starting Too Fine
One of the most common sanding errors is beginning with a grit that’s too fine. It might seem like a good way to protect the surface, but it prevents proper material removal.
Why is starting too fine a mistake?
Fine grits only polish the top layer, leaving deeper imperfections untouched.
What happens if you skip coarse grits?
Scratches, stains, and dents remain visible under paint or finish because finer grits can’t remove them.
How can you fix this problem?
Return to a coarser grit like 80 or 100, re-sand until the flaws are gone, then follow proper grit progression.
When is fine grit appropriate at the start?
Only when the surface is already smooth and needs light touch-up before finishing.
How to avoid this error?
Always inspect the surface and start with the coarsest grit needed to remove existing marks effectively.
Mistake 2: Using Too Coarse a Grit for Finishing
Some users try to finish projects faster by skipping finer grits. This shortcut often leaves deep sanding marks that become visible after staining.
Why does coarse grit leave visible scratches?
The larger abrasive particles cut deep into the wood, which later absorb more stain and appear darker.
What grit is too coarse for final sanding?
Anything below 120 grit is too aggressive for final passes on wood furniture.
Can scratches be removed after staining?
Rarely. The only solution is to sand again, restain, and reapply the finish.
How to test surface smoothness before finishing?
Run your hand along the grain under good lighting — it should feel silky and even, with no visible lines.
Does finish type affect how much scratches show?
Yes. Clear or glossy finishes highlight imperfections more than matte or painted coatings.
Mistake 3: Skipping Grit Stages
Skipping grits might save time in the short term, but it leads to rough textures and visible swirl marks later. Each grit is designed to remove the scratches from the previous one.
What happens when you skip grit numbers?
Deep scratches from coarse grits remain because finer grits can’t cut them down fully.
What’s the ideal grit progression?
A standard progression is 80 → 120 → 180 → 220. Adjust depending on surface condition.
How to know when to change grits?
When all visible marks from the previous grit are gone, and the surface looks uniformly dull.
Can a random orbital sander reduce the need for progression?
It helps, but grit steps are still essential for a perfect finish.
Does skipping affect stain absorption?
Yes. Uneven surfaces absorb stain inconsistently, creating blotches and uneven tones.
Mistake 4: Ignoring Dust and Surface Cleanliness
Dust is the silent enemy of perfect sanding. It clogs abrasives, scratches the surface, and ruins finishes if left behind.
Why is dust such a problem?
Loose particles act like grit and create new scratches as the sander moves.
How to prevent dust buildup?
Use a vacuum attachment or dust bag during sanding, and clean between grit changes.
Should you wipe surfaces after each sanding step?
Yes. A tack cloth or damp microfiber cloth removes fine dust and prevents contamination.
Can dust affect stain color?
Absolutely. Dust in the grain can block stain penetration, causing dull or patchy finishes.
Is compressed air useful for dust removal?
Yes, especially for corners and detailed surfaces where cloths can’t reach.
Mistake 5: Applying Too Much Pressure
Many users think more pressure means faster results, but in sanding, it does the opposite. Excess pressure can burn the wood, create uneven spots, or wear out sandpaper prematurely.
How much pressure should be applied?
Let the tool’s weight do most of the work — just guide it gently across the surface.
What happens if pressure is too high?
The sander slows down, the surface heats up, and deep gouges may form.
Does pressure affect sandpaper lifespan?
Yes. Overpressure wears down abrasives quickly, increasing costs and lowering efficiency.
Can uneven pressure cause swirl marks?
Definitely. Keeping even contact prevents circular marks and inconsistent removal.
How to check for even sanding?
Look for uniform surface dullness and consistent texture across all areas.
Conclusion
Knowing what grit sandpaper to use with a power sander can make the difference between a flawless, professional finish and a surface full of visible scratches.
Every grit number serves a distinct purpose — coarse grits for removal, medium for smoothing, and fine for finishing. When used in proper progression, these stages create a surface that’s smooth, even, and ready for stain or paint.
The key to perfect sanding lies in balance. Choosing the correct grit for each stage, matching it to your sander type, and keeping tools clean ensures consistent results. Rushing through grits or applying too much pressure often causes more harm than good, while patience and precision deliver lasting beauty.
Safety and preparation also play an essential role. Using dust extraction, maintaining proper ventilation, and cleaning surfaces between grit changes help prevent scratches and uneven finishes. Investing in quality sandpaper and maintaining your tools can further extend their performance and lifespan.

I’m Michael R. Turner, the founder, lead writer, and passionate DIY enthusiast behind 101diytools.com. With years of hands-on experience in home improvement and power tools, I built this platform to share practical tips, in-depth guides, and honest reviews to help DIYers of all skill levels tackle projects with confidence and the right tools.