Sand or Power Wash Deck — Which Comes First?
Every homeowner faces the same dilemma before restoring an old deck: should it be sanded smooth or blasted clean with a power washer? The wrong decision can leave the surface uneven, the stain peeling, or even damage the wood permanently.
Deck restoration might look simple, yet preparation determines nearly 80% of the project’s long-term success. According to HomeAdvisor, decks that are properly cleaned and prepped can extend their finish life by up to 5–7 years, while unprepped decks often fade within two.
The problem isn’t only about cleanliness. It’s about how wood fibers, pores, and grain react to pressure or abrasion. Many people skip sanding because it feels time-consuming, but they end up with a rough surface that traps moisture and dirt.
Others rely only on a pressure washer, which can tear wood fibers and leave grooves that absorb stain unevenly.
So, which step truly comes first — sanding or power washing? Understanding each method’s role, timing, and effect is crucial for protecting both appearance and structure.
What Sanding and Power Washing Actually Do
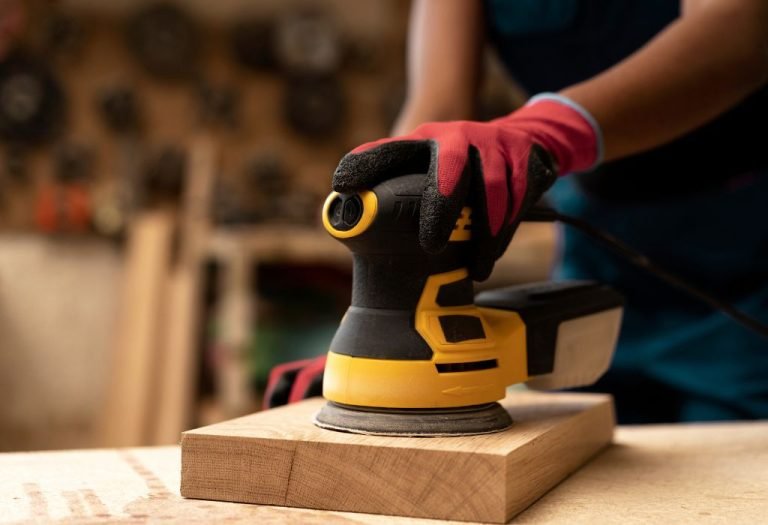
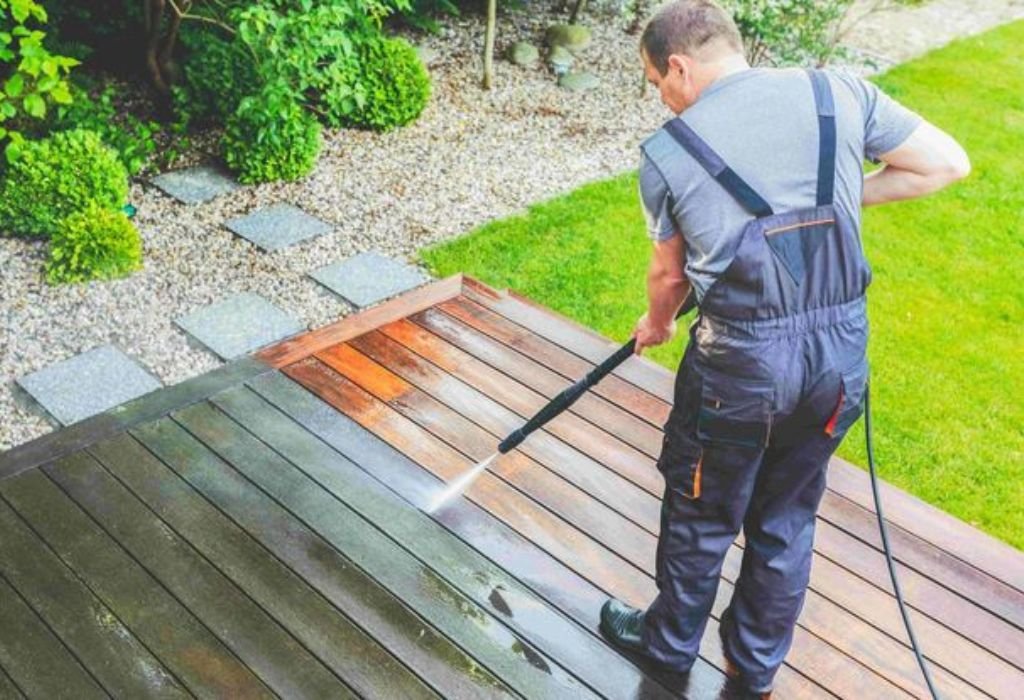
Sanding and power washing serve the same goal — preparing the deck surface — but they work very differently. Power washing removes dirt, algae, mold, and old finishes through water pressure, while sanding smooths the surface and opens wood pores for stain penetration.
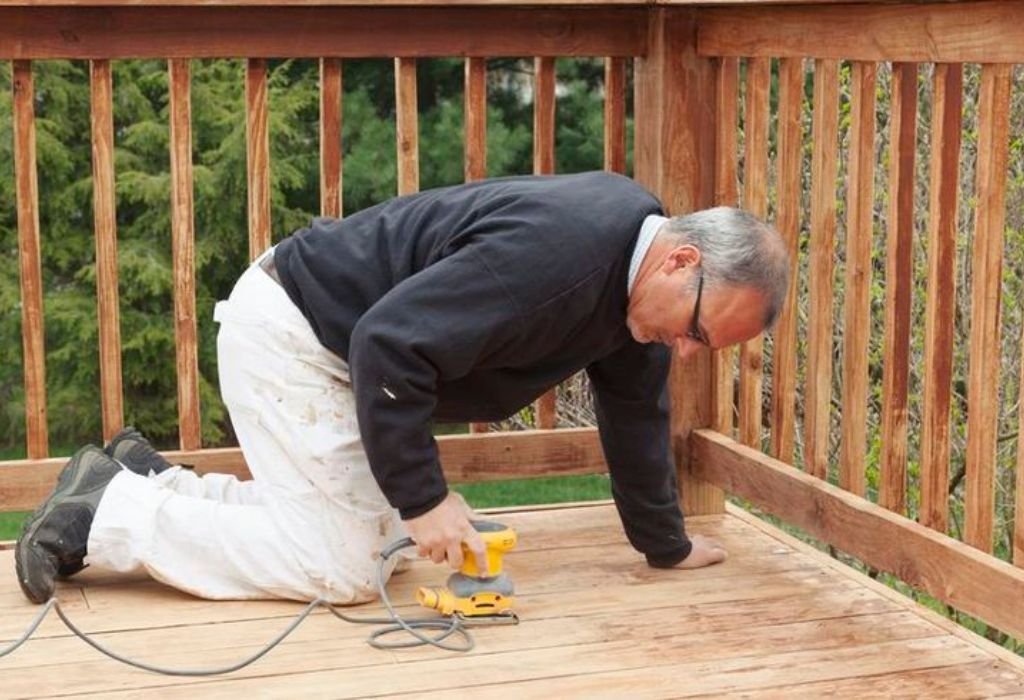
A power washer works fast, ideal for large areas covered in grime or mildew. However, high pressure can damage softwood fibers or raise the grain, creating a fuzzy texture. Sanding, by contrast, is slower but more controlled. It restores the wood’s natural feel and helps stain absorb evenly across the boards.
Many professional contractors recommend power washing first to clear debris, followed by light sanding once the deck dries. This sequence prevents trapped moisture and ensures a uniform surface for staining.
Ultimately, both steps are part of the same process: cleaning the surface, correcting texture, and preparing it for a long-lasting finish.
Comparing Sanding vs. Power Washing
The real difference lies in what each method accomplishes. Sanding focuses on refinement, while power washing focuses on removal.
Sanding creates a smoother surface and removes splinters, rough spots, and mill glaze from new boards. It is essential when the wood feels coarse or when a high-quality finish is desired.
Power washing, on the other hand, uses high-velocity water to clean off old stains, dirt, and algae. It’s faster and more affordable but must be done carefully to prevent surface gouging.
In general, power washing works better as the first cleaning stage, while sanding should follow as a finishing step. The combination ensures that stains adhere properly and last longer, giving the deck a professional appearance.
Deck maintenance experts note that a well-sanded surface absorbs 30% more stain than one only cleaned with water. (source)
When Sanding Should Come First
There are situations when sanding before washing makes more sense. Extremely rough, weathered, or splintered decks may not benefit from immediate power washing. The high pressure could worsen cracks or force water into weakened areas.
Older decks with worn boards often have deep grooves or raised nails, making power washing risky. In these cases, sanding can help smooth the surface and expose problem areas before washing.
Sanding is also essential for brand-new decks. Freshly milled wood often has a thin, shiny coating called mill glaze that prevents stain absorption. Light sanding removes this layer and allows deeper penetration of stain or sealer.
If your goal is a silky finish or a premium look, sanding is unavoidable. It may take more effort, but it sets the foundation for a long-lasting, professional result.
When Power Washing Should Come First
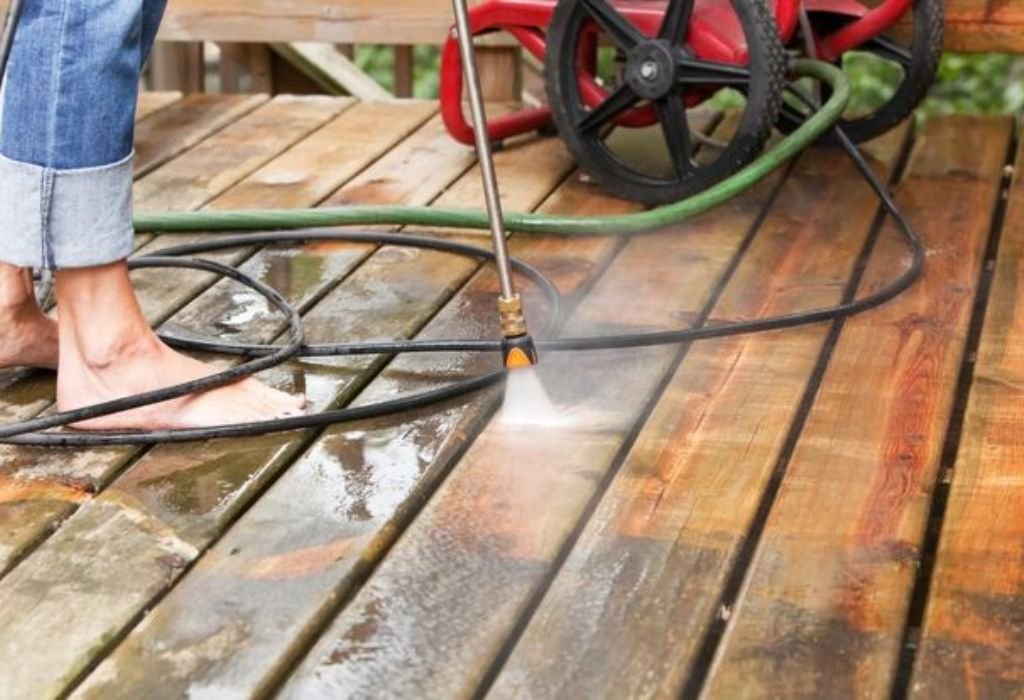
Most professionals recommend starting with power washing if the deck is covered in dirt, mold, or old finishes. It’s a quick way to strip away debris and reveal the true condition of the wood.
Power washing removes contaminants that could clog sandpaper or make sanding uneven. By clearing the surface first, you’ll reduce the amount of sanding required and extend tool life.
It’s essential to use the correct pressure settings. For softwoods like cedar or pine, experts suggest 500–600 psi, while hardwoods can handle up to 1200 psi. Using higher pressure risks etching the surface and causing splintering.
Once washed, the deck should dry for at least 24–48 hours before sanding or staining. Rushing this step traps moisture inside the wood, which can cause peeling or rot later.
Power washing first is efficient and practical for large decks, but it must always be followed by inspection and, if needed, a light sanding pass.
Why Combining Both Methods Works Best
A hybrid approach — power washing followed by sanding — offers the best of both worlds. The washing step removes grime, mildew, and peeling finish, while sanding evens out the fibers and readies the wood for coating.
This two-step process helps stains adhere more effectively and prevents the blotchy appearance caused by raised grain. It also reduces the risk of water penetration because sanding re-opens sealed pores for uniform drying.
Contractors often call this sequence the “clean-and-refine method.” It ensures that both cleaning and surface preparation are addressed without compromising wood quality.
The combined method might take more time, but it can extend the lifespan of a deck’s finish by several years. It’s especially ideal for decks exposed to extreme sunlight or humidity, where coating performance depends heavily on surface prep.
Deck Condition: The Deciding Factor
The right approach depends on the deck’s condition rather than a one-size-fits-all rule. For a dirty but structurally sound deck, start with power washing. For a rough or aged surface, sanding may need to come first.
Visually inspect for signs like splinters, peeling stain, mildew, or gray discoloration. Each of these issues indicates different preparation needs.
For instance, heavy mildew suggests a deep clean before sanding, while surface splinters mean you should sand before any washing.
If you’re dealing with both — which is common — use a balanced approach: wash gently, let dry, then sand lightly to finish.
Remember that deck preparation is about restoring the surface, not just cleaning it. The goal is to open the pores for better stain adhesion while keeping the wood structure intact.
Tools and Materials for Proper Preparation
Quality results depend on using the right equipment. A power washer with adjustable pressure is essential for cleaning. Use a wide-angle fan tip to distribute water evenly and avoid gouging.
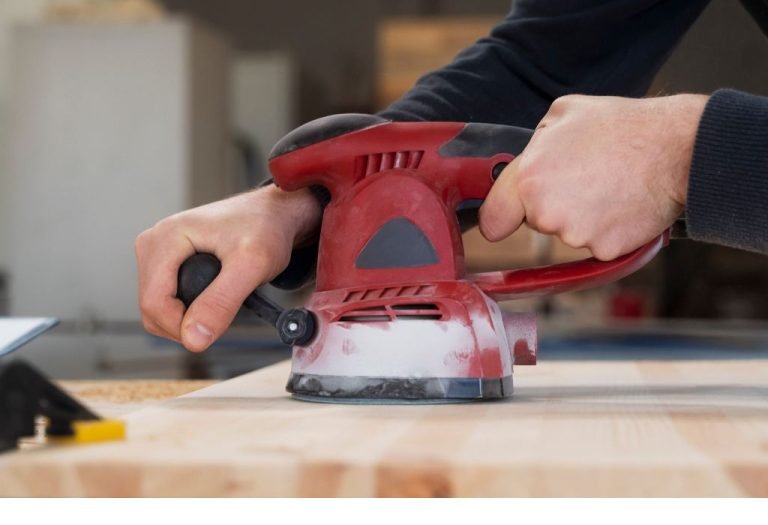
For sanding, choose an orbital or belt sander with 60- to 80-grit sandpaper. These grits remove imperfections without over-polishing the surface.
Always wear safety gear: goggles, gloves, and a dust mask for sanding, and closed shoes and eye protection when power washing.
Wood brightener or neutralizer may be applied after washing to balance pH levels before staining. This step helps prevent blotchy finishes and enhances stain absorption.
A moisture meter can also help verify that the deck is dry enough to accept stain. The ideal reading is typically below 15% before sealing.
Drying Time and Moisture Control
Timing plays a critical role in deck restoration. After power washing, wood can appear dry but still retain internal moisture. Staining too soon can trap this water and cause premature failure.
Wait at least two full days in warm, dry conditions before sanding or staining. In humid or shaded areas, extend the drying time to three days.
Sanding immediately after power washing can also clog the sandpaper and damage the fibers. Allow proper airflow, and test dryness with a moisture meter to confirm readiness.
Proper drying ensures the stain penetrates evenly and prevents mold or peeling issues later.
Safety Considerations for Each Method
Safety must never be overlooked. Power washing can cause injuries or property damage if used incorrectly. Always point the nozzle away from your body and maintain consistent distance.
Avoid high pressure near edges, railings, or between boards where water can penetrate. Excess water weakens nails and screws, potentially loosening deck boards over time.
During sanding, airborne dust can irritate eyes and lungs. Work with protective gear and vacuum the area thoroughly afterward.
Using the right safety techniques protects both the deck’s integrity and your own health.
Cost and Time Comparison
Both methods differ in cost and labor. Power washing typically costs between $0.30–$0.50 per square foot, depending on deck size and location. Sanding, by contrast, may range from $1–$3 per square foot, especially when hiring professionals. (source)
Time investment also varies. A power wash can be completed in a few hours, while sanding may take one to two full days depending on the surface area.
Although sanding takes longer, it often leads to longer intervals between refinishing. That makes it a better long-term investment for homeowners seeking durability over speed.
Combining both methods costs more initially but reduces the frequency of future maintenance, balancing cost and quality effectively.
Environmental Impact and Sustainability
Power washing uses water and sometimes cleaning agents, so environmentally friendly detergents are recommended. Avoid chlorine bleach, which can harm nearby plants and soil.
Sanding produces dust and debris but has less water waste. Collect sanding dust and dispose of it safely to prevent contamination.
Both methods can be sustainable when done correctly. Opt for biodegradable cleaners and energy-efficient sanders to reduce environmental impact.
Responsible preparation not only preserves the wood but also minimizes ecological harm, ensuring your outdoor space remains both beautiful and green.
Common Mistakes to Avoid
The most common error is using too much water pressure when power washing. This can gouge the deck surface and cause irreversible damage.
Skipping drying time between washing and sanding is another major issue. Moisture trapped under stain layers leads to peeling within months.
Over-sanding can also be a problem. It polishes the surface too smooth, closing the wood pores and preventing stain absorption.
Finally, applying stain before proper cleaning leaves dirt sealed beneath the coating, ruining the finish. Each mistake can shorten the deck’s lifespan significantly.
Maintenance After Preparation
Once the deck has been sanded and cleaned, sealing and maintenance become easier. Choose a high-quality semi-transparent stain or sealer designed for UV protection and moisture resistance.
Apply in dry conditions and follow the manufacturer’s instructions carefully. Two thin coats usually last longer than one thick layer.
Regular sweeping and mild soap cleaning prevent dirt accumulation. A light maintenance coat every 2–3 years keeps the deck looking fresh.
With proper preparation, a deck can remain strong and beautiful for over a decade without major repairs.
Final Verdict: Sand or Power Wash First?
So, is it better to sand or power wash a deck? The answer depends on your deck’s condition, time, and goals. For most situations, power washing first, then sanding delivers the best results.
Power washing clears dirt and mildew efficiently, while sanding refines the surface for stain absorption. Together, they create a clean, smooth, and durable foundation.
If the deck is severely rough or splintered, sanding may need to come first. For newer or moderately dirty decks, washing followed by light sanding works perfectly.
The secret lies not in choosing one method but in applying both correctly. Each complements the other to produce professional-grade restoration results.
Conclusion
Preparing a deck is not just a cleaning task — it’s a preservation process. Both sanding and power washing have their advantages, but combining them in the right sequence ensures the best outcome.
The balance between pressure, moisture, and smoothness defines how long the finish lasts and how beautiful it looks.
Whether you’re reviving a weathered deck or maintaining a new one, taking the time to prepare it properly will reward you with years of durability and appeal.
Inspect your deck today, choose the method that fits its condition, and bring back the warmth and charm of natural wood — one careful step at a time.

I’m Michael R. Turner, the founder, lead writer, and passionate DIY enthusiast behind 101diytools.com. With years of hands-on experience in home improvement and power tools, I built this platform to share practical tips, in-depth guides, and honest reviews to help DIYers of all skill levels tackle projects with confidence and the right tools.