How to Use Pneumatic Impact Wrench Safely
Every DIY mechanic has faced that one stubborn bolt that refuses to budge.You push, pull, and strain until the wrench slips — leaving sore hands and wasted time.
That’s where a pneumatic impact wrench transforms frustration into control.
This powerful air-driven tool delivers rapid bursts of torque that can loosen bolts in seconds.It’s a favorite among professionals for its unmatched speed and consistency.
Yet, many users don’t realize that even the strongest air impact wrench won’t perform at full power if the setup is wrong.
A common mistake is connecting the wrench to an undersized air hose or compressor.According to Ingersoll Rand, airflow restriction can reduce tool efficiency by over 30%, even at proper PSI.
OSHA also reports that most pneumatic tool injuries occur due to improper air pressure or incorrect accessories.
Using a pneumatic impact wrench correctly isn’t just about pressing the trigger.It’s about understanding air pressure, hose sizing, lubrication, and safety procedures.
When properly configured, this tool can deliver full torque while extending its service life dramatically.
In this guide, you’ll learn how to use a pneumatic impact wrench safely and effectively.From air setup to torque control and maintenance, every section is designed tohelp you get professional-grade results — without damaging your equipment or fasteners.
By the end, you’ll have the confidence and knowledge to operate your impact wrench like a pro.
1. How a Pneumatic Impact Wrench Works
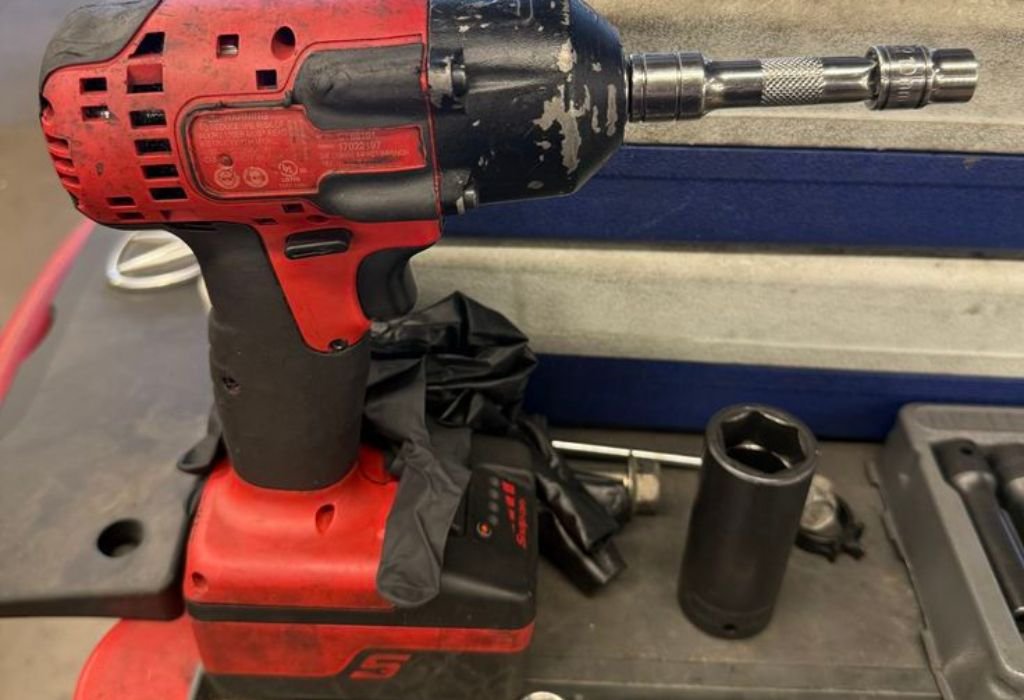
A pneumatic impact wrench uses compressed air to spin an internal hammer that strikes an anvil.
Each strike multiplies torque and breaks fasteners free in seconds.
What creates the impact?
The hammer-and-anvil mechanism stores rotational energy and releases it in short bursts.
What do PSI and CFM mean?
PSI measures air pressure force, while CFM shows airflow volume — both are crucial for torque output.
Why does torque fade?
Restricted hoses, leaks, or small couplers starve airflow and reduce hammer speed.
Can higher PSI replace CFM?
No. Excess pressure without adequate airflow causes tool strain and minimal torque gain.
Why oil matters?
Lubrication seals vanes and reduces friction inside the motor, maintaining smooth impacts.
2. Choosing the Right Air Supply
Your compressor must deliver steady airflow that matches the wrench’s rated SCFM @ 90 PSI.
Under-sized compressors cycle constantly and fail to maintain pressure under load.
How much CFM is enough?
Most ½-inch wrenches need 6–9 CFM; heavy-duty models may require 11 CFM or more.
Does tank size matter?
Yes. A 30–60 gallon tank acts as a buffer, preventing frequent compressor cycling.
Can I use a portable compressor?
Only if its CFM rating exceeds the wrench’s requirement at 90 PSI.
Is two-stage better than single-stage?
Yes for continuous use — it produces higher CFM more efficiently.
What happens if air volume is too low?
The wrench loses torque and the hammer mechanism wears prematurely.
3. Hose, Couplers, and Fittings
The hose is the most overlooked airflow restriction in any setup.
A ¼-inch hose chokes airflow even if the compressor is large.
What hose size is ideal?
Use 3/8-inch ID for ½-inch impacts and ½-inch ID for ¾-inch or larger.
Does hose length matter?
Yes. Every 25 feet adds measurable pressure drop — keep it short for full torque.
Can I mix coupler sizes?
Avoid it. Smaller couplers restrict flow and reduce power.
PTFE tape or paste?
Use 2–3 wraps of PTFE tape on NPT threads for airtight sealing.
Are high-flow couplers worth it?
Absolutely. They can restore up to 20% lost torque by improving airflow.
4. Setting Up the FRL System
FRL stands for Filter, Regulator, and Lubricator — your tool’s best protection system.
It filters moisture, regulates PSI, and adds oil mist for longevity.
Where to install it?
Between the compressor and the hose reel, within 10 feet of the tool line.
What PSI to set?
Set 90 PSI under load — check pressure while the trigger is held.
Do filters restrict flow?
Only cheap or clogged ones; use large-body filters rated for your CFM.
Is an oiler necessary?
Yes. Add 2–4 drops of air tool oil before use or rely on an in-line lubricator.
Should I use an air dryer?
In humid climates, yes — moisture corrodes internal vanes and bearings.
5. Safety Essentials Before Operation
A pneumatic impact wrench is powerful enough to shear studs or cause injury if mishandled.
Proper safety gear and habits are non-negotiable.
What safety gear is required?
Wear impact-rated eye protection, gloves, and hearing protection.
Why not use chrome sockets?
They can shatter under impact — use black impact-rated sockets only.
Should I torque bolts fully with the impact?
No. Use a torque wrench for final tightening to prevent over-torque.
How to manage hoses safely?
Lay them flat or use a reel; avoid tripping hazards and kinks.
Can I disconnect under pressure?
Never. Bleed pressure first to avoid hose whip or coupler damage.
6. Step-by-Step: How to Use Pneumatic Impact Wrench
Step 1 – Prepare the Workspace
Ensure the surface is stable, work area clear, and all sockets and extensions ready.
Step 2 – Connect Air System
Drain tank condensation, power the compressor, and attach the air hose with quick-connect fittings.
Step 3 – Check Pressure Under Load
Hold the trigger and adjust the regulator until it reads 90 PSI at the tool.
Step 4 – Select Socket and Direction
Choose the correct impact socket and set Forward or Reverse using the switch.
Step 5 – Operate in Short Bursts
Use quick pulses rather than long triggers to avoid over-tightening.
Why short bursts?
They prevent overheating and give better control over torque.
Why does the tool jump?
Too much air pressure or poor alignment with the fastener.
Fastener still stuck?
Apply penetrating oil, heat the area, or step up to a higher-CFM tool.
Can extensions reduce torque?
Yes, longer extensions twist and absorb impact energy.
7. Technique Tips for Common Jobs
Different jobs need slightly different approaches to avoid damage.
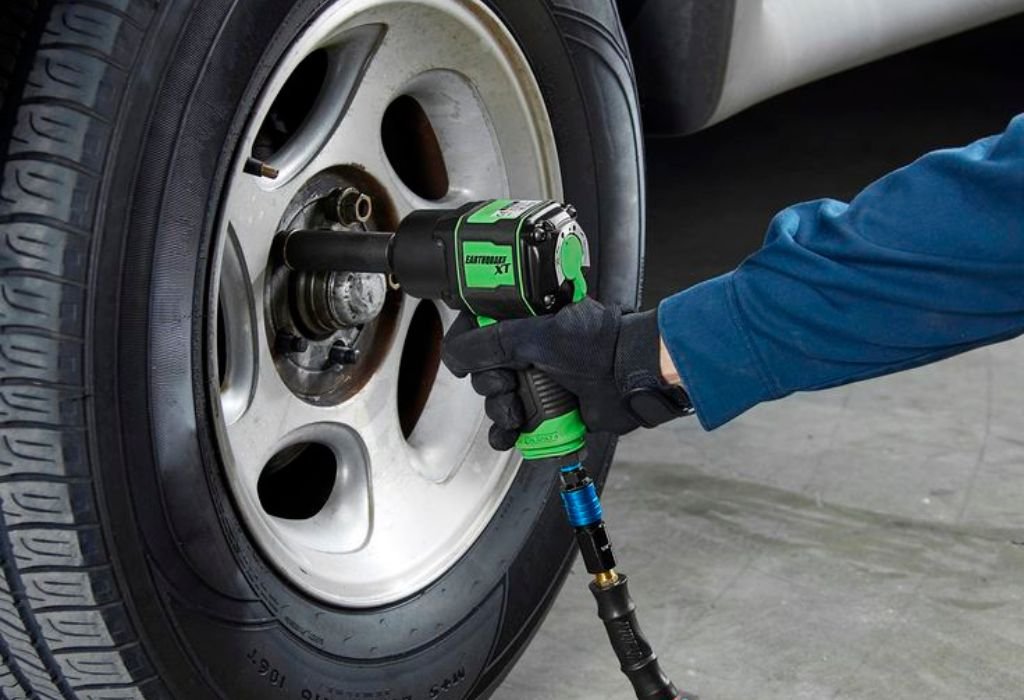
Removing lug nuts:
Use reverse mode, short bursts, and a star pattern for wheels.
Installing wheels:
Run nuts down gently, then use a torque wrench to finish.
Suspension bolts:
Support the load before loosening to prevent binding.
Small engine repair:
Use short hoses and support the crankshaft when removing flywheel nuts.
Precision assemblies:
Reduce regulator pressure to avoid stripped threads.
8. Troubleshooting Power Loss
Weak or inconsistent impacts are usually airflow-related.
Diagnosing early saves time and tool wear.
Gauge shows 90 PSI but tool weak — why?
Pressure at the gauge isn’t pressure at the tool; check for drop under load.
Hose gets hot?
Air restriction — upgrade hose diameter or shorten length.
Water in exhaust?
Drain compressor tank and clean filter bowl.
Tool slows after a few seconds?
Lack of oil or sticky vanes; add a few drops of lubricant.
No improvement?
Inspect hammer mechanism for wear and grease per manufacturer specs.
9. Maintenance and Storage
Consistent care ensures years of reliable service.
Neglecting maintenance leads to reduced torque and premature failure.
How often to oil?
Add 2–3 drops before every session.
When to grease the hammer?
Every 50 hours of use or monthly for light users.
How to clean the tool?
Wipe exterior, blow dry with compressed air, and never immerse in solvent.
Drain the compressor daily?
Yes — water buildup rusts tanks and lowers CFM.
How to store properly?
Hang hoses vertically, cap couplers, and keep tools oiled and dust-free.
10. PSI vs CFM: Myths and Realities
Many users try to compensate for low airflow by turning up PSI — a costly mistake.
Torque depends more on CFM than pressure.
Does higher PSI increase power?
Only if airflow volume is adequate; otherwise, torque plateaus.
Does a bigger tank make more power?
No, it only stores air longer but doesn’t raise flow rate.
Why is airflow more critical?
Each hammer strike needs constant air mass; low CFM means weaker hits.
Will high-flow couplers help?
Yes — they can raise torque by 10–20% instantly.
Can I run two tools together?
Only if the compressor’s combined CFM meets both tools’ demand.
11. Useful Accessories for Better Results
Enhance performance and comfort with the right attachments.
Torque sticks:
Prevent over-tightening lug nuts by limiting torque automatically.
Swivel adapters:
Improve flexibility in tight spaces without major power loss.
Whip hoses:
Short flexible sections reduce strain on couplers and wrists.
Manifolds:
Distribute air to multiple tools while maintaining consistent flow.
Air dryers:
Eliminate condensation and extend both tool and compressor life.
12. Environmental and Shop Safety
Air tools create high noise and flying debris hazards.
Maintaining a safe workspace protects both the operator and the equipment.
Is hearing protection required?
Yes — impact wrenches often exceed 100 dB.
Should I ventilate the shop?
Absolutely. Air exhaust contains oil mist that can linger indoors.
Where to dispose of oily rags?
Store them in a sealed metal container and follow local regulations.
Can air hoses be left pressurized?
No — disconnect and depressurize after each job.
Any risk with quick-disconnect couplers?
Yes, if uncoupled under pressure they can whip violently — always bleed lines first.
13. Buying the Right Pneumatic Impact Wrench
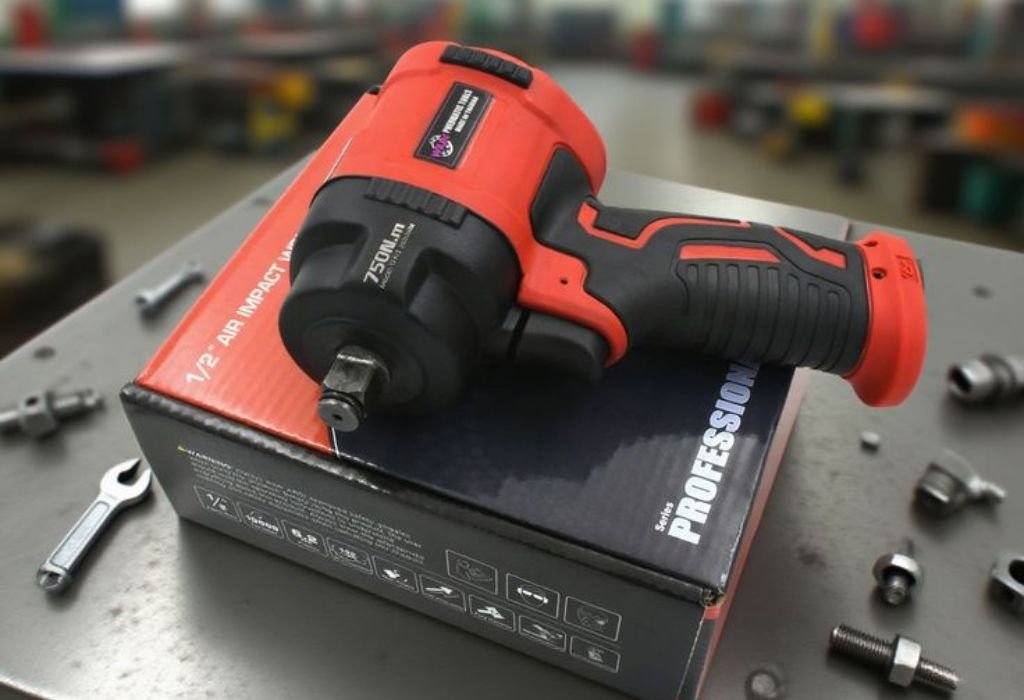
Selecting the correct wrench for your needs improves efficiency and safety.
Drive size guide:
⅜-inch for light work, ½-inch for general automotive, ¾-inch for heavy-duty use.
Advertised torque accurate?
Treat as a guideline — actual torque depends on air supply quality.
Comfort vs power:
Light models reduce fatigue but may sacrifice torque; balance both.
Warranty importance:
Look for brands offering at least a 1-year service warranty.
Recommended accessories:
High-flow fittings, short hoses, and an in-line oiler maximize performance.
14. Common Mistakes to Avoid
Avoiding these errors extends both tool life and safety.
Over-pressurizing:
Leads to premature wear and seal damage.
Using wrong oil:
Use air-tool-specific lubricant only.
Skipping moisture removal:
Water causes internal rust and sticky vanes.
Ignoring hose leaks:
Even small leaks drop CFM drastically.
Over-tightening fasteners:
Always verify final torque with a wrench, not the impact alone.
15. Conclusion
A pneumatic impact wrench is one of the most powerful tools in any workshop.
But power means little without control, setup, and maintenance.
To get the best results, match compressor CFM @ 90 PSI, use 3/8-inch ID hoses with high-flow couplers, maintain proper lubrication, and wear protective gear.
Operate in short bursts, verify torque manually, and drain your compressor regularly.
Mastering these habits ensures your tool performs at full strength for years.
Now that you know how to use a pneumatic impact wrench safely, every bolt will come off with confidence and precision.

I’m Michael R. Turner, the founder, lead writer, and passionate DIY enthusiast behind 101diytools.com. With years of hands-on experience in home improvement and power tools, I built this platform to share practical tips, in-depth guides, and honest reviews to help DIYers of all skill levels tackle projects with confidence and the right tools.