Learn How to Use Nail Gun for Fencing Like a Pro
Transform your fencing projects with a nail gun by mastering essential safety protocols and precise application techniques. This comprehensive guide teaches you to select the optimal nailer and fasteners for durability, ensuring you achieve professional-grade results efficiently and securely. Elevate your craft, building robust fences with speed and expertise.
Building a fence can feel like a monumental task, often conjuring images of sore thumbs, bent nails, and endless hammering. If you’ve ever wrestled with a fencing project, you know the physical toll it can take. But what if there was a way to dramatically speed up the process, reduce fatigue, and achieve professional-looking results with less effort? Enter the humble yet mighty nail gun – your new best friend for any fencing endeavor.
For years, many DIYers and even some professionals shied away from power nailing tools, perhaps intimidated by their power or the perceived complexity. However, modern nail guns are incredibly user-friendly, safe (when used correctly!), and an absolute game-changer for projects like fence building. This isn’t just about saving time; it’s about making your work more precise, more enjoyable, and ultimately, more successful. Imagine sinking countless nails with a simple pull of a trigger, rather than dozens of swings of a hammer!
So, whether you’re replacing a few pickets, building an entire perimeter fence from scratch, or simply curious about upgrading your toolkit, you’ve come to the right place. We’re going to dive deep into how to use a nail gun for fencing, covering everything from choosing the right tool to mastering the technique, all so you can tackle your next project like a seasoned pro. Let’s make that fencing dream a reality, efficiently and effectively!
Key Takeaways
- Prioritize Safety: Always wear eye and ear protection before operating the nail gun.
- Choose Right Tool: Select a suitable nail gun and correct nails for your specific fence type.
- Master Depth Settings: Adjust nail depth to prevent over-penetration or proud nails.
- Ensure Stable Workpiece: Secure fence panels and posts firmly for accurate, safe nailing.
- Maintain Proper Grip: Hold the nail gun firmly and perpendicular for consistent shots.
- Practice Makes Perfect: Test nail gun settings on scrap wood before starting your project.
- Inspect Your Work: Regularly check nail placement and overall fence stability for durability.
📑 Table of Contents
Choosing the Right Nail Gun and Fasteners for Your Fence Project
Before you even think about firing a nail, selecting the correct equipment is paramount. The right nail gun for fencing, paired with the appropriate fasteners, will ensure durability and ease of work.
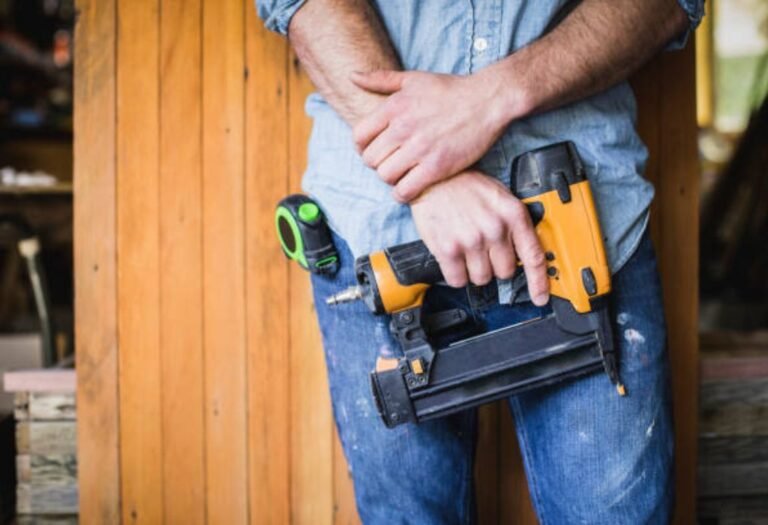
Nail Gun Types: Pneumatic vs. Cordless
- Pneumatic Nail Guns: These are powered by an air compressor. They tend to be lighter, more powerful, and often more affordable upfront. The downside? You’re tethered to a hose and compressor, which can be cumbersome on a large fencing project or in areas without power. However, for sheer nailing volume and consistent power, they’re hard to beat when building a fence.
- Cordless Nail Guns (Battery-Powered): Offering unmatched portability, cordless nail guns free you from hoses and power outlets. They are heavier due to the battery and motor, and typically have a higher initial cost. Battery life is a consideration for extensive work, but the convenience of moving freely around your yard while using your nail gun for fencing is a huge advantage.
For most residential fencing projects, either type can work well. If you have a compressor, a pneumatic model is a solid, cost-effective choice. If portability is your top priority, especially in areas where power access is limited, a cordless nail gun for fencing is invaluable.
Fastener Selection: Nails That Last
The nails you choose are just as critical as the nail gun itself. For outdoor applications like fencing, resistance to corrosion is non-negotiable.
- Galvanized Nails: Always opt for galvanized nails. These have a zinc coating that helps prevent rust and staining on your wood. Hot-dipped galvanized nails offer superior protection compared to electro-galvanized.
- Ring Shank Nails: These nails have rings along the shank that provide significantly greater holding power than smooth shank nails. For fences that need to withstand wind and weather, ring shank nails are the gold standard for connecting pickets to rails and rails to posts.
- Nail Length: A good rule of thumb is that the nail should penetrate at least two-thirds into the second piece of wood. For standard 3/4-inch pickets on 1.5-inch rails, 1.5-inch to 2-inch nails are typically appropriate. For structural connections like rails to posts, you’ll need longer nails, usually 2.5 to 3 inches.
Safety First: Essential Precautions When Using a Nail Gun

A nail gun is a powerful tool, and like any power tool, it demands respect and adherence to safety protocols. When using a nail gun for fencing, your safety should be your absolute top priority.
Personal Protective Equipment (PPE)
- Safety Glasses: This is non-negotiable. Always wear impact-resistant safety glasses to protect your eyes from flying debris, errant nails, or even compressed air.
- Hearing Protection: Nail guns can be loud, especially pneumatic models. Earplugs or earmuffs will protect your hearing over extended use.
- Work Gloves: Gloves can protect your hands from splinters, sharp edges, and provide a better grip on the tool and materials.
Tool Handling and Awareness
- Read the Manual: Every nail gun is slightly different. Take the time to read your specific tool’s manual to understand its features, operation, and safety warnings.
- Never Point at Anyone: Treat a nail gun like a loaded firearm. Never point it at yourself or another person, even if you think it’s unloaded.
- Keep Fingers Away from the Trigger: Unless you are actively firing, keep your finger off the trigger.
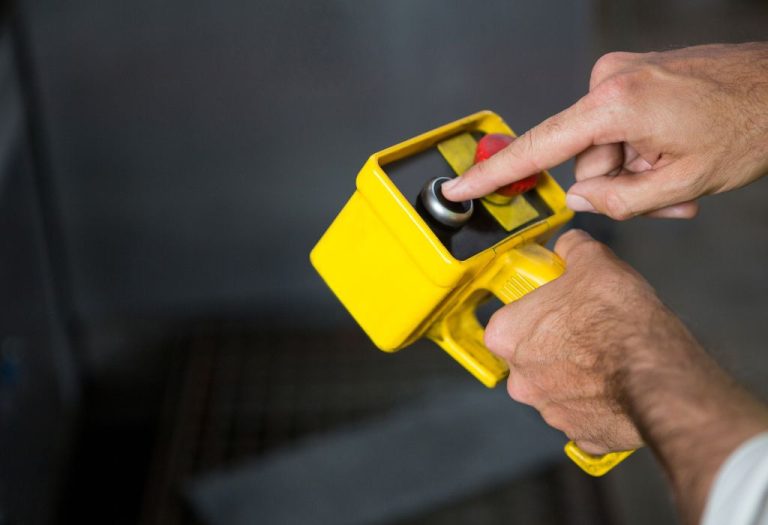
- Understand Actuation Modes: Most nail guns have two modes:
- Sequential Actuation: You must press the nose of the gun against the workpiece and then pull the trigger for each nail. This is generally safer for beginners and recommended for precision work when using a nail gun for fencing.
- Contact (Bump) Actuation: You can hold the trigger down and fire a nail each time the nose contacts the workpiece. This is faster but carries a higher risk of accidental firing and should only be used by experienced operators in appropriate situations.
- Disconnect Power During Maintenance: Always disconnect the air hose or remove the battery before clearing jams, making adjustments, or performing any maintenance on your nail gun.
Preparing for Fencing Success: Setup and Material Handling
Proper preparation can make all the difference in the efficiency and quality of your fencing project. A little planning upfront saves a lot of headaches later on.
Site Preparation
Clear the area where your fence will go. Remove any debris, rocks, or excessive vegetation. Mark out your fence line clearly using string lines and spray paint. This ensures your fence is straight and your posts are correctly positioned before you even think about picking up your nail gun for fencing.
Material Organization
Organize your fencing materials in an easily accessible manner. Stack pickets, rails, and posts neatly. Having everything within reach minimizes downtime and keeps your workspace safer and more efficient. Knowing where your next batch of nails is, or where your extra pickets are located, will significantly speed up the process.
Setting Up Your Fence Structure
Before you begin nailing, ensure your fence posts are securely installed and level. Your rails should also be cut to length and level, providing a solid framework for attaching pickets. Investing time in accurate post and rail installation will result in a much straighter, stronger fence. For some hardwood or to prevent splitting, especially when using smaller nails, pre-drilling pilot holes might still be beneficial, though a good nail gun often negates this need for most softwoods.
Mastering the Technique: How to Use Your Nail Gun for Fencing
Now for the exciting part – putting that powerful tool to use! Using a nail gun for fencing effectively involves a combination of setup, stance, and technique.
Loading and Adjustment
- Loading Nails: Follow your nail gun’s instructions for loading the nail strips. Ensure the nails are oriented correctly.
- Depth Adjustment: Most nail guns have a depth adjustment feature. Test this on a scrap piece of similar wood. You want the nail head to be flush with or just slightly countersunk below the wood surface, not sticking out and not too deep. This is crucial for a clean, strong finish when building a fence.
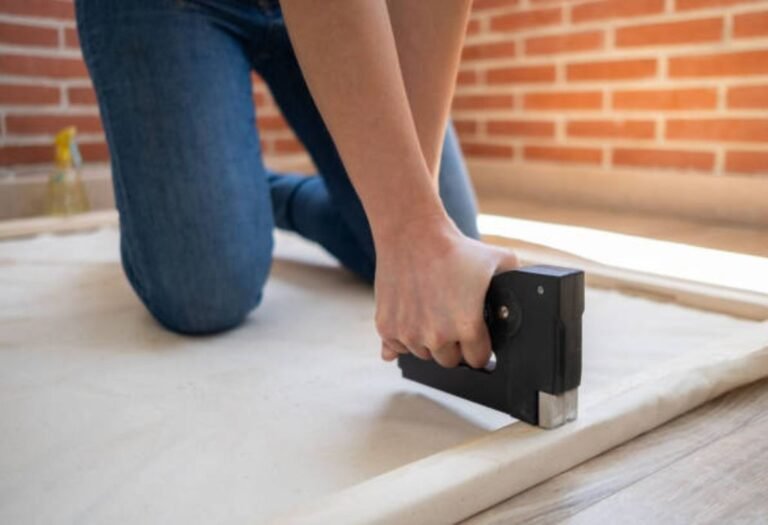
The Right Stance and Grip
Maintain a stable, balanced stance. Hold the nail gun firmly with two hands – one on the handle gripping the trigger, and the other on the front housing for stability and control. This two-handed grip is especially important when you’re using a powerful nail gun for fencing, as it helps absorb recoil and maintain accuracy.
Nailing Procedure: Pickets, Rails, and More
- Position the Wood: Hold the workpiece firmly in place against the framework (e.g., a picket against a rail). If you’re working alone, clamps can be your best friend.
- Press and Fire: Press the nose of the nail gun firmly and squarely against the surface where you want the nail to go. Ensure the gun is perpendicular to the wood for a straight drive. Then, pull the trigger.
- Consistent Spacing: For pickets, use a spacer block or measure carefully to maintain consistent gaps. This makes a huge difference in the aesthetic appeal of your finished fence.
- Number of Nails: For pickets, typically two nails per rail connection are sufficient for a strong hold. For rails to posts, use at least three or four nails, depending on the rail size and weight.
- Angle Nailing (Toenailing): For added strength, especially where you can’t nail directly through, you can toenail by holding the nail gun at an angle. This bites into both pieces of wood, providing a powerful connection.
When you use a nail gun for fencing, aim for consistency. A steady rhythm and accurate placement will lead to a professional-looking and durable fence.
| Fence Component | Recommended Nail Type | Recommended Nail Length | Notes |
|---|---|---|---|
| Pickets to Rails | Galvanized Ring Shank | 1.5″ – 2″ (38mm – 50mm) | Ensure at least 1″ (25mm) penetration into the rail for good hold. |
| Rails to Posts | Galvanized Ring Shank | 2.5″ – 3″ (63mm – 75mm) | Use sufficient nails (3-4) for structural integrity, potentially toenail for extra strength. |
| Top Caps/Trim | Galvanized Finish Nail | 1.5″ – 2″ (38mm – 50mm) | Smaller head for a cleaner finish, may require filling holes for aesthetic appeal. |
Troubleshooting Common Issues and Finishing Touches
Even with the best preparation, you might encounter a few hiccups. Knowing how to troubleshoot common nail gun problems will keep your fencing project on track.
Common Nail Gun Problems
- Jams: If your nail gun jams, first and foremost, disconnect its power source (air hose or battery!). Then, follow your manual’s instructions to safely open the magazine or nosepiece and clear the jammed nail. Never force it.
- Misfires: If the gun clicks but no nail fires, check if the magazine is empty or if the nails are loaded correctly. For pneumatic guns, check the air pressure; it might be too low. For cordless, check the battery charge.
- Nails Not Setting Properly: If nails are sticking out (proud) or bending, your depth adjustment might be off. Increase the depth setting slightly. For pneumatic guns, insufficient air pressure can also cause this. If nails are consistently bending, you might be hitting a knot or the wood might be too hard for the nail length/type.
Inspecting Your Work
After you’ve finished nailing a section, take a moment to inspect your work. Look for any proud nails that need to be driven in fully with a hammer or adjusted with the nail gun. Check for loose connections or areas where more nails might be needed. This attention to detail ensures a strong, long-lasting fence.
Post-Project Care
Once your fencing project is complete, take care of your nail gun. Disconnect the air hose or remove the battery. Clean any dust or debris from the tool, especially around the firing mechanism. Store it in its case or a dry, safe place. Proper maintenance will extend the life of your nail gun for many future projects.
There you have it! The journey from a novice to skillfully wielding a nail gun for fencing is well within your reach. By understanding the different types of tools and fasteners, prioritizing safety above all else, preparing your workspace meticulously, and practicing proper technique, you’ll transform your fencing experience. No more sore thumbs or bent nails – just efficient, precise, and satisfying work.
Remember, like any skill, practice makes perfect. Start with a small section or even scrap wood to get a feel for your nail gun. Before you know it, you’ll be confidently building fences that are not only strong and durable but also look professionally installed. So, grab your gear, stay safe, and get ready to build that fence like a pro!
Frequently Asked Questions
What are the essential safety precautions when using a nail gun for fencing?
Safety is paramount when operating any power tool. Always wear appropriate personal protective equipment (PPE), including safety glasses and hearing protection, and ensure the work area is clear of bystanders. Never point the nail gun at yourself or others, and always disconnect the air hose or remove the battery when clearing jams or performing maintenance.
Which type of nail gun is best suited for fencing projects?
For most fencing projects involving wood posts and rails, a framing nailer is generally the best choice. These powerful nail guns can drive longer, thicker nails suitable for structural components. You might choose between a pneumatic (air-powered) model for continuous heavy use or a cordless battery-powered option for greater portability and convenience, especially in remote areas.
What kind of nails should I use with my nail gun for fencing?
The type of nails is crucial for fence longevity. Opt for galvanized or stainless steel nails to prevent rust and corrosion, especially for outdoor use. For added holding power, consider ring-shank or screw-shank nails. The length of the nail should be sufficient to penetrate the top material and securely fasten into the underlying support, typically at least twice the thickness of the material being attached.
How do I properly operate a nail gun for fencing to achieve strong, secure connections?
To operate your nail gun effectively, hold it firmly with both hands, ensuring good balance. Press the tip against the material surface where you want to drive the nail, then pull the trigger. For optimal results, aim for the center of the lumber and maintain a consistent depth setting to avoid over-penetration or under-driving nails. Practice on scrap wood first to get a feel for the tool’s power and depth.
What preparations should I make before I begin using a nail gun for fencing?
Before you start, ensure your nail gun is in good working condition, with no visible damage. Load the correct type and size of nails for your project, and if using a pneumatic model, check that the air compressor is set to the recommended PSI and the hose is securely connected. Also, adjust the depth setting on your nail gun to match the material thickness, ensuring nails are driven flush or slightly countersunk without splitting the wood.
What are some common mistakes to avoid when using a nail gun for fencing?
A common mistake is neglecting depth adjustment, which can lead to nails not fully driven or over-penetrating and splitting the wood. Another error is failing to brace the material properly, causing it to shift or leading to crooked nails. Always ensure you are nailing into solid material and avoid “bounce nailing” where the gun bounces and fires a second nail unexpectedly, which can be dangerous and inefficient.

I’m Michael R. Turner, the founder, lead writer, and passionate DIY enthusiast behind 101diytools.com. With years of hands-on experience in home improvement and power tools, I built this platform to share practical tips, in-depth guides, and honest reviews to help DIYers of all skill levels tackle projects with confidence and the right tools.