DIY Guide How To Use Nail Gun For Baseboards Easily
Achieving perfectly installed baseboards with a nail gun is straightforward with the right approach. Prioritize safety by wearing protective gear and understanding your tool’s operation, then select the appropriate nail gun—typically a finish or brad nailer—and the correct nail size for your material. Securely attach baseboards by locating studs for strong fastening and angling nails for extra hold, ensuring a professional and lasting finish.
Ever found yourself staring at a pile of freshly cut baseboards, feeling a mix of excitement and dread? That beautiful trim promises to transform your room, but the thought of painstakingly hammering each nail by hand can be daunting. Well, friend, let me tell you, there’s a game-changer waiting for you: the humble (yet mighty) nail gun! Learning how to use a nail gun for baseboards can turn a tedious chore into a satisfying, speedy DIY project.
For years, I avoided anything that seemed “too professional” or “too complicated,” but tackling baseboards with a nail gun was one of those moments that made me think, “Why didn’t I try this sooner?!” It’s not just about speed; it’s about achieving a cleaner, more professional finish with less effort. If you’ve been on the fence, wondering if you can really master using a nail gun for baseboards, I’m here to tell you that absolutely, you can!
This guide will walk you through everything you need to know, from choosing the right tool to making those final touches. We’ll demystify the process, making sure you feel confident and ready to tackle your next baseboard installation with ease and precision. Let’s get that beautiful trim up the right way!
Key Takeaways
- Prioritize Safety: Always wear safety glasses and hearing protection.
- Select Correct Nails: Match nail length and gauge to baseboard thickness.
- Practice First: Test on scrap wood to master depth and control.
- Hold Gun Firmly: Keep nailer perpendicular for flush, secure fastening.
- Space Nails Evenly: Place nails every 16-24 inches for stability.
- Check Power Settings: Adjust air pressure or battery for optimal depth.
- Conceal Nail Holes: Finish with wood filler or caulk for a clean look.
📑 Table of Contents
Why Use a Nail Gun for Baseboards?
You might be thinking, “A hammer works just fine, right?” And yes, it does. But once you experience the efficiency and clean results of a nail gun, you’ll wonder why you ever did it any other way. Using a nail gun for baseboards offers several compelling advantages that make it a DIY favorite.
Speed and Efficiency
Imagine pushing a button instead of swinging a hammer, again and again. A nail gun drives nails in seconds, significantly cutting down installation time. This means you can finish an entire room’s baseboards in a fraction of the time it would take with manual hammering, leaving you more time for other projects (or just relaxing!).
Professional Finish
Nail guns create consistent, clean nail holes that are much smaller and easier to conceal than those made by a hammer. This results in a smoother, more professional-looking finish for your baseboards, making your hard work truly shine. There’s also less risk of dinging your beautiful new trim with an errant hammer strike.
Reduced Physical Strain
Swinging a hammer repeatedly can take a toll on your arm and shoulder. A nail gun eliminates this repetitive strain, making the job much easier on your body, especially for larger projects. It’s truly a smarter way to install baseboards.
Choosing the Right Nail Gun and Nails for Baseboards
This is where many people get a little overwhelmed, but it’s simpler than you think! Picking the right nail gun is crucial for a successful baseboard installation.
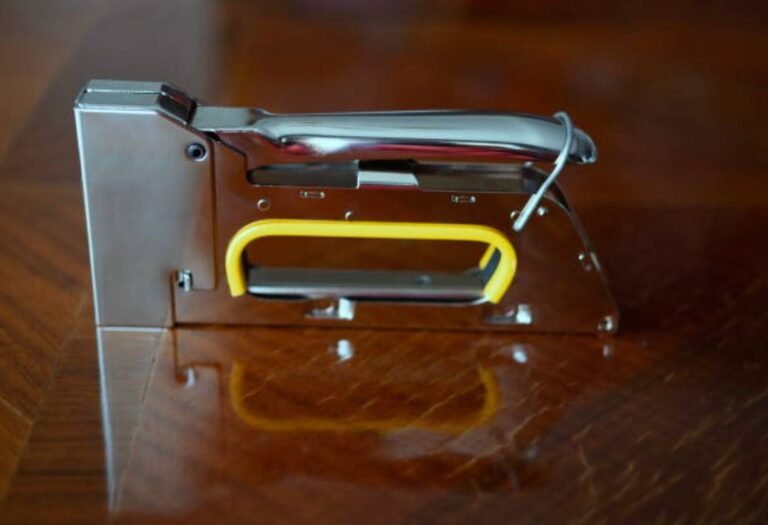
Types of Nail Guns
- Brad Nailer: This is generally the best choice for baseboards. Brad nailers use 18-gauge nails (brads), which are thin and leave very small holes. They offer enough holding power for trim work without splitting the wood.
- Finish Nailer: Using slightly thicker 15- or 16-gauge nails, finish nailers provide a bit more holding power. While they can be used for baseboards, the larger nails mean slightly more noticeable holes, which require a bit more filling.
- Pin Nailer: These use very thin 23-gauge pins, leaving almost invisible holes. They are great for delicate trim or holding pieces while glue dries, but generally lack the primary holding power needed for baseboards on their own.
For most baseboard projects, an 18-gauge brad nailer is your go-to tool. It strikes the perfect balance between holding power and minimal hole size.
Nail Length and Type
When selecting nails, aim for a length that is at least 1.5 to 2 times the thickness of your baseboard. This ensures the nail penetrates far enough into the wall stud to hold securely. For example, if your baseboard is 1/2 inch thick, use nails at least 1 to 1 1/2 inches long. Coated or galvanized nails offer better grip and corrosion resistance, though for interior baseboards, standard brads are usually fine.
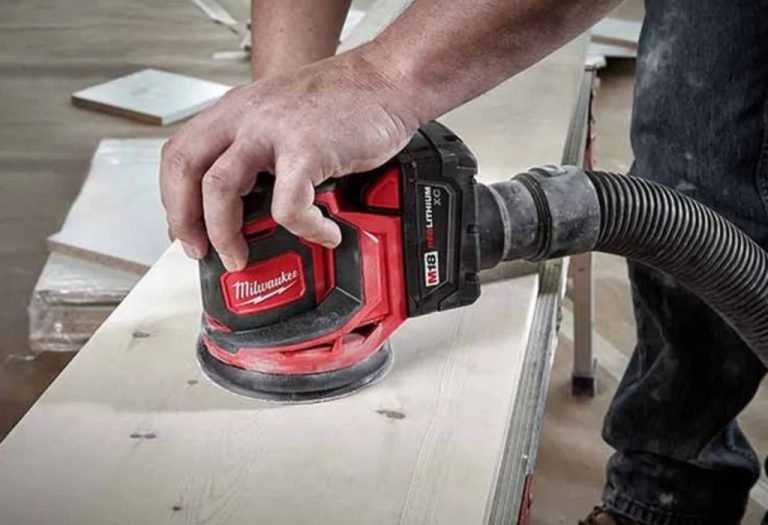
Power Source Considerations
- Cordless/Battery-Powered: Offers maximum portability and convenience, no hoses or compressors. Great for small to medium-sized rooms.
- Pneumatic (Air Compressor): Requires an air compressor and hose. These are often more powerful and can sustain longer periods of use without overheating. Great for larger projects or continuous work.
Here’s a quick reference for common nail gun types:
| Nail Gun Type | Nail Gauge | Ideal Use for Baseboards |
|---|---|---|
| Brad Nailer | 18-Gauge | Recommended! Perfect balance of holding power and minimal hole size. |
| Finish Nailer | 15 or 16-Gauge | Acceptable, but larger holes. Good for thicker baseboards or extra hold. |
| Pin Nailer | 23-Gauge | Not enough primary holding power. Use for delicate trim or holding with glue. |
Safety First: Essential Precautions

Before you even think about loading nails or pulling the trigger, safety must be your absolute priority. Nail guns are powerful tools, and respecting them is key to a smooth, injury-free project when you use a nail gun for baseboards.
Personal Protective Equipment (PPE)
- Safety Glasses: Always, always wear safety glasses. Nails can ricochet, and wood chips can fly.
- Hearing Protection: Nail guns can be loud, especially pneumatic ones. Earplugs or earmuffs protect your hearing.
- Gloves: Protect your hands from splinters and minor abrasions.
Tool Handling and Awareness
- Read the Manual: Every nail gun is slightly different. Understand your specific tool’s features, safety mechanisms, and operation.
- Keep Fingers Clear: Never place your hand near the nose of the gun or in the path of the nail.
- Disengage When Not in Use: Disconnect the air hose or remove the battery when loading nails, clearing jams, or taking a break.
- Awareness of Surroundings: Be mindful of others in the room and keep pets and children away from your work area.
- Test Firing: Before nailing into your baseboards, do a test fire into a scrap piece of wood to ensure proper operation and nail depth.
Prepping Your Baseboards and Walls
Preparation is half the battle when learning how to use a nail gun for baseboards. A little planning here saves a lot of headaches later.
Measure and Cut Precisely
Measure each wall segment carefully, remembering to cut inside corners at a 45-degree angle pointing inwards, and outside corners at a 45-degree angle pointing outwards. A miter saw is invaluable for accurate, clean cuts. Always measure twice, cut once!
Locate Wall Studs
This is super important! Nails hold best when driven into studs. Use a stud finder to locate studs along your walls and mark their positions lightly with a pencil. Aim to hit these marks as you nail. If you can’t hit a stud, nailing into the top plate of the wall or at an angle (toe-nailing) can provide some hold, but studs are ideal.
Dry-Fit Your Baseboards
Before you commit to nailing, always dry-fit each piece. Ensure all cuts are flush, corners meet perfectly, and the baseboard sits flat against the wall. Adjust cuts as needed until everything fits snugly.
The Nailing Process: How to Use Your Nail Gun for Baseboards
Okay, all prepped and ready! This is where the magic happens. Let’s get those baseboards attached securely and beautifully.
Loading the Nail Gun
With the nail gun disconnected from power (battery removed or air hose detached), open the magazine and load a strip of nails according to your tool’s instructions. Ensure the nails are the correct size and type for your gun. Close the magazine securely.
Setting Nail Depth
Most nail guns have an adjustable depth setting. You want the nail head to be slightly below the surface of the baseboard, creating a small dimple for wood filler. Test this on a scrap piece of wood. Adjust the depth until you achieve a consistent, slightly countersunk nail head.
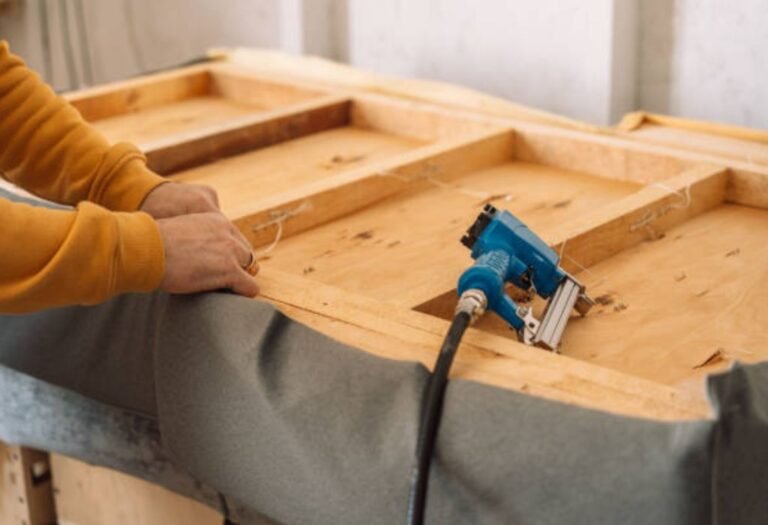
Positioning and Firing
- Place the baseboard firmly against the wall and floor.
- Position the nail gun’s nose against the baseboard where you want to nail.
- Apply firm, even pressure on the tool against the baseboard and wall. This activates the safety mechanism (contact trip).
- Pull the trigger to fire the nail. Hold the gun steady to prevent kickback.
Nailing Pattern and Placement
For optimal hold and appearance:
- Horizontal Spacing: Place nails every 12-16 inches along the length of the baseboard, aiming for studs whenever possible.
- Vertical Placement: For standard baseboards (3-5 inches tall), nail in two spots:
- One nail about 1/2 inch from the top edge, angled slightly downwards into the stud. This secures it to the wall framing.
- One nail about 1/2 inch from the bottom edge, angled slightly downwards into the sole plate or floor joist. This secures it to the floor.
- Corners and Ends: Add extra nails near inside and outside corners, and at the ends of each baseboard piece, to ensure they remain tight.
Finishing Touches and Troubleshooting
You’re almost there! Once all your baseboards are nailed, a few final steps will give your project that professional, polished look.
Countersinking and Filling Nail Holes
Even with the best depth setting, you might find a few nail heads that aren’t quite countersunk enough. Use a nail set and a hammer to gently tap them just below the surface. Then, use a good quality wood filler to fill all the small nail holes. Apply the filler, let it dry, and then lightly sand it smooth.
Caulking and Painting
Apply a thin bead of paintable caulk along the top edge of the baseboard where it meets the wall, and along any gaps at inside/outside corners. This seals gaps and creates a seamless look. Once the caulk is dry, you can paint your baseboards to match your trim or wall color.
Common Issues and Quick Fixes
- Nail Not Driving Fully: Check your air pressure (if pneumatic) or battery charge (if cordless). Also, ensure your depth setting is correct and you’re applying enough pressure to the gun.
- Nails Bending/Ricocheting: This often happens if you hit something hard (like metal or a knot in the wood) or if the nail is too long for the material. Adjust your aim or nail length.
- Jammed Nails: Disconnect power, open the magazine, and carefully clear the jammed nail according to your tool’s manual. Never force it.
Learning how to use a nail gun for baseboards doesn’t have to be intimidating. With the right preparation, tools, and a little practice, you’ll be zipping through your trim projects like a seasoned pro.
And there you have it! From choosing the perfect tool to those satisfying final touches, you now have a comprehensive guide on how to use a nail gun for baseboards. It might seem like a lot to take in, but trust me, once you get started, it’s incredibly intuitive. The first time you hear that satisfying “thwack” as a nail zips into place, you’ll feel an immense sense of accomplishment.
Don’t be afraid to take your time, practice on scrap wood, and double-check your measurements. DIY home improvement is all about learning and growing, and mastering a tool like a nail gun for baseboards is a fantastic step. So grab your gear, put on your safety glasses, and transform your home with beautiful, perfectly installed baseboards. You’ve got this!
Frequently Asked Questions
What type of nail gun should I use for installing baseboards?
A finish nailer (15- or 16-gauge) or a brad nailer (18-gauge) is ideal for baseboards. Finish nailers provide a stronger hold, while brad nailers leave smaller holes, both suitable for trim work.
What size nails are best when using a nail gun for baseboards?
For most baseboards, 1.5-inch to 2-inch nails are recommended. Ensure the nails are long enough to penetrate the baseboard and firmly anchor into the wall studs or sole plate behind the drywall.
What are the essential safety tips for using a nail gun when installing baseboards?
Always wear safety glasses and hearing protection when operating a nail gun. Keep your non-nailing hand away from the firing area, and never point the tool at yourself or others.
How should I properly position and angle the nail gun when attaching baseboards?
Hold the nail gun firmly and flush against the baseboard surface. Aim for the top and bottom edges, angling nails slightly towards each other (known as “toenailing”) for a stronger grip, especially into studs.
How can I avoid splitting the baseboards when using my nail gun?
To prevent splitting, particularly on thinner baseboards or near edges, use an 18-gauge brad nailer if strength isn’t a primary concern. You can also slightly angle your shots and avoid nailing too close to the very ends of the baseboard pieces.
What’s the process for finishing the baseboards after using a nail gun to install them?
After installation, use wood putty or spackle to fill all visible nail holes for a smooth finish. Once the filler dries, lightly sand, then caulk any gaps along the top edge and at corners before painting your baseboards.

I’m Michael R. Turner, the founder, lead writer, and passionate DIY enthusiast behind 101diytools.com. With years of hands-on experience in home improvement and power tools, I built this platform to share practical tips, in-depth guides, and honest reviews to help DIYers of all skill levels tackle projects with confidence and the right tools.