How to Use a Power Sander to Remove Paint Safely
Stripping old paint from furniture, walls, or wooden decks often feels like a battle between patience and persistence. The flakes cling stubbornly, and even after hours of scraping, a dull residue remains that refuses to smooth out.
That’s where a power sander becomes a game-changer—transforming an exhausting, manual process into an efficient, professional-grade finish. This tool not only saves time but also ensures a cleaner, smoother surface for repainting or refinishing.
According to a study by Home Improvement Research Institute, over 68% of DIY renovators use power sanders to remove paint and prepare surfaces faster and more evenly compared to manual sanding (source). The consistent rotation and speed of a power sander make it ideal for removing thick, layered coatings from wood, metal, and even concrete.
Yet, many beginners make costly mistakes—using the wrong grit, pressing too hard, or skipping crucial safety precautions. Each misstep can lead to uneven surfaces, damaged material, or hazardous airborne dust. Learning how to use a power sander to remove paint safely is not just about speed—it’s about precision, technique, and health protection.
In this guide, you’ll discover exactly how to choose the right sander, prepare your workspace, and follow a step-by-step process that guarantees professional results. By the end, you’ll know how to transform tired, paint-covered surfaces into clean, ready-to-finish materials—without the frustration or the mess.
Understanding the Basics of How to Use a Power Sander to Remove Paint
A power sander is one of the most versatile tools for surface restoration, capable of removing paint layers that manual scraping could take hours to clear. Its motor-driven motion delivers consistent abrasion, allowing for precise control and smooth, even results.
The core principle is simple — the sander’s abrasive pad moves rapidly across the surface, stripping paint through friction while maintaining a uniform texture. Unlike traditional scraping, it doesn’t gouge wood or leave uneven patches when used correctly.
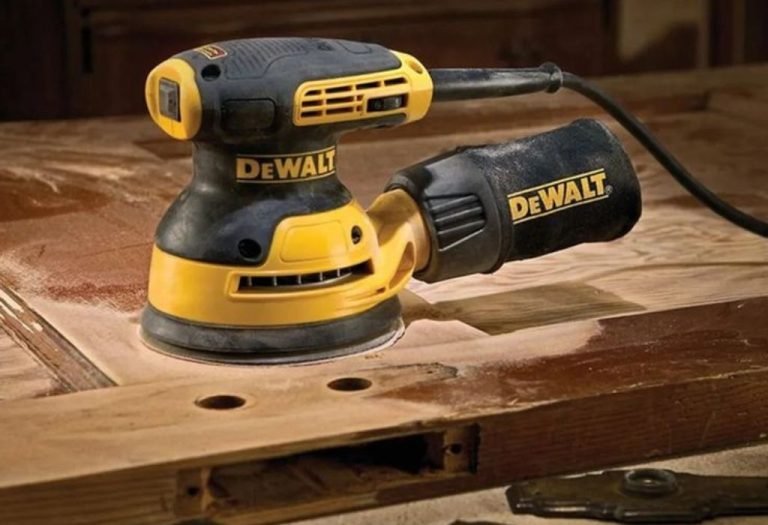
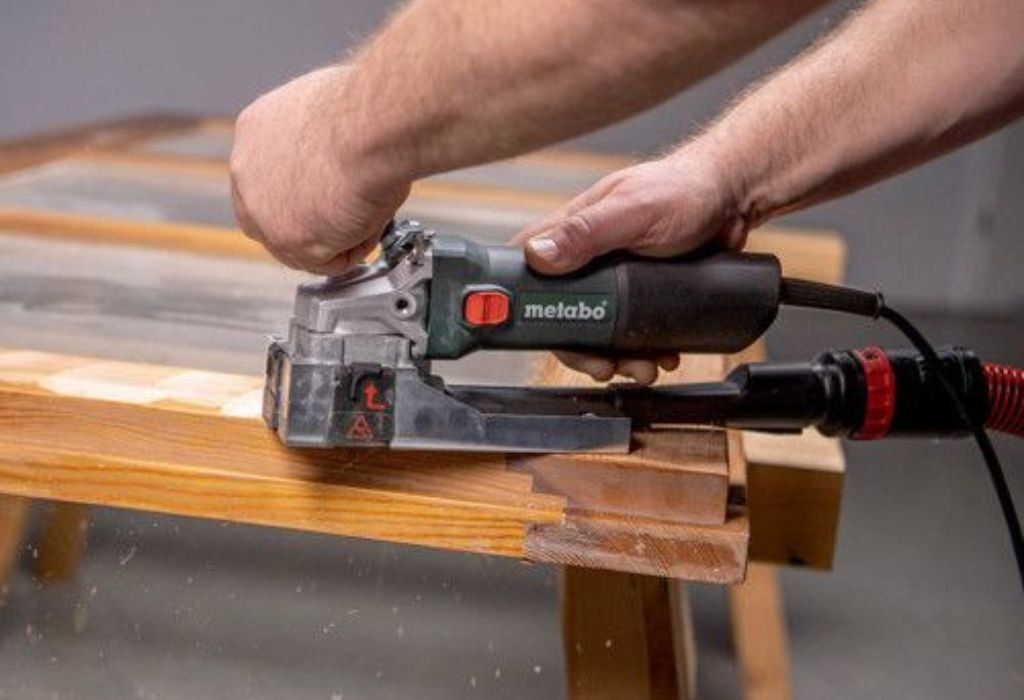
Different sander types serve specific purposes. A random orbital sander works best for flat surfaces, while a belt sander tackles larger, tougher paint layers. Smaller detail or corner sanders handle edges and tight spots effectively. Choosing the right one ensures both safety and efficiency.
Before any sanding begins, assessing the surface type is essential. Old furniture, decks, and drywall require different grits and pressure settings to prevent over-sanding or surface damage. This understanding forms the foundation for using a power sander effectively.
What is a power sander?
A power sander is an electric or pneumatic tool that uses abrasive pads or belts to smooth or remove paint and coatings from surfaces.
Why remove paint using a power sander rather than scraping?
Because a sander provides even removal, minimizes manual effort, and prevents gouging or uneven patches that scraping often causes.
What types of surfaces can be stripped with a power sander?
Wood, metal, and concrete surfaces can all be stripped using the right sanding pad and grit combination.
What paint or coatings are best suited for sander removal?
Latex, acrylic, and enamel paints are typically removable with sanders, though multiple thick layers may require coarse grit to start.
When should you avoid using a power sander for paint removal?
Avoid sanding if the paint might contain lead or if the surface features intricate carvings where abrasives can cause damage.
Preparing the Surface and Choosing the Right Equipment
Before sanding begins, proper preparation is the key to a safe and effective process. Start by inspecting the painted surface for cracks, chips, or signs of lead-based paint. If lead is suspected, special precautions must be taken to avoid health hazards.
Next, gather the right equipment. A random orbital sander is best for general use, while a belt sander suits heavy-duty removal. For narrow or detailed areas, a detail sander or oscillating tool works well.
Always attach the correct grit sandpaper. Begin with a coarse grit like 60–80 to strip paint quickly, then switch to a finer grit like 120–150 for smoothing. Sanding too aggressively can damage the surface underneath.
Protective gear is also essential. Use a respirator mask, safety goggles, and hearing protection. A vacuum attachment or HEPA filter helps control dust, keeping both the air and workspace clean.
Which type of power sander is best for removing paint?
A random orbital sander works for most flat surfaces, while a belt sander is ideal for large, heavily coated areas.
What grit sandpaper should you start with for paint removal?
Start with 60–80 grit for removing thick layers, then finish with 120–150 grit to smooth the surface.
How should you secure the workpiece before sanding?
Clamp the material firmly or stabilize it to prevent movement during sanding.
What dust extraction or vacuum systems are required?
Use a built-in dust port or connect a vacuum with a HEPA filter to capture fine particles.
What personal protective equipment (PPE) is essential?
Wear a respirator mask, safety goggles, gloves, and hearing protection to avoid injury and dust inhalation.
Step-by-Step Process: How to Use a Power Sander to Remove Paint
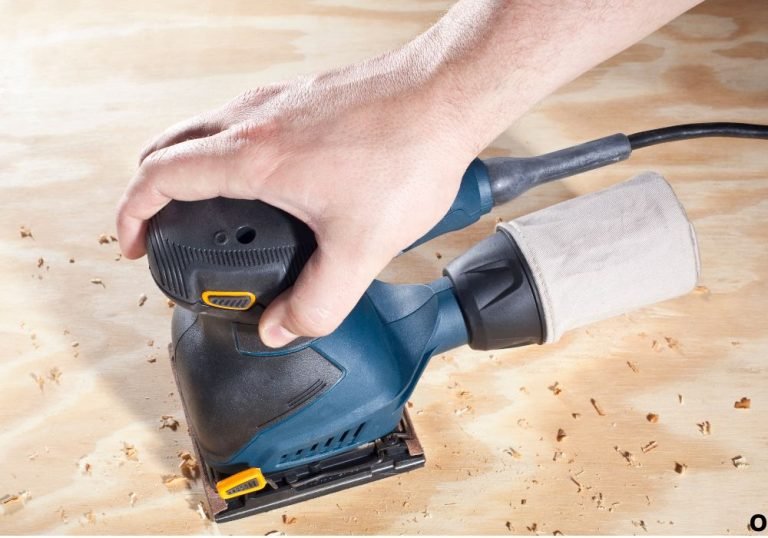
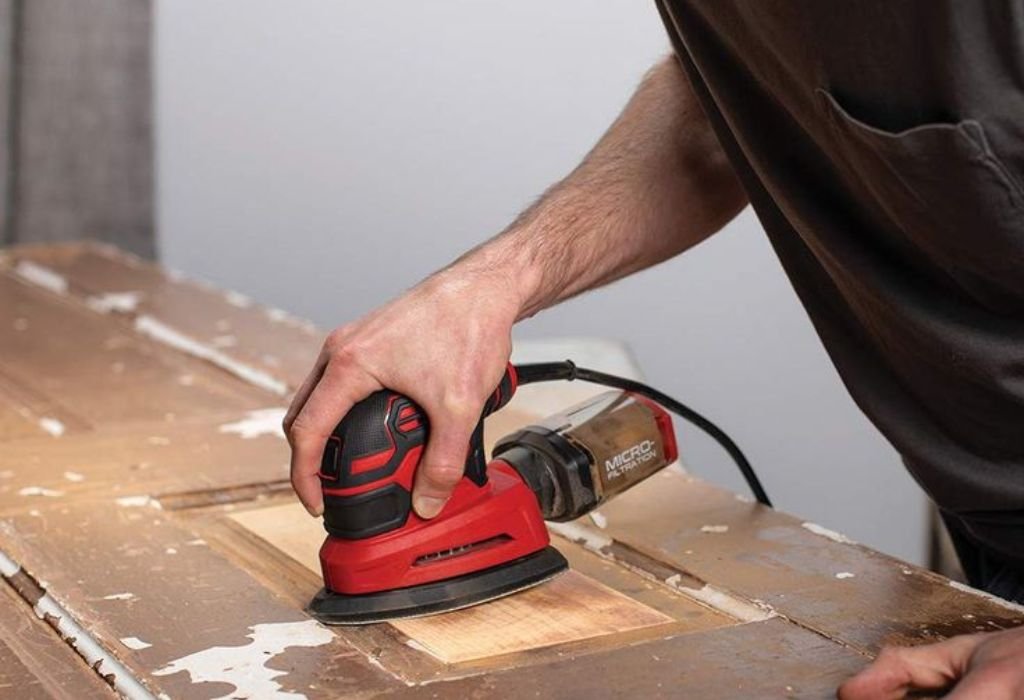
The process starts by positioning the sander flat on the surface before switching it on. Moving the tool in smooth, overlapping strokes ensures even removal. Avoid pressing down; let the machine’s weight do the work.
Work slowly from one section to another. Begin with coarse grit to strip away thick layers, then transition to medium or fine grit for final smoothing. Always sand with the grain of the material when working with wood.
If paint layers are too thick, use a paint scraper or heat gun to remove the top layer before sanding. This prevents clogging the sandpaper and overheating the tool.
After sanding, inspect the surface for remaining paint or rough patches. Wipe with a damp cloth to remove dust before applying primer or new paint.
What speed setting should be used on the power sander?
Medium to high speed works for most surfaces; adjust lower for delicate materials.
How do you remove the bulk of the paint safely?
Use coarse grit sandpaper and move the sander in slow, overlapping strokes.
How do you finish the surface for re-coating after removal?
Switch to a finer grit and sand lightly to smooth the surface before applying primer.
How do you avoid gouging or uneven surfaces when sanding?
Keep the sander flat and avoid pressing down too hard on one spot.
What cleanup steps should follow sanding to remove dust and debris?
Vacuum the area and wipe down the surface with a damp microfiber cloth.
Safety Considerations & Handling Hazardous Paint (e.g., Lead Paint)
Safety is crucial when sanding old paint, especially when the paint might contain lead. According to the U.S. Environmental Protection Agency, lead exposure during renovation is one of the top five hazards in older homes (source).
Always test old paint before sanding. If lead is detected, use wet-sanding methods or hire a certified lead-abatement professional. Never use dry sanding or standard vacuums, as they spread toxic dust.
Ensure proper ventilation by opening windows or using exhaust fans. Avoid working in confined spaces without an air filter system.
Contain dust by sealing off the area with plastic sheeting and cleaning surfaces with a HEPA vacuum afterward.
How do you know if old paint may contain lead?
Test kits from hardware stores or certified inspectors can identify lead content quickly.
Why is dry sanding old painted surfaces risky?
Dry sanding releases fine dust particles that may contain harmful lead or toxins.
What containment and cleanup methods are required for lead paint removal?
Use plastic sheeting, HEPA vacuums, and wipe-down methods with damp cloths.
Can a regular vacuum be used for dust cleanup?
No, only vacuums with HEPA filters should be used to capture fine particles safely.
When should a professional approach be considered for paint removal?
If paint tests positive for lead or if large-scale renovation is involved, hire certified professionals.
Common Mistakes and Troubleshooting When Using a Power Sander to Remove Paint
Many users struggle with common sanding mistakes that cause uneven finishes or tool wear. One frequent issue is using grit that’s too fine, which polishes the paint instead of removing it.
Another mistake is applying too much pressure, which creates swirl marks or gouges in the material. Let the tool’s motion, not force, do the work.
Ignoring dust extraction leads to clogged sandpaper and overheating. Always clean pads frequently and maintain airflow.
Skipping the inspection step can also leave patches of paint that later show through new coats.
What happens if you use too fine a grit at the start?
The sander will smooth the paint surface instead of removing it efficiently.
How do you avoid creating swirl marks or gouges when sanding?
Move the sander evenly and avoid staying too long on one spot.
What tool or technique issues make paint removal slower?
Dull sandpaper, clogged discs, or incorrect grit selection reduce effectiveness.
Why is ignoring dust extraction a problem?
Dust buildup causes overheating and reduces visibility and performance.
How do you know when you’ve removed enough paint and can stop sanding?
When the underlying surface shows uniformly without color patches or glossy residue.
After-Removal: Surface Finishing, Priming, Re-coating & Maintenance
Once the paint is fully removed, proper finishing determines how long the new coating will last. Start by cleaning all dust with a vacuum or tack cloth.
Inspect the surface carefully for scratches, dents, or rough spots, then sand lightly with fine-grit paper to smooth imperfections.
Apply a suitable primer or sealer to prepare the material for repainting. For wood, a high-quality bonding primer helps seal pores and ensures even paint adhesion.
Always maintain your power sander after each use by cleaning dust ports, checking pads, and storing it in a dry place. Proper maintenance extends tool life and ensures consistent performance.
What is the ideal condition of the surface before repainting?
Smooth, dust-free, and evenly textured without leftover paint or scratches.
Should you sand again after paint removal?
Yes, a light pass with fine grit ensures an even finish before priming.
What primer or undercoat is recommended after sanding?
Use a bonding primer suitable for the surface material, such as wood or metal.
How should the power sander tool be cleaned and stored?
Clean all vents and pads with compressed air and store in a cool, dry place.
What ongoing maintenance prevents future problems with the painted surface?
Regular cleaning, gentle washing, and proper ventilation prevent peeling or bubbling.
When and Why a Power Sander Might Not Be the Best Choice
Although power sanders are effective, they aren’t ideal for every situation. Intricate furniture with carved details or antique pieces may require chemical strippers instead.
In some cases, heat guns or infrared paint removers work better for thick, multiple paint layers. Sanding may also be risky on delicate veneers or thin materials.
Paints containing lead or hazardous compounds should never be dry-sanded without certified containment methods.
Why would a chemical stripper be a better option than sanding?
Chemical strippers dissolve paint without damaging delicate materials or detailed carvings.
When is heat stripping preferable to a power sander?
For thick, layered paint or hard surfaces like metal where sanding is less effective.
Can a power sander damage intricate woodwork?
Yes, aggressive sanding can flatten details or round off edges on fine carvings.
What about removing paint from metal or concrete surfaces?
Use sanders with appropriate pads designed for those materials or switch to mechanical grinders.
What signs tell you to halt sanding and reconsider method?
If you notice uneven removal, burning smell, or material thinning, stop immediately.
Conclusion
Knowing how to use a power sander to remove paint safely is the difference between a flawless restoration and a costly mistake. With the right preparation, equipment, and technique, you can strip old coatings efficiently while keeping surfaces smooth and damage-free.
Always test for lead, use protective gear, and work methodically. Once mastered, this simple yet powerful tool can help transform outdated surfaces into clean, ready-to-paint finishes—bringing new life to wood, metal, or walls.

I’m Michael R. Turner, the founder, lead writer, and passionate DIY enthusiast behind 101diytools.com. With years of hands-on experience in home improvement and power tools, I built this platform to share practical tips, in-depth guides, and honest reviews to help DIYers of all skill levels tackle projects with confidence and the right tools.