How to Cut a Taper with a Circular Saw Accurately
Every woodworker eventually faces the challenge of cutting a taper—a gradual, angled cut that narrows a piece of wood from one end to another. Whether you’re shaping table legs, creating trim, or designing furniture, tapers add elegance and proportion. The best part is, you can cut them easily with a circular saw when you know the right method.
A taper might look complex, but it’s simply a straight cut made at an angle across the board’s length. The goal is precision—achieving a clean, consistent angle that blends seamlessly with the rest of your design. Many assume this requires a table saw and taper jig, but a circular saw with the right guide setup delivers equally professional results.
Cutting a taper safely and accurately requires proper layout, stable clamping, and guided movement. Each step matters, from marking your reference line to maintaining smooth saw motion. With careful preparation, even beginners can produce flawless tapers using basic tools.
In this guide, you’ll learn how to cut a taper with a circular saw from start to finish—what tools to use, how to mark, guide, and cut, plus expert safety and finishing tips for perfect results every time.
What Is a Taper Cut
A taper cut is a gradual reduction in width along the length of a board or post. Unlike straight crosscuts or rip cuts, it creates an angled profile that’s thinner at one end and thicker at the other. The slope can be subtle or steep depending on your project’s needs.
Taper cuts are common in furniture making, especially for table or chair legs. They reduce visual bulk and give furniture a refined, handcrafted look. You can also use tapers for trim, moldings, or even acoustic panels that require angled edges.
The taper’s key characteristic is consistency. Both sides of a table leg, for example, must taper equally to maintain balance. Circular saws are perfect for these cuts because of their mobility and ability to follow guide lines precisely when properly set up.
Understanding the geometry of a taper helps you plan your cut before touching the saw. Accuracy starts with layout and ends with smooth, controlled cutting.
Tools and Materials You’ll Need
Cutting a taper doesn’t require expensive tools, but precision setup is crucial. Gather everything you’ll need before you start to ensure steady workflow and safety.
You’ll need:
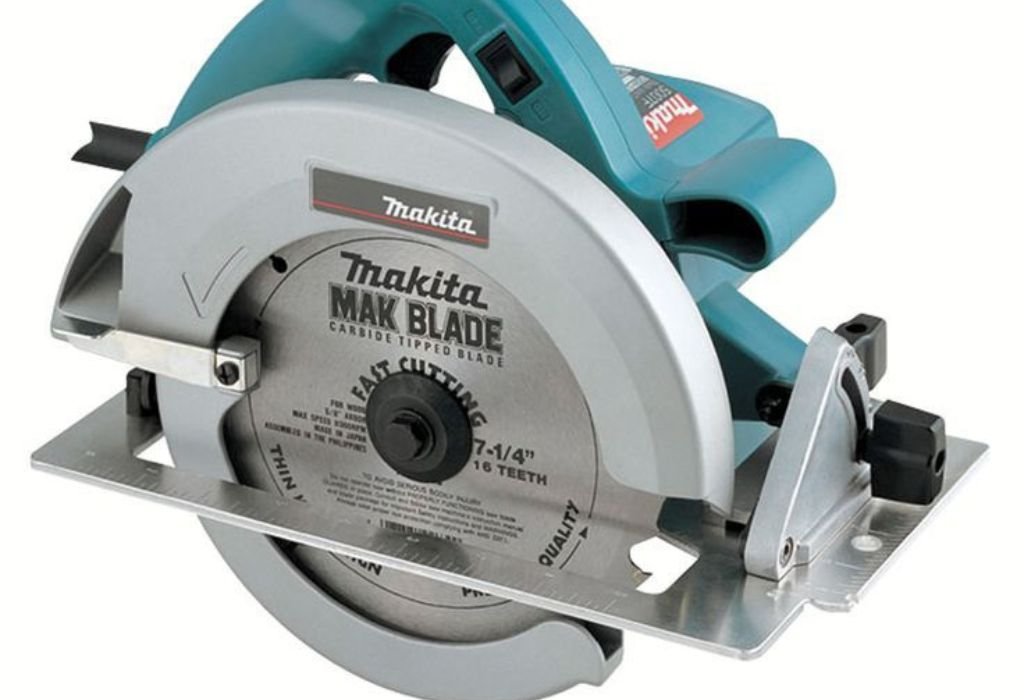
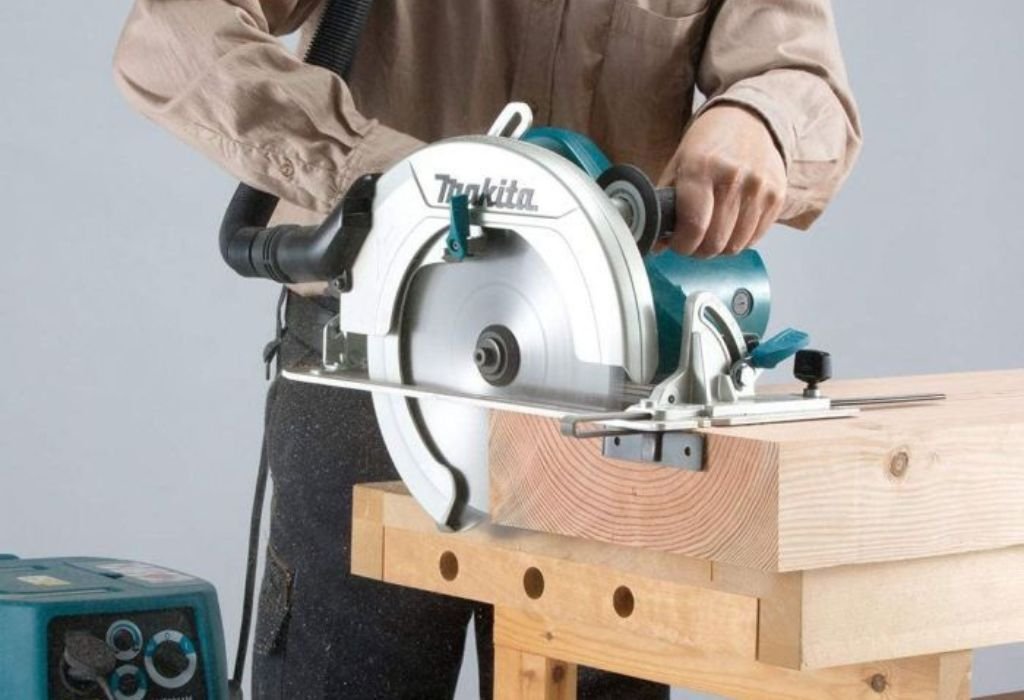
- A circular saw (with sharp 40-tooth or higher blade)
- Clamps for securing the workpiece
- Measuring tape and combination square
- Straight edge or long cutting guide
- Pencil or marking knife
- Workbench or sawhorses
- Safety glasses, hearing protection, and dust mask
Optional but useful tools:
- Speed square for aligning your saw
- Digital protractor for verifying angles
- Sandpaper or hand plane for smoothing edges
Always inspect your saw blade for dullness or buildup before cutting. A clean, sharp blade minimizes tear-out and keeps your cutline smooth and even.
Can I cut a taper without a jig?
Yes, using a guide rail or clamped straight edge works just as well.
What kind of blade should I use?
A fine-tooth blade designed for finish cuts provides the smoothest edge.
Is plywood okay for practice?
Yes, it’s perfect for test cuts and checking accuracy.
Should I mark both sides of the taper?
Yes, to ensure visibility from any angle while cutting.
Can I use a cordless saw?
Absolutely, as long as it maintains consistent speed and power through the cut.
Planning the Taper Cut
Planning determines how clean and accurate your taper turns out. Start by deciding where the taper begins and ends. For example, if you’re tapering a table leg, mark the point where the narrowing should start and the final width at the end.
Use a straight edge to connect these two points. This diagonal line represents your cut path. Extend it slightly past the board ends to give the saw a smooth start and exit.
If cutting multiple tapers, use the first board as a template. Trace its line onto others to ensure identical results. Consistency is critical when pieces must match in pairs or sets.
Double-check all measurements before clamping the board. A single misalignment can ruin symmetry across all your pieces. Precision begins with layout.
Marking and Guiding the Cut
After marking your taper line, you’ll need a way to guide the circular saw accurately. Freehand cutting leads to wobbling and uneven slopes. A straight edge or homemade jig ensures a straight, controlled path.
Position the straight edge parallel to your cut line but offset by the distance between the saw blade and the saw’s base plate edge. Measure this offset carefully—each circular saw differs slightly. Mark both start and end points for consistent spacing.
Clamp the straight edge securely at both ends. Use sturdy clamps that won’t shift under vibration. Recheck alignment by placing your saw against the guide before turning it on.
If cutting multiple tapers, consider building a reusable jig by screwing scrap wood strips onto a baseboard. This creates a sliding channel that holds your workpiece in place and guides your saw accurately every time.
Adjusting the Saw and Blade Depth
Set your circular saw’s blade depth so it extends about ⅛ inch below the bottom of the board. Too shallow, and you risk incomplete cuts; too deep, and you’ll strain the motor and create rough edges.
Keep the blade square to the shoe—no bevel is required for a straight taper. Check alignment with a speed square or small ruler before tightening the adjustment knob.
Ensure your saw’s base plate glides smoothly along the guide edge. Any drag or resistance may shift your cut line off course. Lubricate the bottom of the plate with a little paste wax if necessary for smoother movement.
Before cutting, power up the saw briefly to confirm everything runs smoothly and without vibration.
Do I need a bevel angle for taper cuts?
No, the blade should remain square to the surface for straight tapers.
Can I adjust blade depth mid-cut?
Never—set depth beforehand to avoid uneven cuts or kickback.
Should I use a guide rail system?
Yes, it provides maximum precision and repeatability.
Can the saw base scratch my workpiece?
Yes, place masking tape along the guide path or wax the shoe for protection.
What happens if the blade is too deep?
It can tear the fibers and cause excessive saw marks.
Clamping the Workpiece Securely
Proper clamping is the foundation of safety and accuracy. A shifting board can ruin your taper instantly or cause kickback. Always work on a stable surface like a bench or pair of sawhorses.
Use two or more clamps to secure the board firmly. Position them at the ends where the saw won’t pass through. If the board is long, add extra clamps along the middle to prevent flexing.
Avoid clamping too close to your cut line. This can interfere with the saw base and restrict motion. Instead, secure the guide and workpiece independently if possible.
Ensure there’s full support under the entire board. Overhanging sections can pinch the blade when the cut nears completion. Stability prevents binding and ensures smooth operation.
Making the Taper Cut
With your setup complete, it’s time to make the cut. Start the saw and let it reach full speed before entering the wood. Keep firm, even pressure on the handle, and follow the guide edge smoothly from start to finish.
Maintain a steady pace—neither forcing the saw forward nor letting it stall. Listen to the motor’s sound; a smooth, consistent tone indicates balanced cutting speed.
Keep both hands on the saw at all times. Your guiding hand should apply light pressure against the straight edge, while your leading hand maintains forward motion.
When you reach the end of the board, continue pushing slightly beyond the cut to ensure a clean exit. Allow the blade to stop completely before setting the saw down.
Should I cut the taper in one pass?
Yes, one continuous cut produces the cleanest edge and consistent angle.
What if my saw wobbles during cutting?
Slow down and recheck guide pressure—uneven tension causes wandering cuts.
Can I cut from either side of the board?
Yes, but always position yourself so the offcut falls safely away from you.
What if the saw binds mid-cut?
Stop immediately, remove it carefully, and re-clamp for a fresh pass.
Can I use both hands on the handle?
Yes, maintain full control at all times to prevent kickback.
Smoothing and Finishing the Edge
After cutting, inspect the taper for rough spots or blade marks. Minor imperfections are normal and can be cleaned up easily.
Use a sanding block or orbital sander to smooth the cut edge. Start with 120-grit sandpaper, then move to 180-grit for a polished surface. Always sand in the grain direction to avoid scratches.
If you prefer, use a sharp hand plane to shave off thin ridges left by the saw blade. This gives a refined, professional finish perfect for furniture or visible joints.
Finally, check your taper against your plans. Measure both ends to confirm consistent slope and symmetry across all matching pieces.
Cutting Multiple Matching Tapers
For furniture legs or symmetrical parts, you’ll often need identical tapers. The easiest method is to use your first cut board as a template. Align it over the next piece, trace the taper line, and use the same guide setup for cutting.
Alternatively, clamp both boards together and cut them simultaneously. This ensures perfect uniformity, though it requires a strong saw and sharp blade. Keep the saw speed steady and cut slowly to prevent overheating.
If you build a taper jig, simply slide each board into the same position for every cut. Marking stop points on the jig ensures repeatable accuracy.
Consistency across all pieces enhances balance and aesthetics in your final project.
Common Mistakes to Avoid
Even experienced woodworkers make small errors when cutting tapers. The most common mistake is misaligning the guide edge, leading to uneven slopes or off-angle cuts. Always double-check measurements before clamping.
Another issue is rushing the cut. Forcing the saw too fast increases blade deflection, causing wavy edges. Maintain a steady, moderate pace throughout the cut.
Not supporting the offcut piece is also dangerous. It can pinch the blade as the cut finishes, creating sudden kickback. Always allow free fall for the offcut side.
Finally, skipping the sanding step can ruin precision. Smooth edges ensure perfect fit and appearance in furniture projects.
Why is my taper uneven?
Your saw or guide likely shifted mid-cut—check clamping and pressure.
What causes burn marks on wood?
A dull blade or slow feed rate overheats the surface.
How do I prevent splintering?
Use painter’s tape along the cut line or a fine-tooth blade.
Can I fix an incorrect taper angle?
Yes, re-clamp and trim lightly with the same guide setup.
Should I cut with the good side up or down?
For circular saws, the good side should face down to avoid tear-out.
Safety Tips for Taper Cuts
Circular saws are powerful and can cause serious injuries if mishandled. Always follow basic safety procedures before and during cutting.
Wear safety glasses, hearing protection, and a dust mask. Remove loose clothing or jewelry that could catch on the saw. Keep the cord clear of your cutting path.
Clamp everything securely and ensure your footing is stable. Never reach across the blade or attempt to move the workpiece mid-cut.
If your saw begins to vibrate excessively, stop immediately and inspect the blade or alignment. A warped blade or loose arbor nut can cause dangerous kickback.
Respecting safety rules not only protects you but also improves precision and control.
Applications of Taper Cuts
Taper cuts appear in countless woodworking projects. Furniture makers use them to create stylish, tapered table legs or cabinet supports. They provide a lighter, more refined look without sacrificing strength.
Woodworkers also use tapers for decorative panels, door trim, and geometric designs. In joinery, tapered components improve stability and alignment.
Circular saw tapers are especially useful on large workpieces that won’t fit on a table saw. The mobility of a circular saw allows you to make accurate angled cuts on-site or in small workshops.
Once you master the technique, taper cutting becomes a versatile skill for all kinds of projects.
Maintenance and Blade Care
A dull or dirty saw blade is the enemy of smooth tapers. Regularly inspect your blade for resin buildup, chipped teeth, or wobble. Cleaning with a blade-safe solution restores cutting performance.
Lubricate the saw’s moving parts periodically to reduce friction. Check the base plate alignment and tighten screws if necessary. A flat, stable base ensures accuracy in angled cuts.
When storing your saw, keep it covered to protect from dust and moisture. Always unplug or remove the battery when not in use.
Proper maintenance keeps your circular saw reliable and your taper cuts consistently sharp.
Conclusion
Learning how to cut a taper with a circular saw opens new creative possibilities in woodworking. With the right setup, a circular saw delivers the same precision as larger stationary tools. The key lies in careful marking, stable clamping, and smooth, guided motion.
A taper adds style and proportion to any project—from sleek furniture legs to elegant trim. Once you understand the process, it becomes one of the most satisfying cuts to make.
Always prioritize safety, take your time, and double-check your alignment before cutting. After a few practice runs, you’ll achieve clean, accurate tapers with ease.
The beauty of woodworking lies in mastering simple techniques like this. With patience and precision, your circular saw becomes a versatile tool capable of producing professional-quality results every time.

I’m Michael R. Turner, the founder, lead writer, and passionate DIY enthusiast behind 101diytools.com. With years of hands-on experience in home improvement and power tools, I built this platform to share practical tips, in-depth guides, and honest reviews to help DIYers of all skill levels tackle projects with confidence and the right tools.