How to Cut a French Cleat with a Circular Saw Easily
Mounting heavy shelves, tool racks, or cabinets securely often comes down to one clever design—the French cleat. It’s a simple yet powerful woodworking joint that allows you to hang objects flat and remove them anytime without losing alignment. The best part is, you can make it with just a circular saw.
Many woodworkers assume that creating a French cleat requires a table saw, but a circular saw does the job just as well when handled properly. With the right technique and setup, you can achieve precise 45-degree cuts that create strong, interlocking cleats.
Whether you’re building a workshop storage wall, hanging kitchen cabinets, or crafting custom décor, mastering the circular saw method gives you flexibility and saves time. You’ll learn the exact steps, safety tips, and tricks professionals use for perfect results.
In this complete guide, we’ll walk through everything—from understanding how a French cleat works to step-by-step cutting instructions and installation methods. By the end, you’ll know exactly how to cut a French cleat with a circular saw confidently and safely.
What Is a French Cleat
A French cleat is a two-part interlocking system used to mount objects on walls. One piece attaches to the wall with the angled edge facing upward, while the matching piece mounts to the back of the object with the angle facing downward. The two lock together perfectly.
This design distributes weight evenly across the wall, making it ideal for hanging heavy shelves, cabinets, and workshop tool organizers. The 45-degree angle allows easy removal and repositioning without weakening the structure.
French cleats are usually made from plywood, hardwood, or MDF. Thicker material increases strength, especially for large or heavy items. Once installed, the joint is nearly invisible but incredibly secure.
Using a circular saw to cut the 45-degree bevel is efficient and precise if done carefully. You can produce professional results even without a table saw or miter saw.
Tools and Materials You’ll Need
Before you start cutting, gather all the necessary tools and safety gear. The right setup ensures accuracy and prevents accidents.
You’ll need:
- A circular saw with adjustable bevel angle
- Clamps for securing wood pieces
- Measuring tape and straight edge or speed square
- Pencil for marking lines
- Safety glasses and hearing protection
- Dust mask or respirator
- Workbench or sawhorses for stability
For materials, use ¾-inch plywood for most cleats. It’s strong enough for cabinets and workshop storage. Thinner material can flex or split under load.
Having a sharp, fine-tooth blade (at least 40 teeth) ensures clean cuts with minimal tear-out. Always double-check your blade angle before cutting to maintain precision.
What size wood is best for a French cleat?
¾-inch plywood or solid hardwood is ideal for strength and durability.
Can I use MDF for a French cleat?
Yes, but it’s weaker and may crumble if overloaded.
Is a fine-tooth blade necessary?
Yes, it provides smoother, splinter-free cuts.
Can a cordless circular saw handle thick plywood?
Yes, as long as the blade is sharp and powerful enough.
Should I wear gloves when cutting?
No, gloves can catch on moving blades—use push tools and clamps instead.
Understanding the 45-Degree Bevel
The 45-degree bevel is what makes a French cleat functional. When two beveled boards interlock, gravity naturally keeps them in place while allowing easy removal. The precise angle ensures a tight fit and even weight distribution.
A circular saw can cut this angle easily if its base plate tilts to 45 degrees. Adjusting the bevel angle changes the relationship between the blade and the workpiece, creating the slanted cut needed for cleats.
Accuracy is critical. Even a few degrees off can cause the cleats to fit loosely or fail under weight. Always test the angle on a scrap piece before cutting your final board.
Using a guide rail or clamped straight edge improves consistency. This setup keeps the saw aligned through the full cut, ensuring a uniform bevel.
Measuring and Marking Your Workpiece
Start by deciding the size of the French cleat you need. For most projects, a 4-inch-wide strip of ¾-inch plywood works perfectly. You’ll cut it diagonally to create two identical cleats from one board.
Measure and mark the board width carefully with a pencil and straight edge. Keep markings clear and visible. Mark the direction of your 45-degree cut to avoid confusion once the saw is tilted.
If you plan to make multiple cleats, mark them all at once for efficiency. Consistency across all pieces ensures even mounting later.
Position your cutting guide (like a straight edge or track) along the cut line, and clamp it firmly to the board. The saw should glide smoothly along this guide without deviation.
Adjusting the Circular Saw Bevel Angle
Most circular saws have an adjustable base plate that tilts up to 45 degrees. Loosen the bevel lever, tilt the base to the desired angle, and tighten it securely. Use the built-in scale or a digital angle gauge for accuracy.
Before cutting, check the angle by placing a scrap board beneath the blade and making a short test cut. Use a combination square to verify that the bevel is exactly 45 degrees. Adjust if necessary before proceeding.
Remember that bevel cutting changes the blade’s depth of cut. Increase blade depth slightly to ensure it passes completely through the material. Aim for about ⅛ inch of blade exposure below the board.
Once the saw is set, double-check all adjustments. A stable setup ensures clean, accurate, and safe cutting.
Why use 45 degrees for French cleats?
It provides the perfect balance of strength and easy removal.
Can I use a steeper angle?
You can, but 45 degrees is standard for balance and load support.
Do all circular saws have bevel adjustment?
Most do, but check your model before starting.
Should the bevel angle face inward or outward?
For safety, tilt the blade away from the guide rail to prevent kickback.
Can I use a miter saw instead?
Yes, but circular saws are more portable and versatile for long boards.
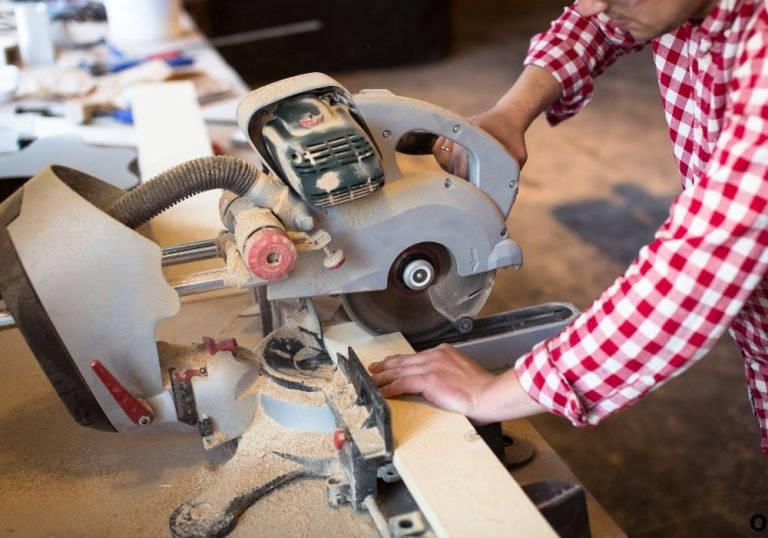
Cutting the French Cleat Safely
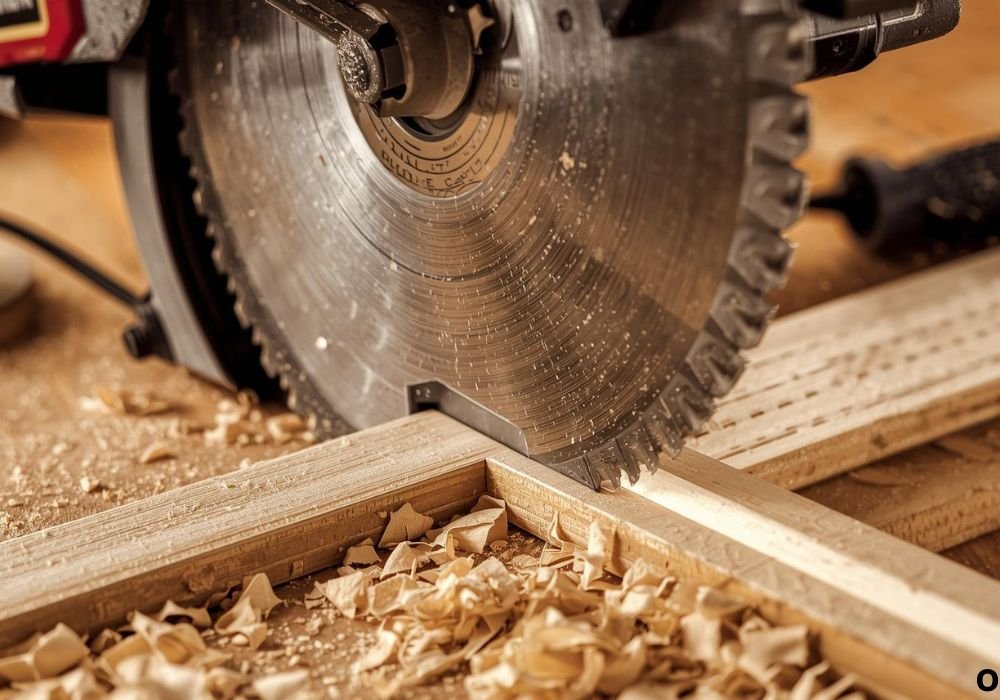
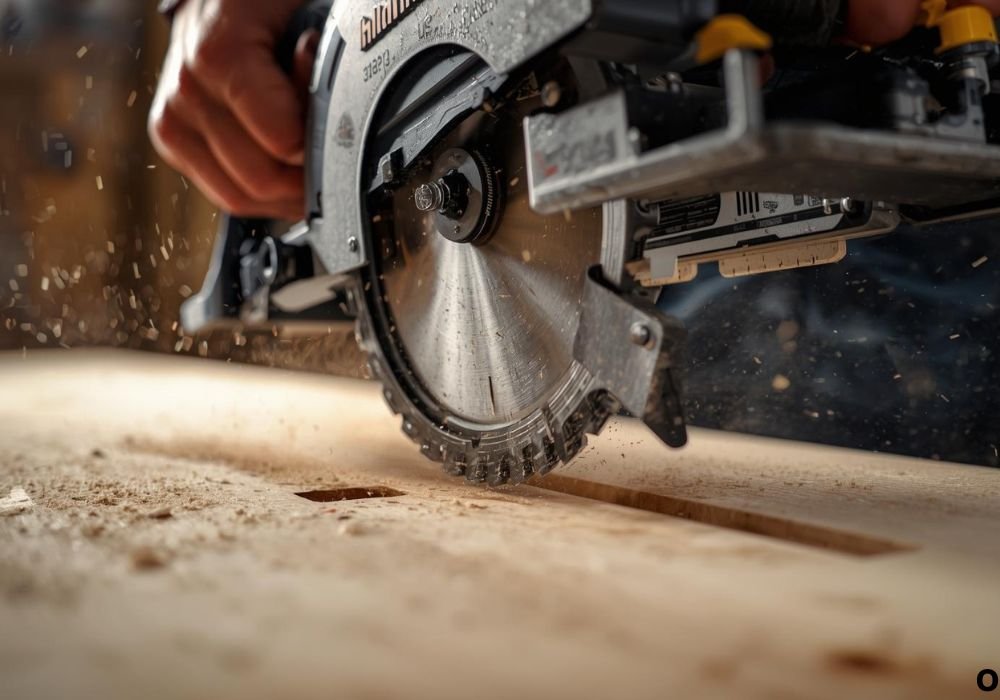
With your saw adjusted and board clamped, it’s time to make the cut. Stand firmly to one side of the saw path, never directly behind it. Hold the handle securely and let the blade reach full speed before entering the wood.
Guide the saw steadily along the marked line. Don’t force it—let the blade do the work. A smooth, continuous motion prevents binding and splintering.
Once finished, you’ll have two identical beveled strips. Each piece forms half of your French cleat system. One will attach to the wall, the other to the back of the object you plan to hang.
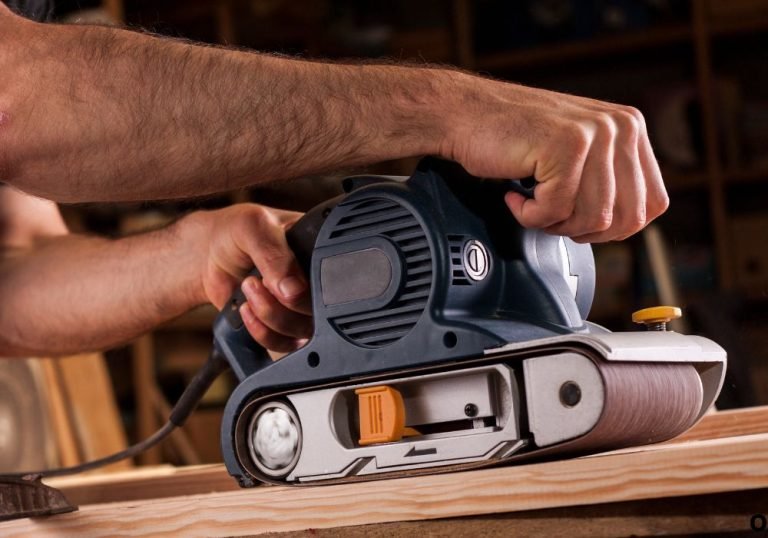
Inspect both edges for roughness. If needed, sand lightly to remove splinters or small imperfections. Never round off the bevel edge, as it needs to interlock tightly.
Checking Fit and Alignment
After cutting, place both cleat pieces together to test the fit. The bevels should align perfectly with no visible gaps. If they don’t, the saw angle may need minor adjustment.
Hold them together under light pressure. The joint should grip tightly and stay aligned without sliding apart easily. If it slips, check for sawdust or uneven cuts causing interference.
For wall installation, ensure the top cleat (mounted to the object) sits flat. The wall cleat should be level and secure with appropriate screws or anchors. Proper alignment guarantees that your mounted piece sits flush and level.
A good test fit ensures the system performs reliably before final mounting.
What if my cuts don’t line up perfectly?
Sand lightly or re-cut one piece with a corrected angle.
Can I fix uneven bevels?
Yes, by trimming small amounts with the same 45-degree setup.
Do gaps affect strength?
Minor gaps don’t matter much, but large ones can weaken support.
How do I check levelness on the wall?
Use a long spirit level before securing screws.
Should I paint or finish the cleats?
You can, but avoid adding thick coatings that change fit dimensions.
Mounting the Wall Cleat
Attach the first cleat piece to the wall with the bevel facing upward. Use a level to ensure it’s perfectly straight. This piece supports the entire load, so secure it firmly into wall studs using long wood screws or lag bolts.
If the studs don’t align perfectly with your mounting area, use wall anchors rated for heavy loads. Space screws evenly—usually every 12 to 16 inches along the cleat.
Ensure the top of the cleat is flush and level before tightening all screws. Even small deviations can make the hanging piece tilt.
For long or wide installations, consider joining multiple cleats end to end. Overlap them slightly or reinforce with metal brackets for extra strength.
Attaching the Cleat to Your Object
The second cleat attaches to the back of the object you want to hang, such as a cabinet, tool rack, or shelf. Position it so the bevel faces downward, matching the wall cleat’s slope.
Use strong wood screws to secure it across multiple points. For cabinets or tool boards, center the cleat near the top edge for even weight distribution. Avoid placing it too low, which can cause tilting.
Double-check that both cleats are parallel before final mounting. Once attached, the two should slide together effortlessly.
Adding a second smaller cleat at the bottom can stabilize heavy items and prevent movement during use.
Installing and Testing the French Cleat
Lift the object and position its cleat above the wall cleat. Lower it slowly until the two interlock. You should feel the weight transfer smoothly onto the wall-mounted piece.
Check for wobbling or uneven contact. A properly cut cleat sits flush against the wall with no gaps. Adjust screw tightness or sand slightly if alignment feels off.
For additional security, you can install a locking screw through the bottom of the mounted item into the wall cleat. This prevents accidental lifting or shifting.
Once installed, test by gently applying downward pressure. A solid French cleat won’t move or loosen under load.
How much weight can a French cleat hold?
A ¾-inch plywood cleat can support over 100 pounds if properly anchored.
Should I glue the cleat to the wall?
No, screws provide stronger, adjustable support.
Can I mount cleats on drywall alone?
Only if using heavy-duty anchors or toggle bolts.
Do I need a second person to hang large cabinets?
Yes, always use help for heavy or oversized objects.
What if my wall is uneven?
Shim behind the cleat with thin wood strips for level alignment.
Safety Tips When Using a Circular Saw
Circular saws are powerful tools that require care and focus. Always wear eye protection, hearing protection, and a dust mask before starting.
Secure your workpiece firmly with clamps. Never hold it with your free hand near the cutting path. Keep both hands on the saw handles while operating.
Allow the blade to reach full speed before touching the wood. If the saw binds or stalls, release the trigger immediately and wait for the blade to stop completely.
Avoid cutting on unstable surfaces or near loose cords. Always unplug or remove the battery before adjusting the blade or bevel angle.
Taking safety seriously ensures accurate cuts and a long, injury-free woodworking career.
Maintenance and Storage of Cleats
Once your French cleat system is installed, occasional maintenance keeps it working smoothly. Dust buildup or paint overspray can reduce friction between cleats. Wipe both surfaces clean periodically.
If you notice sagging or uneven weight distribution, check screw tightness and wall anchors. Re-tighten as needed to maintain secure contact.
You can sand or reapply finish on visible cleats for aesthetic improvement. However, avoid thick coatings that alter the bevel angle.
When not in use, store spare cleats horizontally in a dry, flat area to prevent warping. Proper care extends both lifespan and reliability.
Troubleshooting Common Issues
If your cleat setup doesn’t fit snugly, it’s usually due to inaccurate angles or rough cuts. Recheck your circular saw’s bevel setting and recalibrate if necessary.
Loose fits can also result from dust or uneven surfaces. Cleaning and sanding lightly often restore a tight connection.
If your mounted item tilts forward, the wall cleat may not be level. Use a long level to verify and adjust. For heavy loads, adding an additional cleat near the bottom helps stabilize.
For best results, always measure twice, cut once, and test your setup before final installation.
Conclusion
Cutting a French cleat with a circular saw is one of the most efficient ways to create a strong, professional-grade mounting system. With the right setup, accurate bevel angle, and careful technique, you can achieve perfect 45-degree cuts every time.
This simple method transforms ordinary plywood into a versatile hanging system for cabinets, shelves, and tools. The key lies in precision—accurate marking, steady cutting, and clean alignment between both cleat pieces.
Once installed, French cleats offer unmatched flexibility. You can move, adjust, or replace mounted objects anytime without re-drilling holes. It’s a durable, elegant, and efficient solution every DIYer should master.
With a bit of practice, your circular saw becomes a powerful precision tool. Follow these steps carefully, respect safety measures, and your French cleat projects will hang solidly for years to come.

I’m Michael R. Turner, the founder, lead writer, and passionate DIY enthusiast behind 101diytools.com. With years of hands-on experience in home improvement and power tools, I built this platform to share practical tips, in-depth guides, and honest reviews to help DIYers of all skill levels tackle projects with confidence and the right tools.