How to Cut a Curve in Wood with a Circular Saw Smoothly and Safely
At first glance, a circular saw doesn’t seem like the right tool for cutting curves — after all, it’s built for straight lines and sharp edges.
But with the right technique, careful control, and a bit of planning, you can use your circular saw to make smooth, clean curves that look as if they were shaped by a jigsaw or band saw.
Curved cuts are common in furniture design, custom shelving, deck edges, and artistic woodworking projects.
They add visual appeal and allow materials to fit around irregular shapes like walls, posts, or decorative patterns.
While a jigsaw is the typical tool for this job, a circular saw’s power, precision, and depth capacity make it ideal for wide or thick boards where a jigsaw might struggle.
The trick lies in learning how to make controlled relief cuts and guide the saw in short, steady motions along your marked curve.
In this complete guide, you’ll learn exactly how to cut curves in wood using a circular saw — from planning and marking to cutting safely and smoothing the finished edge.
By the end, you’ll have the confidence to turn straight boards into graceful, flowing designs with nothing more than your trusty saw and a steady hand.
Understanding the Limitations and Possibilities
A circular saw isn’t designed to pivot freely through curves like a jigsaw.
Its rigid, round blade moves in a straight path, which limits how tight a curve you can cut.
However, with controlled, shallow cuts and smart planning, you can approximate gentle to medium curves effectively.
Think of it as carving the curve in small sections, not bending the saw through a continuous arc.
You can achieve curves with large radii (wide, gentle arcs) very cleanly, while tight, sharp curves are best handled with a jigsaw or router.
Still, a circular saw is perfect for projects like curved tabletops, arches, garden borders, or deck transitions where smooth, shallow curves are needed.
Understanding these limits helps you plan your cut properly and avoid forcing the tool into an unsafe or inaccurate motion.
Tools and Materials You’ll Need
Cutting a curve successfully requires both the right tools and a stable workspace.
Gather everything before you begin so you can focus fully on precision and control.
You’ll need:
- Circular saw (corded or cordless)
- Fine-tooth or plywood blade (40+ teeth)
- Measuring tape or compass
- Flexible curve ruler or string and nail (for marking)
- Pencil or chalk
- Clamps
- Sawhorses or a sturdy workbench
- Safety goggles, gloves, and ear protection
- Sandpaper, rasp, or belt sander (for finishing the curve)
Optional but helpful: a jigsaw for tight corners, and painter’s tape to protect delicate wood surfaces from splintering.
Step 1: Plan the Curve
Every good curved cut begins with proper planning and marking.
Decide on the shape of your curve before touching the saw — this ensures symmetry, accuracy, and smoother execution.
If you need a consistent curve, use a flexible ruler, garden hose, or string-and-nail method to draw a natural arc.
For example, anchor one end of a string with a nail, stretch it to your desired radius, and swing it like a compass to draw the curve.
Mark the line clearly with a pencil or chalk, and double-check the shape from a distance.
If it looks too sharp or uneven, smooth it out before cutting — it’s much easier to correct on paper than after the saw touches wood.
Always mark which side of the line is the waste material so you know which edge to follow when cutting.
Step 2: Secure the Wood Firmly
Cutting curves requires more control than straight cuts, so stability is key.
Place your wood piece on sawhorses or a sturdy table, ensuring that both sides are well-supported.
Clamp the board tightly so it won’t shift or vibrate as you guide the saw.
Position your clamps away from the cutting path to avoid accidental contact with the blade.
If you’re cutting along a large curve, make sure there’s room for the waste piece to fall or move freely without binding the blade.
A steady, immovable setup makes for safer and cleaner curved cuts.
Step 3: Set the Blade Depth Correctly
Proper depth ensures control and minimizes splintering while cutting.
Adjust the blade so it extends about ¼ inch below the bottom surface of the board.
This shallow setting reduces strain on the saw and gives you smoother, more manageable control when working along curves.
Too much blade exposure increases the risk of binding or kickback, especially on bends.
Lock the depth lever securely before starting.
Always test the depth on a scrap piece first to confirm it’s perfect for your material thickness.
Step 4: Make Relief Cuts Along the Curve
Relief cuts are short, straight cuts that make it easier for the blade to follow a curved path.
They release pressure and allow the waste material to fall away in small sections as you shape the main curve.
Start by making a series of narrow cuts perpendicular to your curve line, spaced about ½ inch to 1 inch apart.
Cut just up to the curve line each time, but not beyond it.
These relief cuts act like mini escape routes for the wood fibers, preventing the blade from binding or splintering.
Once they’re done, the main cut will feel smoother and require less force from the saw.
This is one of the oldest and most effective tricks for cutting curves with tools designed for straight lines.
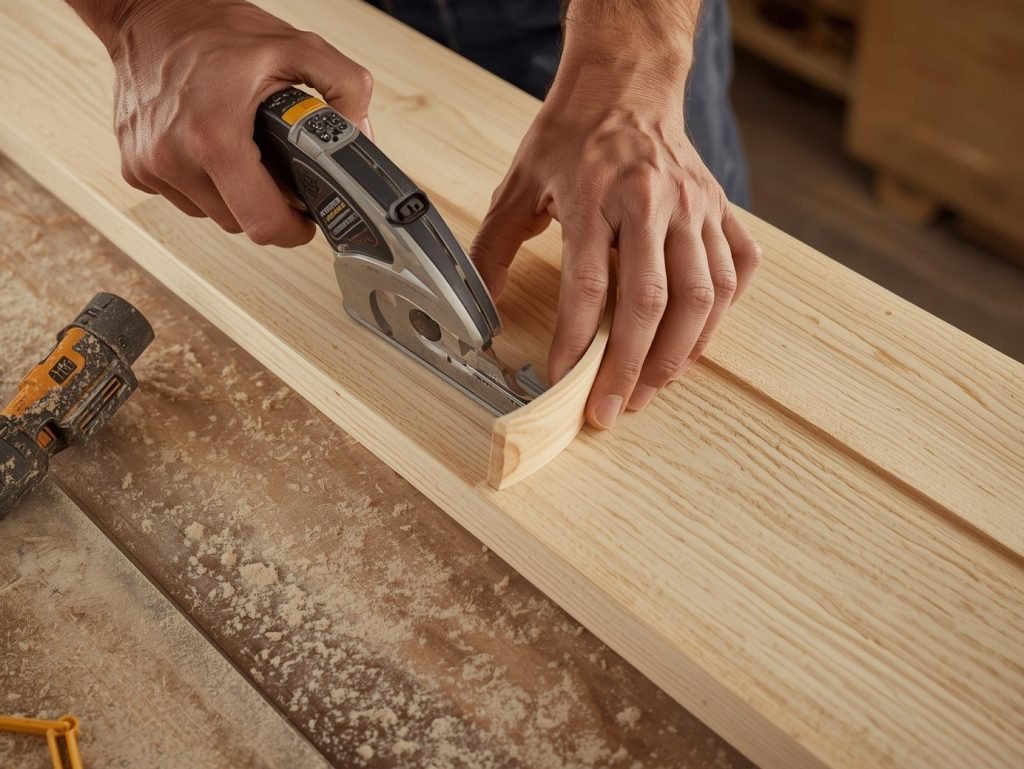
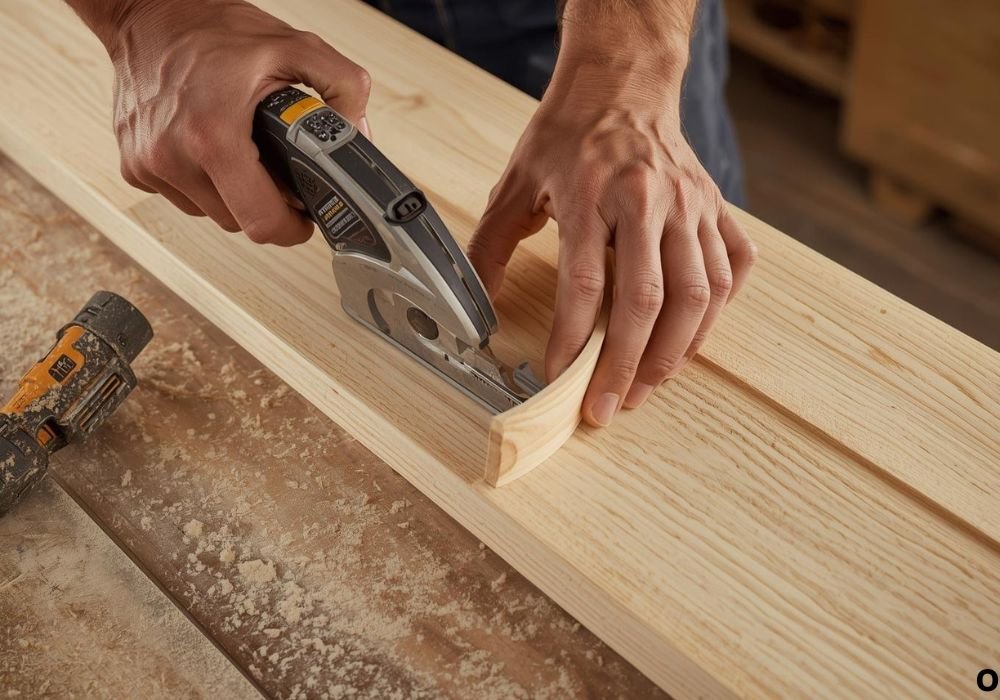
Step 5: Cut Along the Curve Slowly
Now that the relief cuts are in place, it’s time to cut along your marked curve.
Position the circular saw just beside the line, keeping the waste side of the wood under the blade.
Start the saw and let it reach full speed before gently guiding it into the wood.
Work in short, steady motions — cut a few inches at a time, then slightly adjust your angle to follow the curve.
Do not try to force the saw through the curve in one continuous motion.
Instead, think of it as a series of small, straight cuts that gradually form an arc.
As you move forward, the relief cuts will break away, allowing your saw to turn naturally through the curve.
Keep both hands on the saw, maintain steady pressure, and let the blade do the work — not your muscles.
Once the main shape is complete, inspect it and trim any uneven spots with short touch-up passes.
Step 6: Smooth and Refine the Curve
After completing the rough cut, your curve will look close to perfect but may have slight edges or ridges.
That’s normal — a circular saw cuts in straight lines, so smoothing is part of the process.
Use a rasp, sanding block, or belt sander to refine the edge until it matches your drawn curve exactly.
For large arcs, a flexible sanding pad helps you maintain the curve’s natural flow.
If you have a jigsaw or oscillating sander, you can use it to fine-tune tighter sections of the curve.
Work slowly and check your progress frequently by running your hand along the edge — it should feel smooth and even.
Once you’re satisfied, wipe away the dust and admire your clean, professional-looking curve.
Step 7: Cutting Tight Curves (Advanced Technique)
If you need to cut a tighter curve than a circular saw naturally allows, there’s a trick to achieve it safely.
Instead of turning the saw sharply, make a series of overlapping straight cuts, each following the previous one’s edge.
This method gradually removes small wedges of material, forming a smooth arc when sanded later.
It’s slower but much safer than trying to twist the saw mid-cut.
Alternatively, for extremely tight corners, stop the cut just short and finish the rest with a jigsaw or coping saw.
Blending both tools gives you precision in tight spaces while maintaining power for long arcs.
Always prioritize control over speed — tight curves require patience and careful handling.
Step 8: Safety Tips for Curved Cuts
Cutting curves increases the chance of binding, kickback, and blade deflection, so safety should be your top priority.
Follow these guidelines to stay protected while maintaining accuracy.
- Always wear goggles, ear protection, and gloves.
- Never force the saw into the wood — let the blade grind naturally.
- Keep the base plate flat against the surface at all times.
- Stand slightly to the side of the saw’s line of cut, not directly behind it.
- Avoid cutting unsupported pieces, as they can shift or break unpredictably.
- Unplug or remove the battery before adjusting the blade or depth.
- Use relief cuts liberally — they make curves safer and cleaner.
Taking these precautions not only keeps you safe but also ensures smoother, more precise results.
Tips for Cleaner, More Professional Curved Cuts
- Use a fine-tooth blade. The more teeth, the smoother the edge.
- Cut with the good side facing down. Circular saws cut upward, so this prevents surface tear-out.
- Make multiple shallow passes. Two or three light cuts are cleaner than one deep pass.
- Clamp your work securely. Even slight movement can ruin a curve.
- Mark both sides of thick wood. This helps guide your line accurately through the full depth.
- Finish with sanding. Smooth curves always look more polished and professional after sanding.
- Work slowly and rhythmically. Curves are about flow, not force.
By mastering these techniques, you’ll be able to create flowing designs with confidence and control.
Common Mistakes to Avoid
Many woodworkers make simple errors when attempting curved cuts with a circular saw.
Avoid these pitfalls to get smooth, accurate results every time.
- Trying to cut the curve in one pass without relief cuts.
- Forcing the saw to turn instead of guiding it gently.
- Using a dull or coarse blade that tears rather than slices.
- Skipping clamping or cutting on an unstable surface.
- Ignoring the grain direction, which can cause splintering.
- Neglecting to smooth the edges afterward for a finished look.
Each mistake increases the risk of a jagged or uneven curve, so patience and precision are key.
FAQs
Can you really cut curves with a circular saw?
Yes, you can — as long as the curve is wide and gradual. Tight or small-radius curves should be cut with a jigsaw instead.
What kind of blade should I use for curved cuts?
A fine-tooth plywood or finish blade works best. Avoid framing blades with large teeth; they’ll leave rough edges.
How do I avoid burning the wood?
Don’t force the saw or linger in one spot. Keep it moving smoothly and let the blade cool between passes.
Do I need to make relief cuts every time?
Yes, especially for deeper or tighter curves. Relief cuts reduce stress on both the wood and the saw blade.
Can I cut decorative shapes with this method?
Yes — mark the design carefully and cut in sections, using a jigsaw to finish smaller or intricate areas.
What’s the minimum curve radius I can cut with a circular saw?
Typically, a 4–6 foot radius is the minimum for most saws. Smaller curves are better done with a jigsaw.
Should I sand the edges after cutting?
Always. Sanding refines the shape, removes small ridges, and gives a professional finish.
Can I use a guide to follow the curve?
Yes, but it must be flexible or segmented. Most users rely on freehand control for gradual curves.
How do I prevent splintering?
Use painter’s tape, a sharp blade, and cut with the good side down to minimize tear-out.
Is it safe to make curved cuts freehand?
Yes, for gentle curves — but keep both hands on the saw, work slowly, and make sure the material is fully supported.
Conclusion
Cutting a curve in wood with a circular saw might seem unconventional, but it’s a skill that can elevate your woodworking craftsmanship dramatically.
Once you understand how to combine relief cuts, patience, and precise guidance, your circular saw becomes far more versatile than you ever imagined.
The key is not to force the blade — let it glide smoothly while shaping the wood one segment at a time.
Every small, controlled cut brings you closer to a perfectly flowing curve that looks professional and deliberate.
Whether you’re building furniture, trim, or decorative pieces, mastering curved cuts adds creativity and elegance to your projects.
With practice, your circular saw will become not just a tool for straight lines, but a true instrument of craftsmanship and design.

I’m Michael R. Turner, the founder, lead writer, and passionate DIY enthusiast behind 101diytools.com. With years of hands-on experience in home improvement and power tools, I built this platform to share practical tips, in-depth guides, and honest reviews to help DIYers of all skill levels tackle projects with confidence and the right tools.