How to Convert a Circular Saw Into a Table Saw Safely and Efficiently
Every DIY enthusiast dreams of owning a full-sized table saw, but the reality is that not everyone has the budget or space for one.
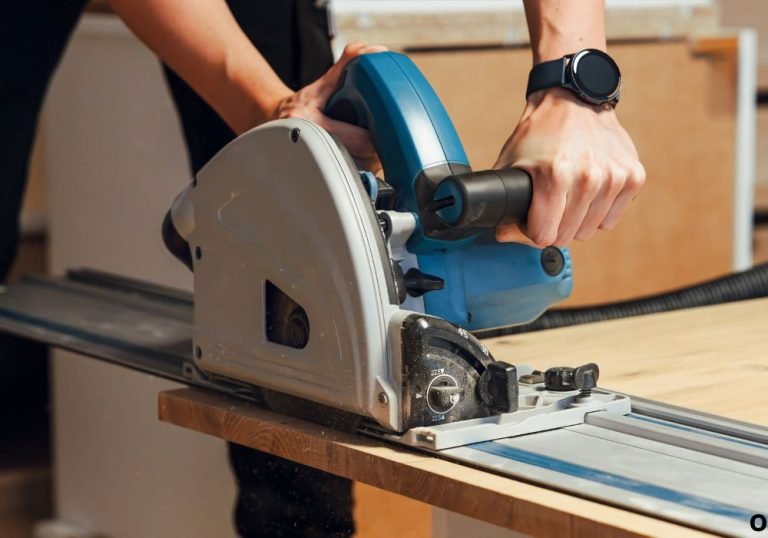
If you already own a circular saw, you’re in luck — with some careful setup, you can transform it into a functional table saw capable of making straight, precise cuts just like the pros.
A circular saw is powerful, compact, and versatile, and when mounted correctly, it can handle the same ripping and cross-cutting tasks as a table saw.
This conversion allows you to make long, accurate cuts on larger pieces of wood without constantly repositioning the saw.
However, it’s important to understand that while this setup can mimic a table saw, it must be done safely, with the right structure and protective measures in place.
Improper setup can lead to kickbacks, uneven cuts, or even injury — but with patience and attention to detail, you can achieve stable, professional-quality results.
In this step-by-step guide, you’ll learn exactly how to convert your circular saw into a table saw, from building the base to aligning the blade and ensuring every safety feature is in place.
By the end, you’ll have a reliable DIY table saw setup that combines accuracy, convenience, and affordability.
Why Convert a Circular Saw Into a Table Saw
A table saw offers greater precision and efficiency for woodworking projects, especially when cutting long boards or sheet materials.
However, commercial table saws can be expensive and require significant space in your workshop.
Converting a circular saw into a table saw gives you most of the same functionality at a fraction of the cost.
This setup allows you to make controlled cuts using a stationary blade rather than moving the saw along the workpiece.
You’ll gain improved control over material feed, more accurate rip cuts, and a consistent cutting angle.
It also helps you perform bevel and miter cuts more safely compared to handheld cutting.
For small workshops or mobile setups, this conversion provides both flexibility and portability.
It’s a practical solution for carpenters, hobbyists, or anyone who wants a table saw’s capabilities without the bulk or expense.
Tools and Materials You’ll Need
Before starting, gather all the necessary tools and materials for a stable and precise build.
Preparing in advance ensures that the conversion process goes smoothly from start to finish.
Here’s a complete checklist:
- Circular saw (corded or cordless)
- Plywood sheet (¾ inch thick or more)
- 2×4 wood for the frame or stand
- Screws, washers, and bolts
- Measuring tape and square
- Drill and drill bits
- Jigsaw or hole saw
- Clamps
- Adjustable saw fence or straight guide rail
- Power switch (optional for advanced setups)
You’ll also need sandpaper and a pencil for marking precise cuts.
Make sure your materials are sturdy enough to support both the saw and the vibration generated during operation.
Step 1: Plan Your Table Layout
The first step in building your DIY table saw is planning the table layout carefully.
Your table needs to be stable, flat, and large enough to support long or wide workpieces.
Decide the dimensions based on the type of projects you usually handle.
A typical table measures about 3 feet long and 2 feet wide, though you can adjust it according to your space.
Mark where your circular saw will be mounted beneath the table.
Ensure there’s enough clearance for the blade, motor housing, and adjustment knobs to move freely.
Also, plan where your power cable or battery access will be located.
Proper layout planning minimizes setup errors and ensures smooth operation once the saw is mounted.
Step 2: Build the Table Frame
The table frame serves as the foundation of your converted table saw.
It must be strong enough to support both the circular saw and the material being cut.
Use 2×4 lumber to build a rectangular frame that matches your chosen table size.
Secure the joints tightly using screws or wood glue for extra stability.
Attach cross braces underneath for added rigidity — this prevents wobbling during use.
Check that the frame is perfectly level using a spirit level, as any unevenness will affect your cut accuracy.
Once the frame is solid, attach a sheet of thick plywood on top to form the tabletop surface.
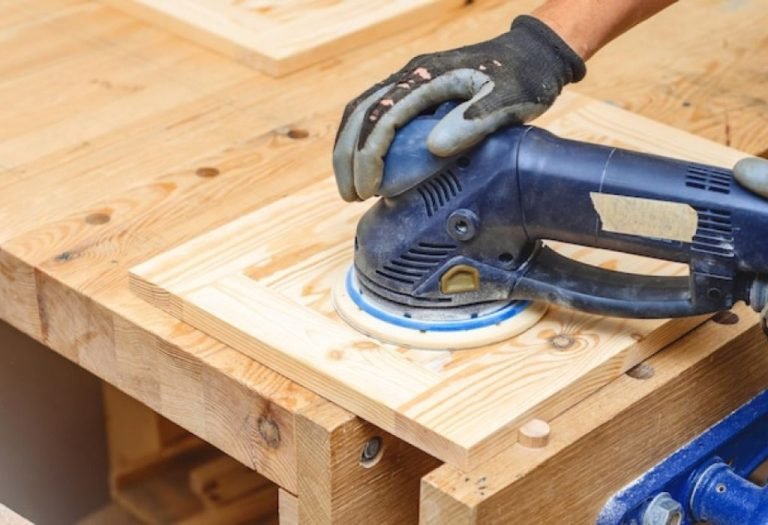
Sand the edges and corners to remove splinters and make the surface smooth for feeding materials.
Step 3: Cut the Opening for the Saw Blade
Now it’s time to create the opening in your tabletop where the blade will protrude.
This step is crucial for ensuring proper alignment and safe operation.
Flip your circular saw upside down and trace the outline of its shoe plate onto the plywood.
Mark the blade’s exact centerline and ensure it’s parallel to the table’s edge for straight cuts.
Use a drill to create a pilot hole inside the traced area, then cut out the shape using a jigsaw.
Test-fit the saw to make sure the blade sits in the opening without touching the edges.
The gap should be just wide enough for the blade to move freely while minimizing debris fall-through.
Once satisfied, smooth the cut edges with sandpaper for a professional finish.
Step 4: Mount the Circular Saw Under the Table
With the opening ready, it’s time to mount your circular saw beneath the table.
Position the saw so the blade sticks up slightly above the tabletop surface.
Align the saw’s shoe plate with the outline you traced earlier, ensuring it’s perfectly centered.
Clamp the saw securely in place and drill pilot holes through the shoe plate’s mounting holes.
Use screws or bolts with washers to attach the saw firmly to the underside of the table.
Double-check that the blade remains square to the table surface and perpendicular to the fence line.
Once tightened, remove the clamps and test the movement of your depth and angle adjustments.
The saw should remain stable but adjustable, allowing you to set different cutting depths as needed.
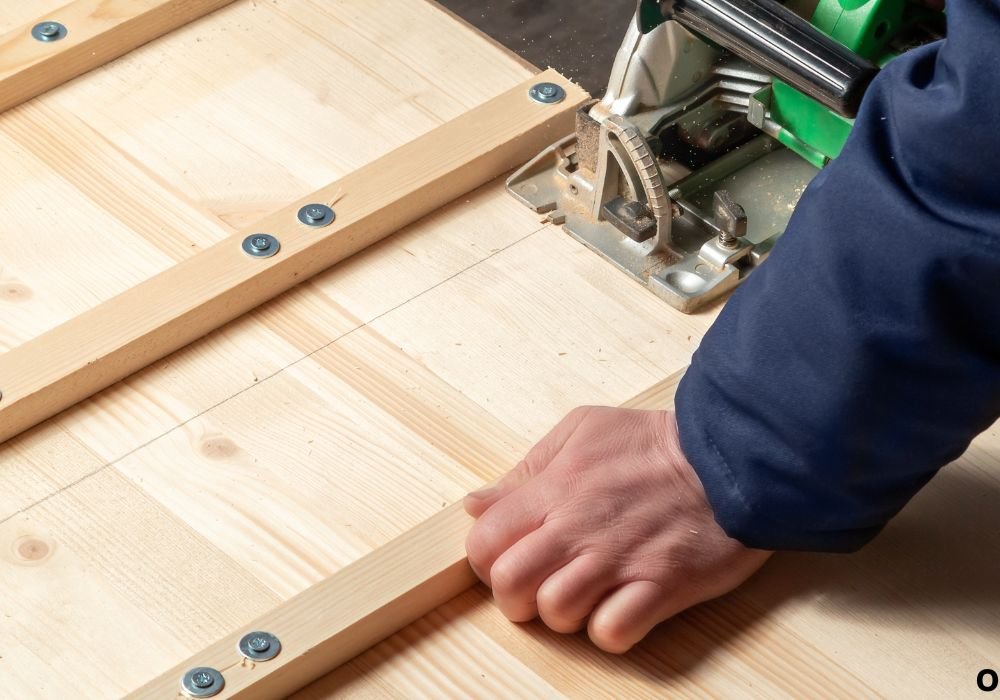
Step 5: Create a Fence for Straight Cuts
The fence is what allows you to make perfectly straight, repeatable cuts on your DIY table saw.
Without it, maintaining alignment over long cuts becomes nearly impossible.
You can make a simple fence using a straight piece of 2×4 or aluminum angle bar.
It should run parallel to the blade and be adjustable for various widths.
Clamp the fence securely at the desired distance from the blade when cutting.
Alternatively, you can attach sliding brackets or T-track hardware for an adjustable, removable fence.
Measure from the blade to the fence at both the front and back to ensure it’s perfectly parallel.
A precise fence alignment guarantees smooth, accurate rip cuts every time.
Step 6: Add Safety Features
Safety is the most important part of converting a circular saw into a table saw.
Because this setup doesn’t come with built-in guards, you must create your own protective measures.
Always wear safety goggles, gloves, and hearing protection when using your DIY table saw.
Consider adding a transparent blade guard above the table to prevent accidental contact.
Install a push stick or push block system for guiding material instead of using your hands near the blade.
If possible, add a power switch to the table that can turn off the saw instantly in case of emergency.
Make sure your work area is well-lit and clear of clutter to reduce risks.
Safety should never be an afterthought — it’s what keeps your creativity sustainable and enjoyable.
Step 7: Test the Alignment and Operation
Once everything is assembled, it’s time to test your homemade table saw setup.
Plug in the saw or insert the battery and make sure the blade spins freely without wobbling.
Use a scrap piece of wood for your first test cut instead of valuable material.
Feed it gently along the fence and observe how the saw performs through the full cut.
Check the smoothness of the edges and the straightness of the cut line.
If you notice burning or roughness, adjust the fence alignment or blade height.
Ensure the saw sits firmly with no vibration or shifting under load.
When everything runs smoothly, your circular saw conversion is officially complete.
Tips for Better Performance
Maintaining precision in your DIY table saw setup requires regular adjustments and care.
Even small misalignments can cause binding or uneven cuts during operation.
Use clamps or locking bolts to secure your fence every time you change width settings.
Mark measurement scales on your tabletop to make future cuts faster and more accurate.
Periodically check that your saw’s bolts remain tight, as vibrations can loosen them over time.
Keep the table surface smooth and clean so material slides effortlessly during cuts.
If you plan to use the setup often, consider adding a vacuum port under the table for dust extraction.
Cleaner airflow improves both performance and safety by reducing debris around the blade.
Common Mistakes to Avoid
Many beginners make small errors during the conversion that can lead to dangerous results.
Avoiding these mistakes will help you build a safer, more reliable table saw setup.
Never mount your circular saw loosely or without secure bolts — vibrations can shift it during operation.
Ensure the blade height isn’t too high above the table, as this increases kickback risks.
Avoid using a weak or thin tabletop that can flex under pressure.
A wobbly surface causes misalignment and can ruin the accuracy of your cuts.
Do not skip installing a fence or guides — freehand cutting on a table saw is extremely dangerous.
Always test slowly and cautiously before performing full-length cuts on valuable material.
FAQs
Can any circular saw be converted into a table saw?
Yes, most circular saws can be converted as long as they have a flat shoe plate and adjustable depth. Just ensure it can be mounted securely.
Is it safe to use a circular saw as a table saw?
It can be safe if built properly with strong mounting, guards, and safety switches. Always wear protective gear and follow best practices.
What kind of wood should I use for the table surface?
Use ¾-inch or thicker plywood for stability and vibration resistance. MDF or particle board is not recommended due to weakness.
Can I cut metal using this DIY table saw setup?
Only if your blade is rated for metal cutting. Otherwise, stick to wood, MDF, or soft materials to prevent overheating and damage.
Should I add a dust collection system?
Yes, attaching a vacuum or dust port keeps your workspace clean and prevents sawdust from interfering with visibility.
How do I make the fence adjustable?
You can use T-tracks, sliding brackets, or clamps to make the fence repositionable based on your project’s needs.
What’s the ideal blade height above the table?
The blade should protrude about ¼ inch to ½ inch above the workpiece for safety and efficient cutting.
Can I still use the circular saw normally after conversion?
Yes, as long as it’s not permanently fixed. Simply unbolt it from the table when you need it as a handheld saw again.
Do I need an on/off switch for this setup?
It’s optional but highly recommended. Adding a switch makes powering the saw on and off safer and more convenient.
What are the biggest safety tips?
Always disconnect power before adjustments, never cut freehand, and keep fingers at least 6 inches away from the blade using push sticks.
Conclusion
Turning a circular saw into a table saw is one of the most rewarding and practical DIY upgrades you can make in your workshop.
It allows you to enjoy the accuracy and control of a stationary saw without spending hundreds of dollars on new equipment.
By following the steps carefully — from designing the frame to mounting the saw and adding safety features — you can create a reliable setup that produces clean, professional results.
Always double-check your alignment and never compromise on stability or safety during construction.
This simple conversion opens up a new world of woodworking possibilities, helping you tackle larger, more complex projects with ease.
With patience, precision, and proper safety practices, your circular saw will perform like a true table saw — powerful, accurate, and ready for anything you build next.

I’m Michael R. Turner, the founder, lead writer, and passionate DIY enthusiast behind 101diytools.com. With years of hands-on experience in home improvement and power tools, I built this platform to share practical tips, in-depth guides, and honest reviews to help DIYers of all skill levels tackle projects with confidence and the right tools.