How to Change a Circular Saw Blade Safely and Fast
You are halfway through a woodworking project, the saw humming steadily as you guide it through the board. Suddenly, the blade starts to smoke, and the once-smooth cut turns rough and uneven.
That is the moment every DIYer or carpenter dreads when a once-sharp blade loses its edge. A dull blade not only slows your work but can also cause dangerous kickback and overheating.
Changing a circular saw blade may seem intimidating if you have never done it before. The good news is that with the right steps, it takes only a few minutes to do safely and correctly.
A clean, sharp blade transforms your cuts instantly, making them smoother and faster. It also reduces strain on your motor and helps you achieve professional-level precision.
According to tool maintenance experts, replacing blades regularly can extend the saw’s lifespan by up to 30 percent. That is why knowing how to change your circular saw blade properly is an essential skill for any craftsman.
In this guide, you will learn exactly how to remove, replace, and test your new blade with confidence. By the end, you will be ready to handle blade changes like a pro.
Why You Need to Change Your Circular Saw Blade
Every circular saw blade has a lifespan, and over time, friction, heat, and material buildup begin to dull its teeth. When that happens, your cuts become slower, rougher, and far less accurate.
A dull blade requires more pressure to push through wood, which increases the risk of slipping or kickback. It also makes the saw motor work harder, generating unnecessary strain and heat.
You might notice burn marks or smoke while cutting, which are clear signs of a worn blade. These are not just aesthetic issues; they indicate that the blade is no longer slicing efficiently.
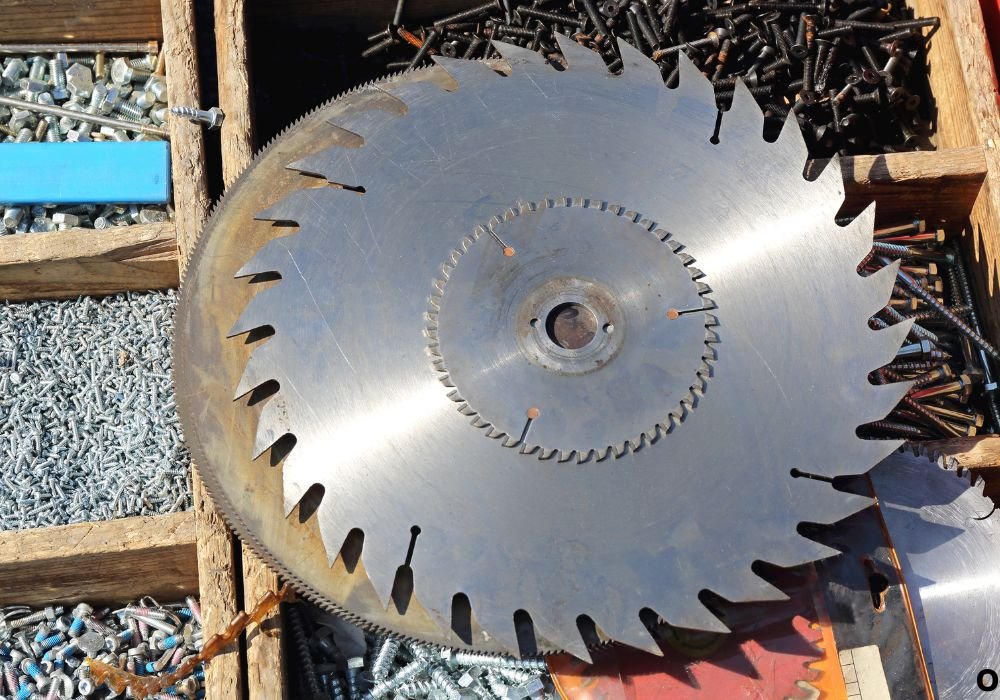
Splintering, rough edges, and difficulty following a straight line also signal the need for a replacement. In some cases, chipped teeth or a bent disc can make cutting completely unsafe.
Resin and pitch buildup can further reduce performance, especially if you often cut treated lumber or plywood. Regularly inspecting and cleaning your blade helps delay dullness but cannot prevent it forever.
Changing your circular saw blade at the right time restores smooth, effortless cutting. It keeps your projects precise, protects your saw’s motor, and ensures every cut feels clean and controlled.
Tools and Safety Gear You’ll Need
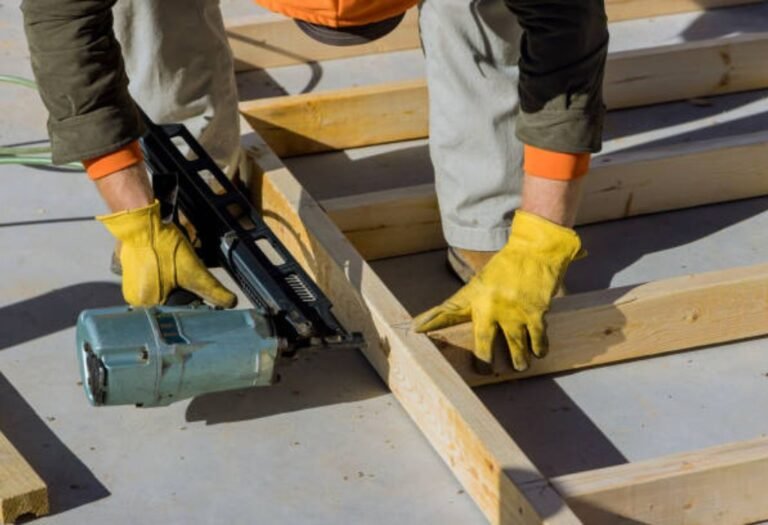
Before touching your circular saw, make sure you have all the right tools and safety gear ready. Proper preparation not only saves time but also prevents accidental injuries.
The most important step is to disconnect the power. Unplug corded saws or remove the battery if you are using a cordless model to eliminate any chance of accidental startup.
You will need a wrench or hex key to loosen the arbor nut that holds the blade in place. Most saws come with one stored on the tool itself, but a standard wrench works fine too.
Wear protective gloves to protect your hands from sharp teeth and metal edges. Safety goggles are also essential because dust and metal shavings can fly up during removal.
A small brush or dry cloth can help clean sawdust around the blade and housing. Keeping this area clean makes the new blade fit more securely and prevents uneven rotation.
Having a magnetic tray or a small bowl nearby is a smart idea for storing the nut and washer. It ensures you do not lose these tiny but crucial parts while changing your circular saw blade.
Step-by-Step Guide to Removing the Old Blade
The process of removing a circular saw blade is simple, but it requires patience and attention to safety. Start by double-checking that the saw is completely unplugged or the battery is removed.
Locate the spindle lock button on your saw, which prevents the blade from spinning. Press and hold it firmly while you prepare to loosen the arbor nut.
Use the provided wrench or hex key to turn the arbor nut in the correct direction. Most circular saws use a reverse thread, so you will need to turn it clockwise to loosen it.
Once the nut is loose, remove it along with the outer washer and carefully slide off the old blade. Always hold the blade by its sides to avoid cutting your fingers.
Take a moment to clean the arbor and surrounding area with a brush or dry cloth. Removing sawdust and residue ensures the new blade will mount evenly and run smoothly.
Set the old blade aside on a flat surface or in a safe container. This prevents accidents and helps you recycle or store it properly for future sharpening.
Installing the New Circular Saw Blade
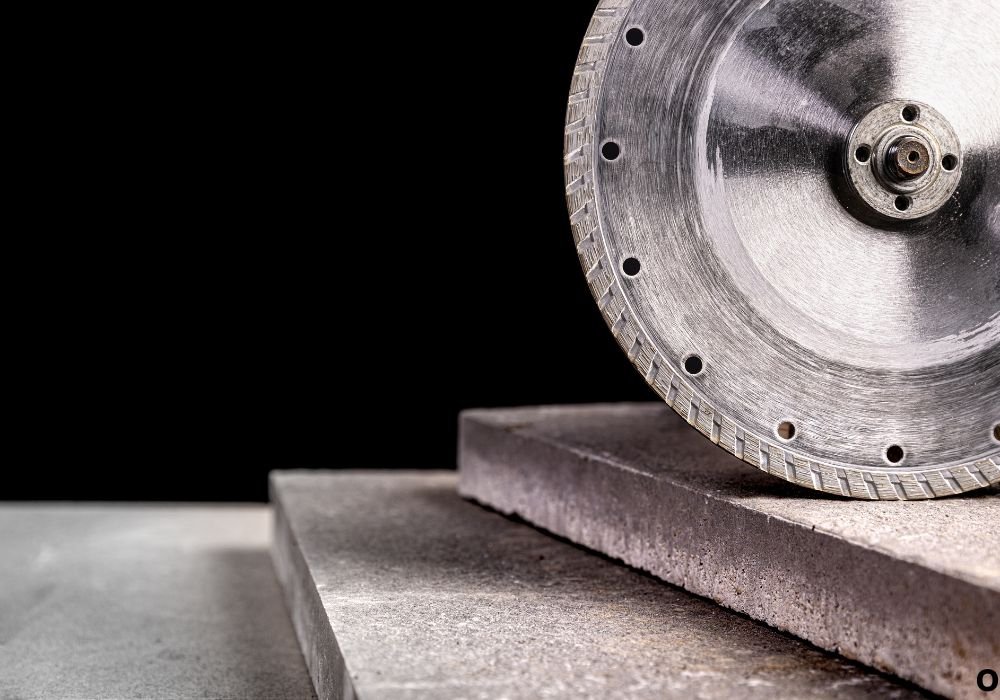
Now that the old blade is removed, it is time to install the new one carefully. Start by checking that the replacement blade matches the correct diameter and arbor size for your saw.
Look for the directional arrow printed on both the blade and the saw guard. Align them properly so that the teeth point in the correct cutting direction.
Slide the new blade gently onto the arbor shaft, making sure it sits flat and centered. Place the outer washer back on the shaft, followed by the arbor nut.
Hold the spindle lock button again to keep the blade from rotating. Use your wrench to tighten the arbor nut securely, but do not overtighten it since that could damage the threads.
Once the blade is fastened, spin it slowly by hand to ensure it moves freely. If you feel resistance, stop and double-check the washers or nut alignment before proceeding.
Lower the blade guard back into its normal position and confirm it moves smoothly. Your circular saw is now reassembled and ready for a quick test.
Testing and Fine-Tuning After Blade Replacement
After installing the new blade, take a few moments to inspect your setup before powering the saw. Confirm that every screw, washer, and the arbor nut are tightened correctly.
Reconnect the power cord or insert the battery into the saw. Make sure your workspace is clear of debris and that the blade guard functions smoothly.
Hold the saw firmly and start it without cutting anything. Listen for unusual noises or vibrations, as they can indicate a misaligned or loose blade.
If you hear grinding or feel shaking, immediately stop the saw and recheck your installation. A small misalignment can lead to wobbling and reduce both safety and cut precision.
Once it runs smoothly, make a test cut on a scrap piece of wood. Observe the blade’s movement, the straightness of the cut, and whether the guard retracts properly.
Finally, after a few test cuts, turn off the saw and check the arbor nut once more. Re-tightening lightly ensures the blade stays firm during future projects.
Common Mistakes to Avoid When Changing Blades
Even though changing a circular saw blade is simple, small mistakes can lead to serious problems. Knowing what to avoid will help you stay safe and extend the life of your saw.
One of the most common errors is forgetting to unplug the saw before starting. This single step prevents countless accidents caused by unexpected motor activation.
Installing the blade in the wrong direction is another frequent issue. Always match the arrow on the blade with the arrow on your saw’s guard for correct rotation.
Over-tightening the arbor nut might seem like extra security, but it can actually damage the threads or warp the blade. Tighten just enough for firm, even pressure.
Never use a blade that is the wrong size or type for your saw. A mismatch can cause wobbling, overheating, or even blade breakage during use.
Avoid touching the blade edges with bare hands, especially right after use when it may still be hot. Proper handling and patience make the process both safe and professional.
Maintenance Tips to Extend Blade Life
A well-maintained circular saw blade lasts longer and delivers cleaner cuts every time. Simple care routines can add months of sharp, reliable performance to your tool.
After every few projects, remove the blade and clean off resin, pitch, and sawdust buildup. These residues increase friction and make the blade dull faster.
Use a soft brush and mild cleaner to wipe the teeth and body of the blade. Avoid harsh chemicals that could damage the metal coating or weaken the tips.
Store blades flat or hang them vertically to prevent warping. Keeping them in a dry, cool area also reduces the chance of rust and corrosion.
Never cut materials your blade is not designed for, such as concrete or metal, unless it is rated for them. The wrong material can chip the teeth and shorten blade life dramatically.
Finally, keep track of your blade’s sharpness over time. Replacing or sharpening it as soon as it struggles through wood will keep your saw efficient and your projects flawless.
Safety Reminders and Best Practices
Safety is the foundation of every tool-related task, especially when handling sharp blades. Even experienced users should never skip these essential precautions.
Always work in a bright, well-lit area where you can clearly see every part of the saw. Shadows or poor lighting can cause you to misjudge alignment or miss a loose part.
Never rush through a blade change, even if you are in the middle of a project. Taking a few extra minutes to double-check every step can prevent serious injuries.
Keep your non-dominant hand clear of the arbor and guard area at all times. Touch the blade only when it is completely stopped and disconnected from power.
Inspect your new blade for cracks, missing teeth, or warping before installation. Using a damaged blade can cause vibration, poor cutting, and possible blade breakage.
Finally, always follow your manufacturer’s user manual for specific model instructions. Even small design differences between saws can change the correct procedure for safe blade replacement.
Frequently Asked Questions About Changing a Circular Saw Blade
1. How often should I change my circular saw blade?
You should replace your blade whenever it starts producing rough cuts, smoke, or burning marks. For frequent users, this may be every few months depending on the material and workload.
2. Can I sharpen a dull circular saw blade instead of replacing it?
Yes, if the blade is not damaged or missing teeth, sharpening can restore its performance. However, severely worn or chipped blades should be replaced immediately.
3. What happens if I install the blade backward?
A backward blade will not cut properly and can cause kickback or overheating. Always align the arrow on the blade with the arrow on your saw’s guard.
4. Should I wear gloves while changing the blade?
Yes, always wear cut-resistant gloves to protect your hands. Blade edges are sharp even when dull and can cause small but painful injuries.
5. How tight should I make the arbor nut?
Tighten the arbor nut firmly but avoid over-tightening. Over-tightening can strip the threads or warp the blade, affecting cutting accuracy.
6. Why is my saw vibrating after installing a new blade?
Vibration usually means the blade is not seated properly or the arbor nut is uneven. Remove the blade, clean the arbor, and reinstall it correctly.
7. Can I use any circular saw blade for any saw?
No, always check the blade’s diameter, arbor size, and RPM rating. Using an incompatible blade can cause unsafe operation or motor damage.
8. How do I know which direction the blade should face?
Most blades have an arrow printed on them showing the correct rotation direction. It should match the rotation arrow on your saw’s blade guard.
9. What tools do I need to change a circular saw blade?
You only need a wrench or hex key, which usually comes with your saw. For safety, also have gloves, goggles, and a clean cloth ready.
10. Can I change a blade on a cordless circular saw the same way?
Yes, the process is identical except you must remove the battery before starting. Always check for the spindle lock and loosen the arbor nut just like a corded saw.
11. What if the arbor nut is stuck?
Apply gentle pressure while holding the spindle lock and turning the wrench. If it is too tight, use a few drops of penetrating oil and wait a few minutes before trying again.
12. Is it dangerous to use an old or rusty blade?
Yes, rust weakens metal and can lead to blade cracks or breakage. Replace any blade that shows rust, missing teeth, or discoloration.
13. Can I use the same blade for wood and metal?
No, wood blades and metal blades have different tooth designs and materials. Always use the correct blade type for the material you are cutting.
14. How can I make my new blade last longer?
Clean the blade regularly, store it in a dry place, and avoid cutting through nails or screws. Using the right blade for the right job also prevents premature wear.
15. What should I do after changing the blade?
Run a short test cut on scrap wood to check alignment and vibration. This ensures your installation is correct before cutting any real project material.
Conclusion: Sharpening Skills, Not Just Blades
Changing a circular saw blade is more than just maintenance; it is a skill that reflects your attention to safety and precision. Every time you replace a blade, you make your tool more efficient and your work more professional.
A sharp, well-fitted blade gives you smoother cuts, faster results, and less strain on the motor. It also makes the entire woodworking experience more enjoyable and productive.
Many beginners feel nervous the first time they remove or install a blade. But with consistent practice, the process becomes quick, easy, and completely natural.
By following safety measures and checking blade alignment regularly, you ensure both your comfort and your protection. Every careful step reduces the risk of damage or injury.
Treat your saw with the same care you give your projects. Clean tools and fresh blades always deliver better craftsmanship and longer service life.
In the end, learning how to change a circular saw blade properly is an essential part of becoming a confident builder. Once mastered, it is a simple habit that keeps your projects sharp, safe, and precise.

I’m Michael R. Turner, the founder, lead writer, and passionate DIY enthusiast behind 101diytools.com. With years of hands-on experience in home improvement and power tools, I built this platform to share practical tips, in-depth guides, and honest reviews to help DIYers of all skill levels tackle projects with confidence and the right tools.