How Can I Find a Stud Without a Stud Finder: Guide
Picture this: you’re ready to mount a new TV, shelf, or heavy mirror, but you don’t own a stud finder.
The thought of drilling blindly into drywall feels risky because one wrong move could hit wires, pipes, or leave gaping holes.
Most homeowners face this dilemma at some point, especially when trying to avoid extra expenses on tools.
The good news is that walls are not as mysterious as they look, and there are reliable ways to locate studs without gadgets.
Builders usually frame walls with studs spaced 16 inches apart, which gives you a huge advantage if you know how to measure correctly.
Even without technology, your ears, eyes, and a few household items can serve as your best detection tools.
Knocking, checking outlets, inspecting baseboards, and even using a simple magnet are tricks that work surprisingly well.
Each method has its strengths and limitations, but combining them makes your results far more accurate.
This guide reveals every proven technique so you can securely anchor heavy items without damaging your walls.
Along the way, you’ll also learn safety precautions to avoid drilling into hidden wiring or plumbing.
Confidence comes not just from tools but from knowledge, and by the end, you’ll have both.
Let’s explore how can I find a stud without a stud finder using practical, step-by-step methods anyone can master.
Why Finding a Stud Without a Finder Matters
Drilling directly into drywall without locating a stud can cause serious damage and costly repairs. A misplaced hole might hit wiring, crack plaster, or leave your shelf or TV mount unstable.
Wall studs are the backbone of your walls, providing the support needed for heavy objects. Without anchoring into them, even the strongest screws or anchors may fail.
Most modern homes use a standard framing system, which means studs are usually spaced 16 inches apart. Understanding this spacing helps you predict where studs are located, even without special tools.
Knowing how to locate studs safely is not just about hanging items—it’s also about protecting your home. When you avoid mistakes, you save money, time, and frustration.
Why not just drill anywhere?
Drywall is too weak to support heavy loads by itself, and items can rip out easily.
What happens if I miss a stud?
You may hit wiring, damage the wall, or end up with a failed mount.
Are studs always spaced the same way?
Typically 16 inches apart, though some homes use 24-inch spacing or irregular layouts.
Can drywall anchors replace studs?
Anchors work for lighter loads, but studs are essential for heavy items like TVs or cabinets.
Method 1 — Knocking and Listening for Sound Differences
One of the oldest and simplest methods is knocking along the wall and listening to the sound. A hollow echo suggests empty space, while a dull, solid thud usually means a stud.
This method requires practice, but your ears quickly adapt to the difference between hollow drywall and solid backing. Combining this approach with measuring or magnets improves accuracy.
How do I knock properly?
Tap lightly along the wall in a straight line until the sound changes.
What sound should I hear over a stud?
A dull, less echoing sound compared to the hollow areas.
Does this method always work?
It works best with drywall, but it can be harder on plaster or textured walls.
Can beginners trust this method?
Yes, especially when paired with another detection method for confirmation.
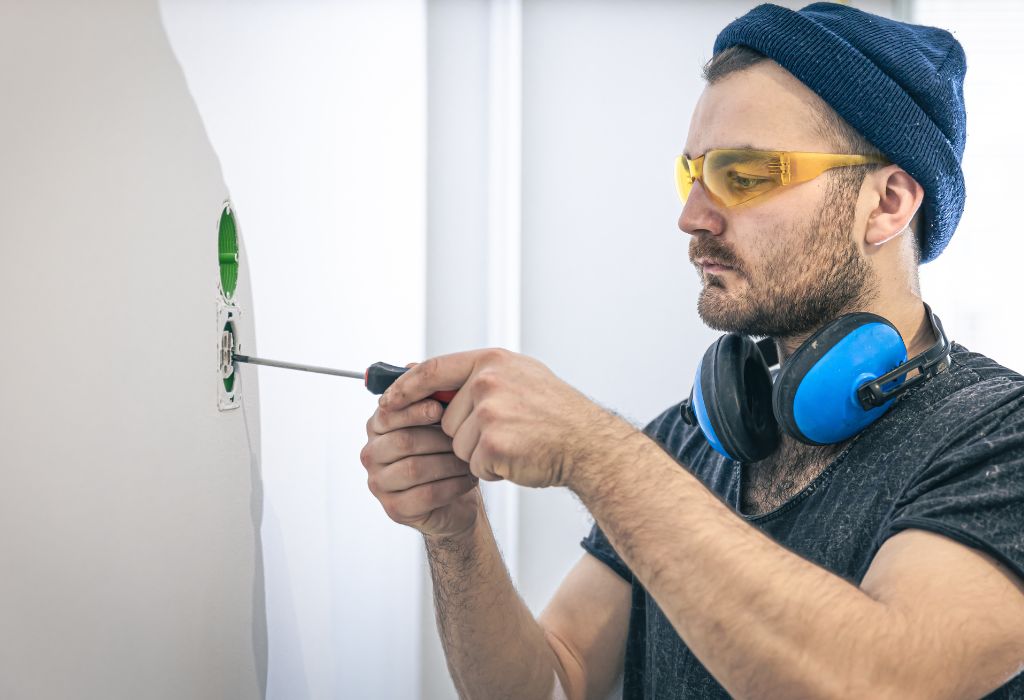
Method 2 — Using Electrical Outlets and Switches
Outlets and light switches are excellent stud indicators because they must be attached to a stud by building code. Removing the cover plate (not the box itself) often reveals which side the stud sits on.
From there, you can measure outward in 16-inch increments to find the next stud along the wall. This technique is one of the most reliable for beginners.
Which side of an outlet has the stud?
Usually on one side; removing the cover plate helps you see it clearly.
Are outlets always on studs?
Yes, electrical codes require outlet boxes to be mounted to studs.
Can this method locate multiple studs?
Yes, once you find one stud, measure in 16-inch steps to locate the rest.
Is it safe to remove the cover?
Yes, as long as you only remove the plate and do not touch live wiring.
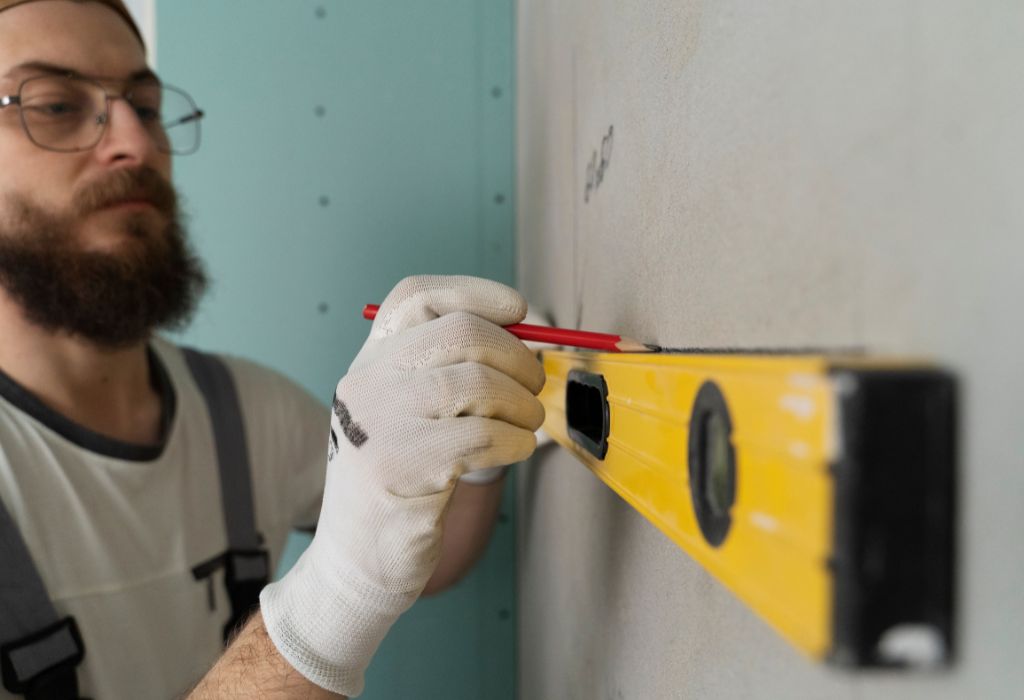
Method 3 — Measuring from Corners and Baseboards

Most homes follow standard stud spacing of either 16 or 24 inches. By measuring from a corner, you can often pinpoint likely stud positions without guesswork.
Another reliable trick is inspecting baseboards since nails or screws used to attach them are driven directly into studs. These subtle clues make locating studs much easier.
What’s the standard stud spacing?
16 inches on center in most homes, but older houses may use 24 inches.
What about older houses?
They often feature irregular spacing, so combine measuring with other methods.
Why measure from baseboards?
Baseboard nails are driven into studs, leaving tiny dimples you can spot.
Can I use both methods together?
Yes, measuring and baseboard inspection create a more accurate map of stud positions.
Method 4 — Magnet or Small Metal Tool Trick
Studs are lined with screws or nails that hold drywall in place. Using a strong magnet allows you to trace these fasteners along a vertical line, confirming a stud’s location.
This method is extremely accurate when done carefully, and even a simple fridge magnet can work in a pinch. Stronger magnets, like neodymium, increase success.
How does the magnet method work?
The magnet clings to hidden screws or nails in drywall.
Do I need a rare-earth magnet?
No, but a stronger magnet provides better accuracy.
Will this method damage walls?
No, it’s completely non-invasive and leaves no marks.
How accurate is it?
Very accurate if you track a vertical line of nails or screws.
Method 5 — Visual Clues on the Wall
Studs often leave subtle signs on painted walls. Nail pops, dimples, or visible seams in drywall indicate where studs are located.
Baseboards, window trim, or crown molding can also reveal stud placement through visible fasteners. Careful observation reduces guesswork.
What visual signs indicate a stud?
Small dimples, nail pops, or seams in drywall.
Do light switches align with studs?
Yes, since they are typically mounted directly to studs.
Can baseboard seams reveal studs?
Yes, nails attaching baseboards always go into studs.
Does this work for painted-over walls?
Yes, but look closely as signs may be faint.
Method 6 — Drilling a Small Test Hole
When other methods give a strong clue, a small test hole can confirm it. Use a thin finishing nail or small drill bit to check for solid wood behind the drywall.
This method is reliable and leaves only a tiny hole, which can easily be patched with spackle if you miss.
Is drilling safe?
Yes, if you start shallow and avoid known electrical zones.
What size hole should I drill?
1/16 to 1/8 inch is enough to test for resistance.
How to confirm a stud?
Wood shavings and firm resistance show you’ve found one.
What if I miss?
Patch the hole and adjust your measurement slightly.
Safety Precautions When Finding Studs Manually
Finding studs manually is effective, but safety must come first. Wires and pipes often run vertically, especially near outlets and plumbing fixtures.
Always drill slowly and never go deeper than necessary when confirming a stud. These steps prevent costly accidents.
Can I hit electrical wires?
Yes, especially if drilling near outlets or switches.
How deep are wires usually set?
Typically 1 to 1.5 inches inside the drywall.
Should I drill slowly?
Yes, shallow and slow drilling reduces risk.
Is it safe to work above outlets?
Be cautious, as wires commonly run vertically from outlets.
Bonus: When to Invest in a Stud Finder Anyway
Manual methods work well, but a stud finder saves time and eliminates doubt. If you frequently hang shelves, TVs, or cabinets, it’s worth the small investment.
Stud finders are affordable, and even basic models make the process faster. For professionals or frequent DIYers, they are an essential tool.
Are cheap stud finders reliable?
Yes, even budget models provide accurate results for drywall.
When is a stud finder worth it?
If you hang heavy objects regularly, it saves time and increases safety.
Do pros still use stud finders?
Yes, as a quick verification tool alongside their own methods.
Can apps replace stud finders?
Some phone apps exist, but they are less accurate than real devices.
Quick Printable Checklist of No-Tool Methods
- Knocking and listening
- Outlets and switches
- Measuring from corners/baseboards
- Magnet trick
- Visual clues
- Small test hole
Which method is fastest?
Using outlets and switches gives the quickest results.
Which is safest?
Magnet and measuring methods avoid unnecessary drilling.
Which is most reliable?
Combining multiple techniques provides the best accuracy.
Which should beginners try first?
Start with knocking, then confirm with a magnet.
Conclusion
Locating studs without a stud finder is not only possible but highly effective. By using a mix of sound, measurement, magnets, and visual cues, you can secure heavy items confidently.
Safety should always guide the process, especially when drilling near electrical or plumbing lines. Combining two or more methods reduces mistakes and ensures accuracy.
Whether you’re hanging a TV, shelf, or picture frame, these no-tool strategies make the job safe and simple. With practice, finding studs becomes second nature.

I’m Michael R. Turner, the founder, lead writer, and passionate DIY enthusiast behind 101diytools.com. With years of hands-on experience in home improvement and power tools, I built this platform to share practical tips, in-depth guides, and honest reviews to help DIYers of all skill levels tackle projects with confidence and the right tools.