Can You Power Sand Drywall Without Damage?
Drywall finishing is one of the final steps that separates an amateur project from a professional-looking wall. Yet, the moment sanding begins, many homeowners discover how delicate drywall can truly be.
One wrong move can tear through the paper surface or leave deep swirl marks that appear under paint. This is why the question often arises — can you power sand drywall without damage?
Traditional hand sanding is time-consuming, dusty, and tiring. Power sanders promise speed and consistency, but they also come with risks that can ruin hours of finishing work in seconds. According to a survey by the Home Improvement Research Institute, over 40% of DIY drywall projects report surface imperfections after sanding due to excessive pressure or the wrong grit choice.
Power sanding has become more popular with modern drywall sanders featuring built-in dust collection and adjustable speeds. When used correctly, they can smooth large areas evenly and reduce fatigue by over 50% compared to hand sanding. But when used incorrectly, they can scorch, gouge, or peel the top layer of drywall paper beyond repair.
The secret to success lies in knowing when, how, and with what settings to power sand. Understanding grit size, tool speed, and proper technique makes the difference between a flawless finish and a costly recoat.
This guide explains how to power sand drywall safely without causing damage, the best tools and settings to use, and the common mistakes to avoid. By mastering the right method, you can achieve smooth, paint-ready walls that look professionally finished every time.
Why Power-Sanding Drywall Is a Hot Topic
Power sanding drywall is becoming increasingly popular because it saves time and produces a smooth surface faster than manual sanding. Contractors use it for large-scale finishing jobs, but it demands precision and the right technique.
The surface of drywall is soft, made from gypsum covered by paper, and improper sanding can easily cut through the top layer. That’s why understanding the right conditions for power sanding is essential for preventing surface damage.
What is power sanding of drywall?
It is the process of using an electric drywall sander to smooth joint compound and remove uneven spots.
Why is it tempting to use a power sander for drywall?
Power sanders cover large surfaces faster and reduce physical strain compared to manual sanding.
What risks are associated with power sanding drywall?
Over-sanding can remove too much compound or tear the paper, leaving rough patches that show after painting.
How common is drywall damage due to incorrect sanding?
It’s estimated that over one-third of amateur drywall finishes are affected by sanding-related flaws.
What are the main benefits of doing it right?
When done correctly, power sanding produces a professional-grade surface that’s smooth, uniform, and ready for priming.
Understanding Drywall Construction and Joint Compound Basics
To avoid damage while power sanding, it’s important to know what drywall is made of and how joint compound behaves. Drywall panels consist of gypsum core sandwiched between heavy paper sheets that can easily tear under friction.
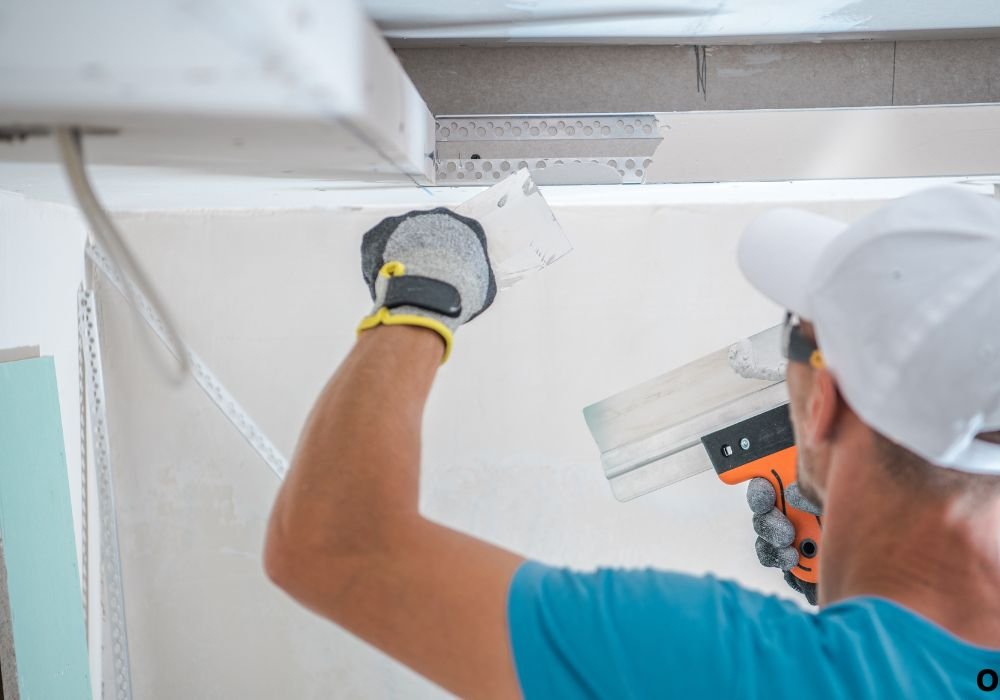
Joint compound, often called mud, is applied to seams, screw holes, and corners to create a flat finish. Once dried, this compound becomes smooth but still softer than most other wall materials, which makes sanding tricky.
What is drywall made of?
It’s composed of a gypsum core wrapped in paper, making it lightweight but vulnerable to abrasion.
What is joint compound used for?
Joint compound fills gaps, covers seams, and smooths surfaces before priming and painting.
Why do sanding techniques matter for the paper and mud layers?
Excessive pressure or coarse grit can tear through the mud and damage the paper surface underneath.
What are drywall finishing levels?
Levels 0 through 5 indicate how finished a drywall surface is, with level 5 being ready for high-quality paint or texture.
What happens if the paper layer is damaged during sanding?
Torn paper exposes gypsum, creating rough patches that absorb paint unevenly and require re-mudding.
When Power Sanding Is Safe and Appropriate
Power sanding drywall is safe when the right conditions are met — proper grit size, correct tool, and steady motion. It’s most useful on large, flat surfaces where manual sanding would be inefficient.
Small patch repairs, corners, and edges should still be done by hand to maintain precision and avoid gouging. Using the right settings ensures the sander glides smoothly without cutting into the surface.
When is power sanding drywall appropriate?
It’s ideal for wide, flat areas with fully dried joint compound and minimal imperfections.
What type of surfaces benefit most from power sanding?
Ceilings, large walls, and smooth joints between drywall sheets respond best to controlled power sanding.
What tool features help ensure safe drywall power sanding?
Variable speed settings, built-in dust collection, and a flexible sanding head reduce damage risk.
How should the drywall surface be prepared before sanding?
Ensure all compound is completely dry, surfaces are free of nails or protrusions, and corners are reinforced.
What grit and speed settings are recommended?
Start with 150 to 180 grit for first sanding, then move to 220 grit at low to medium speed for final smoothing
Tool and Technique Checklist for Safe Power Sanding
Using the right tools and techniques can make power sanding both efficient and safe. Following a structured approach prevents damage and ensures consistent results.
The key is gentle pressure, controlled motion, and dust management. Keeping the sander flat against the surface avoids digging or creating waves.
What features should the power sander have for drywall?
Look for a dedicated drywall sander with adjustable speed, lightweight design, and vacuum attachment.
Why is dust collection important in drywall sanding?
Dust buildup can clog sandpaper and reduce visibility, leading to uneven sanding or accidental gouges.
How to avoid gouging or tearing the drywall paper?
Keep the tool flat, move it constantly, and never pause on one spot.
What motion and pressure should be used?
Use circular or back-and-forth motions with light pressure to avoid creating dips.
What precautions are needed around screws, nails, and corners?
Hand sand near edges, corners, and screw spots where the paper is most vulnerable.
Common Mistakes That Lead to Damage
Power sanding drywall can quickly go wrong when the user applies too much force or uses the wrong materials. Most damage happens due to lack of control or poor preparation.
By recognizing these errors early, you can prevent costly rework and achieve a smoother finish.
What happens if you use too coarse a grit?
Grits below 120 are too rough and will scratch or tear the drywall surface.
Why is excessive speed or pressure dangerous?
High RPMs or pressing too hard can burn through the mud layer and expose the gypsum beneath.
What damage occurs from sanding the paper layer?
Once the paper tears, the exposed gypsum absorbs moisture and creates visible dark spots after painting.
Why is skipping joint compound preparation risky?
Uneven or thick compound dries inconsistently, causing lumps or soft patches that tear during sanding.
What happens when patch areas are sanded like full surfaces?
Smaller repairs need gentler sanding; otherwise, edges become visible under paint.
Hand Sanding vs Power Sanding – Which to Choose?
Both methods have advantages depending on the project size and skill level. Power sanding is fast and consistent, while hand sanding gives more control in detailed areas.
Professional finishers often use both — power sanders for broad surfaces and hand tools for corners and touch-ups.
When is hand sanding better?
It’s best for small patches, tight corners, and areas with heavy compound build-up.
What are the advantages of power sanding?
It saves time on large walls, creates uniform texture, and reduces physical effort.
What are the trade-offs?
Power sanders can cause surface damage if misused, while hand sanding requires more time but offers precision.
Can a mixed approach work?
Yes, start with power sanding for large areas and finish by hand for detailed smoothing.
How should corners and trims be handled?
Always hand sand these areas to maintain sharp edges and avoid paper tears.
Final Prep, Clean-Up, and Inspection Post-Sanding
Once sanding is complete, careful inspection and cleanup ensure a flawless finish. Any leftover dust or rough patch will show once paint is applied.
Proper lighting and surface wiping help spot imperfections early and prevent paint adhesion problems.
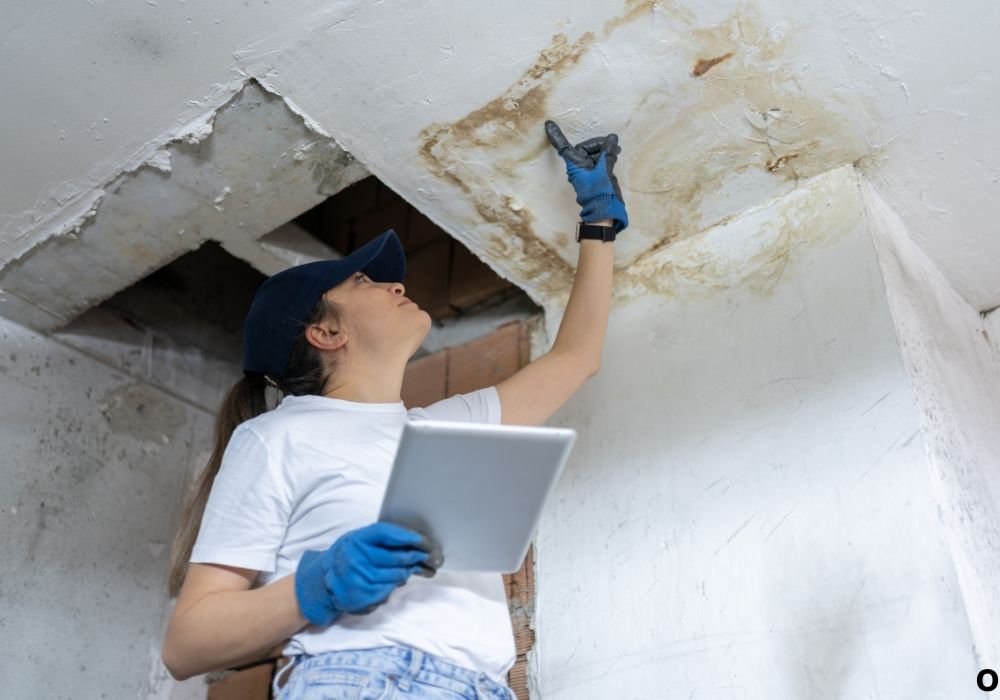
How should you inspect drywall after sanding?
Shine a light across the wall at an angle to detect uneven spots or scratches.
What signs indicate damage?
Torn paper, visible ridges, and circular sanding marks are clear indicators of over-sanding.
How should you clean before painting?
Wipe surfaces with a damp cloth or vacuum attachment to remove all fine dust particles.
What safety precautions should be followed?
Wear protective gear like goggles, masks, and gloves to avoid inhaling drywall dust.
When should you reapply compound after sanding?
If you find low spots or paper tears, apply a thin layer of joint compound, let it dry, and re-sand gently.
Conclusion and Final Advice
So, can you power sand drywall without damage? The answer is yes — but only if you use the right tools, technique, and preparation.
Power sanders can save hours of labor, yet they demand attention to detail and control. Always choose the correct grit, maintain steady motion, and never apply excessive pressure.
For corners, edges, and small repairs, hand sanding remains the safest option. Combining both methods often gives the best results, blending efficiency with precision.
A flawless drywall finish depends on balance — between speed and care, between pressure and patience. When done correctly, power sanding can help you achieve smooth, paint-ready walls that rival professional results every time.

I’m Michael R. Turner, the founder, lead writer, and passionate DIY enthusiast behind 101diytools.com. With years of hands-on experience in home improvement and power tools, I built this platform to share practical tips, in-depth guides, and honest reviews to help DIYers of all skill levels tackle projects with confidence and the right tools.