Can Staple Gun Go Into Hardwood and Avoid Damage?
Picture this: you’re finally tackling that long-awaited home improvement project, installing new baseboards. You grab your trusty staple gun, ready to get the job done quickly. But as you approach the hardwood floor, a little voice in the back of your head wonders, “Can this really work?” This post is designed to answer that very question and help you avoid a DIY disaster. You’ll explore the pros and cons, learn how to prepare, and discover the best methods for fastening trim to hardwood without causing damage. You will also learn about the right staples and tools to choose. By the end, you’ll know exactly what to do to get a professional look.
Key Takeaways
- Hardwood’s hardness presents challenges for stapling, requiring careful consideration.
- Choosing the correct staples and tools is key to successful installation.
- Preparation steps, such as pre-drilling, can prevent damage to the wood.
- Techniques like angled stapling can improve hold and reduce splitting.
- Alternatives, like using finish nails, may be better in some situations.
- Understanding wood species impacts installation strategies.
The Great Hardwood Staple Question
Hardwood, with its natural beauty and durability, is a popular choice for flooring and trim. However, its very strength poses a challenge when you’re looking to attach something to it. Unlike softer woods like pine or fir, hardwood’s dense composition can make it difficult for staples to penetrate cleanly, potentially leading to splits, cracks, or loose connections. Many people ask, “can staple gun go into hardwood?” The answer isn’t a simple yes or no; it depends on a number of factors that we will explore.
The goal is to achieve a secure and aesthetically pleasing finish. This involves understanding the wood’s characteristics, choosing the right tools and materials, and employing proper techniques. If executed correctly, using a staple gun can be a quick and efficient method for securing trim. However, if done incorrectly, it can turn your project into a costly repair. This is why careful planning is so important before you start.
Hardwood Species and Density
The type of hardwood you’re working with significantly impacts how successful stapling will be. Different species have varying densities, which directly affect how readily they accept staples. For example, woods like oak and maple are very dense and usually are more difficult to work with compared to softer hardwoods. This difference is key for the choices you make about tools and methods for securing trim. Understanding the specific wood species you are using can help you choose the right approach and help you avoid problems.
The Janka hardness test is a common method for measuring wood density. It measures the force required to embed a steel ball halfway into the wood. The higher the number, the harder the wood. Here’s a basic overview:
- Oak: A classic choice for flooring, oak is strong and has a moderate hardness, ranging from 1290 to 1360 on the Janka scale. It can often be stapled, but pre-drilling or using a pneumatic staple gun is recommended.
- Maple: This is a very hard wood, often used in flooring or furniture, and can be challenging to staple directly. Maple has a Janka hardness of around 1450. Pre-drilling is almost always required.
- Cherry: It’s a softer hardwood compared to oak or maple. Cherry has a Janka hardness of around 950. It’s easier to staple than oak or maple but still benefits from careful technique.
- Walnut: A more expensive wood, walnut has a Janka hardness around 1010. Stapling can be done, but pilot holes are still a good idea.
- Birch: Birch is a common hardwood that has a Janka hardness of around 1260-1470 depending on the type of birch. It’s comparable to oak, meaning careful consideration is needed when stapling.
Tools of the Trade: Staple Guns and Staples
Choosing the right staple gun and staples is another significant step in a successful project. You have several options, ranging from manual staple guns to electric or pneumatic models. Each type has its pros and cons, which is important for your project. The staples themselves also come in different sizes and materials, and choosing the right one can make all the difference when you’re working with hardwood. Getting the right combination of tools can make or break the outcome.
A manual staple gun is the most basic and affordable option. It relies on human strength to drive the staples. They are good for smaller projects or for those who don’t do a lot of projects. Electric staple guns offer more power than manual ones, making them a better option for harder woods. They’re still portable, and you do not need an air compressor, so they are user friendly. Pneumatic staple guns, powered by compressed air, are the most powerful type. They provide consistent power and are ideal for hardwoods, but they require an air compressor.
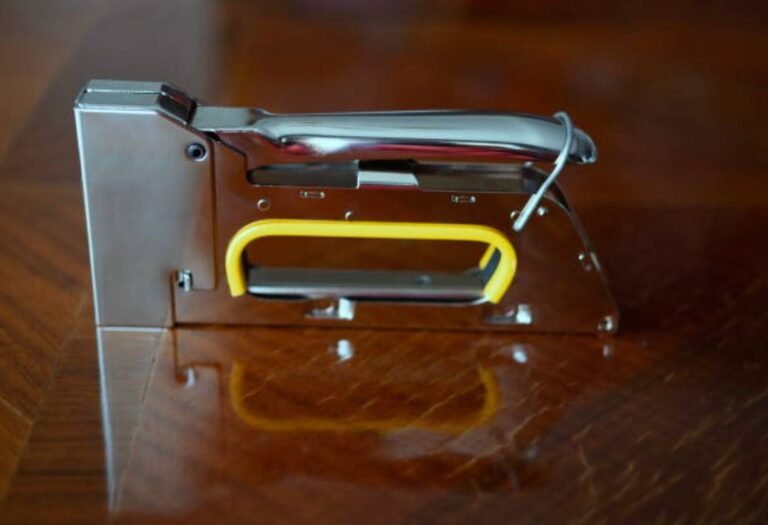
- Manual Staple Gun: These guns are inexpensive but might lack the power for dense hardwoods.
- Electric Staple Gun: Electric models offer a step up in power compared to manual guns and can be useful for many projects.
- Pneumatic Staple Gun: Pneumatic guns provide the most power and consistency. They are ideal for hardwoods but require an air compressor.
- Staple Length: The length of the staples is very important. You want to make sure the staples are long enough to hold the trim securely but not so long that they go through the hardwood.
- Staple Gauge: The gauge of the staple refers to its thickness. Thicker staples offer more holding power but may be more prone to splitting the wood.
Preparation is Key: Pre-drilling and More
Before you even think about firing a staple, preparation is key. This is the stage where you set yourself up for success. It involves a series of steps designed to make the process easier and minimize damage to the hardwood. These steps include measuring, marking, and, crucially, pre-drilling pilot holes. Pre-drilling is one of the most important parts of the preparation process. By taking a little time to prepare, you can significantly reduce the risk of splitting the wood and ensure a clean, strong hold.
Pre-drilling is the process of drilling small holes into the hardwood before you want it and drill the pilot holes. Position the staples and then drive them in.
- Measuring and Marking: Use a measuring tape and pencil to accurately mark the placement of your trim.
- Pilot Hole Diameter: The pilot hole should be slightly smaller than the staple width.
- Drill Depth: Drill the pilot hole at least as deep as the staple length.
- Angle of the Pilot Hole: Angle the pilot hole slightly inward to improve the hold of the staple.
- Test the Method: Test your method on a scrap piece of the same wood to verify it works before stapling the trim to your floor.
Stapling Techniques for Hardwood
Even with the right tools and preparation, the way you staple hardwood can make a significant difference. There are various techniques you can use to improve the hold and avoid damaging the wood. These methods include angling the staples, varying the spacing, and using a pneumatic stapler with adjustable depth settings. Each method has its own benefits, and the best choice depends on the specific project and the type of hardwood being used. These methods are designed to help you succeed in your project.
Angling your staples can increase the holding power. Instead of driving the staples straight in, angle them slightly. This creates a stronger grip between the trim and the hardwood. Angling also helps to distribute the stress more evenly, reducing the risk of the wood splitting. The exact angle you use might vary. An angle between 30 and 45 degrees is often effective. Also, varying the spacing of your staples is another way to improve the outcome. Placing staples closer together in areas that will experience more stress will improve the holding power. On the other hand, spacing the staples too close together can weaken the wood, especially if the staples are not angled correctly. A consistent spacing between the staples provides a good balance between holding power and minimizing stress on the hardwood.
- Angled Stapling: Angle the staples to improve the grip and reduce splitting.
- Staple Spacing: Adjust the distance between staples based on stress points.
- Depth Control: Use adjustable depth settings on your staple gun to avoid overdriving the staples.
- Multiple Passes: In some cases, multiple passes with a pneumatic stapler may be beneficial.
- The Right Angle: A 45-degree angle is a good starting point for angled stapling.
Case Study: Baseboard Installation
In a real-world example, let’s explore a baseboard installation. The homeowner had beautiful oak hardwood floors and wanted to add new baseboards. The project started with measuring and cutting the baseboards. The homeowner pre-drilled pilot holes in the baseboards. The pilot holes are slightly smaller than the staples. Then, they angled the staples to get a good grip and distribute stress. They tested the methods on a piece of scrap oak to verify. This process helped to ensure that the installation went smoothly.
The success of the project came down to the careful combination of preparation and technique. By taking the time to plan, measure, and pre-drill, the homeowner was able to create a professional-looking finish. This is an excellent example of how the right approach can turn a challenging project into a great success. The baseboards were securely attached without any damage to the hardwood, resulting in a project that enhanced the overall look and feel of the room.
Alternative Fasteners: When Staples Aren’t the Best Choice
While a staple gun can be a good option, it’s not always the best solution for attaching trim to hardwood. Sometimes, other fasteners provide a better result. These alternatives offer different benefits in terms of strength, appearance, and ease of use. Choosing the right fasteners is important to achieving a professional finish. These alternatives provide solutions for various situations and preferences.
Finish nails are often a great option. They offer a strong hold and are less likely to split the wood. They create small holes that can easily be filled and make the finished work look much better. Wood glue can be used in combination with nails. This provides even more strength. Screws are another good alternative. They offer a superior holding power, but they are more visible. Using screws requires pre-drilling, and the screw heads must be concealed. Consider the appearance of the finish, the level of holding power needed, and the ease of use when choosing your fastener.
- Finish Nails: Offer a strong hold and are easy to conceal.
- Wood Glue: Increases hold, use it along with nails or screws.
- Screws: Provide excellent holding power, but the heads must be concealed.
- Construction Adhesive: Can be used alone or in combination with fasteners.
Frequently Asked Questions
Question: Can I use a regular staple gun on hardwood?
Answer: It depends on the hardwood’s density and the staple gun’s power. For softwoods like pine, a regular staple gun might work. For hardwoods, you may need a pneumatic staple gun and to pre-drill.
Question: What’s the best staple size for baseboards on hardwood?
Answer: The ideal staple size depends on the baseboard thickness and the hardwood. Generally, use staples that are long enough to penetrate the hardwood but not so long they exit the floor. A good rule is that at least half the staple length should go into the hardwood.
Question: How do I avoid splitting the wood when stapling hardwood?
Answer: Pre-drilling pilot holes, angling the staples, and using the right staple gun power will help prevent splitting. Always test on a piece of scrap wood first.
Question: Can I use a staple gun for crown molding on hardwood?
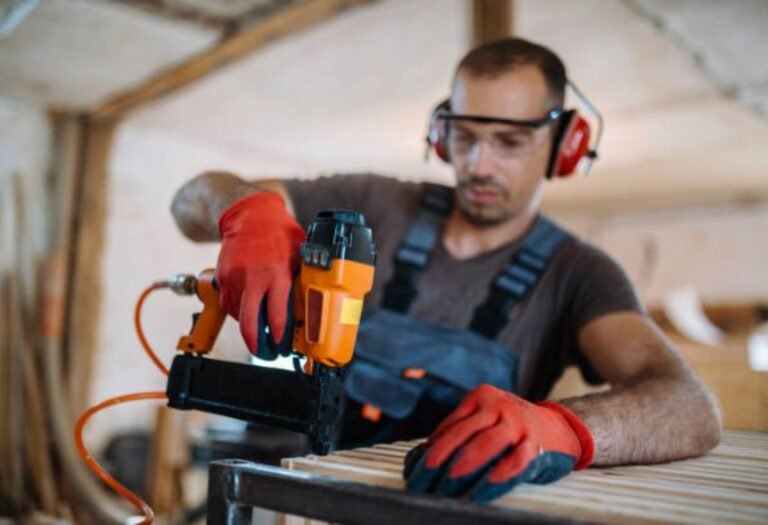
Answer: It’s possible, but the technique is different. A brad nailer or finish nailer is often a better choice for crown molding due to the angles involved.
Question: Should I always pre-drill when stapling hardwood?
Answer: Pre-drilling is recommended for most hardwood species, especially dense ones like oak and maple. It’s a critical step to avoid splitting and ensure a good hold.
Final Thoughts
So, can staple gun go into hardwood? Absolutely, but the success depends on several key factors. We’ve explored the importance of understanding your hardwood species, from oak to maple, and how it impacts your stapling approach. Choosing the right tools, including the correct type of staple gun and staples, is also important. More importantly, we covered the critical steps of preparation, like pre-drilling pilot holes, and using the correct techniques. Consider the benefits of angled stapling and varying staple spacing.
Don’t be afraid to experiment, but always prioritize the safety of your project. If you are unsure, start on a scrap piece of wood. Now, you have the knowledge and tools to take on this DIY task with confidence. Remember, a little preparation goes a long way. With the proper techniques, you can achieve professional-looking results. Get out there, and bring your home improvement vision to life!

I’m Michael R. Turner, the founder, lead writer, and passionate DIY enthusiast behind 101diytools.com. With years of hands-on experience in home improvement and power tools, I built this platform to share practical tips, in-depth guides, and honest reviews to help DIYers of all skill levels tackle projects with confidence and the right tools.