Why Is My Power Sander Losing Power? Easy Fix Guide
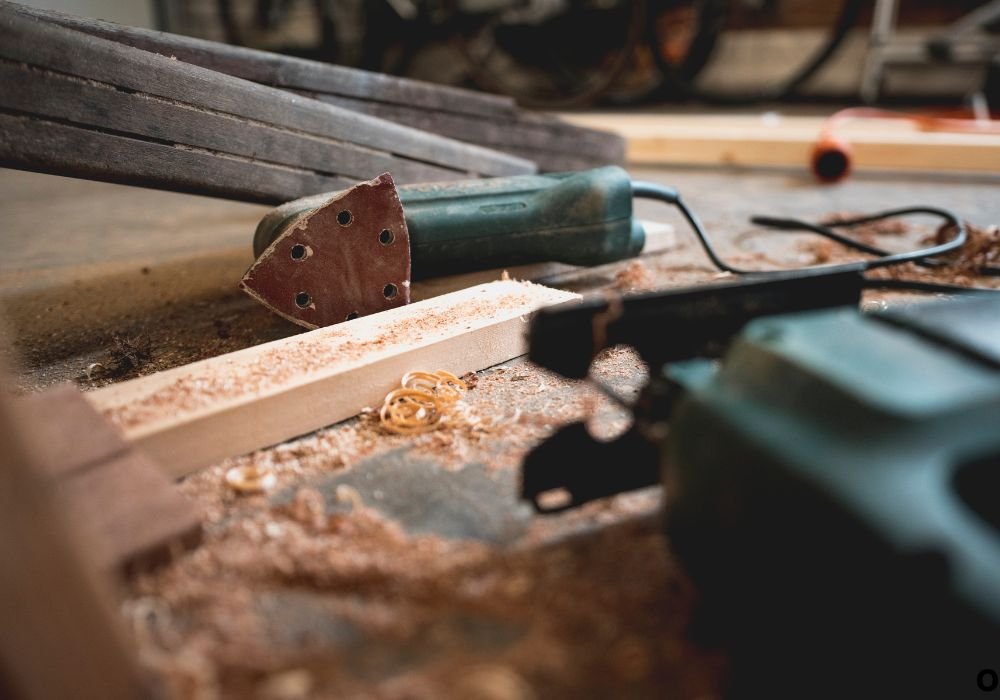
You are halfway through smoothing a tabletop when the note of the motor shifts and the pad starts to hesitate. Dust curls through the light, your grip tightens, and the surface that felt silky a moment ago begins to drag.
It is a small change in sound, but it tells a big story about what is happening inside the tool. Electricity, heat, dust, and moving parts are negotiating in real time, and one of them is no longer keeping up.
Most sanders do not fade because they are “finished” or flawed from the start. They stumble because consumable parts wear, vents clog, or connections loosen under normal work.
That is good news for your project timeline and your budget. The fixes are often simple, fast, and surprisingly effective when you know where to look.
This guide walks you through how a sander turns current into motion and what interrupts that flow. You will see how brushes, commutators, bearings, cords, and airflow each play a role in keeping torque steady.
You will also learn a clean, safe process to diagnose weakness before it becomes a stall. With a few checks and a bit of care, you can bring tired tools back to confident, consistent power.
How a Power Sander Generates Power
Before solving the problem of power loss, it helps to understand how a power sander actually works. Inside that small machine is a carefully engineered system that converts electricity into continuous rotational force. Every spin of the pad or belt depends on smooth electrical flow, balanced moving parts, and steady cooling. When even one part fails, the entire system becomes weak, causing your sander to lose strength during use.
At the center of the tool is the electric motor. It draws current from your outlet or battery and turns it into motion through electromagnetic induction. The spinning rotor, known as the armature, creates torque that drives the sanding pad. To keep that motion alive, the motor relies on carbon brushes — small, spring-loaded blocks that deliver electricity to the rotating armature. As these brushes wear down over time, the electrical contact becomes inconsistent. This leads to weak spins, flickering power, or sudden shutdowns.
Next is the commutator, the part that keeps the electrical current switching in sync with the motor’s rotation. If it gets dirty, scratched, or burned, the flow of electricity becomes uneven. The result is reduced power output, a buzzing sound, or sparks coming from the motor housing.
The airflow system is another critical component. When you sand, fine dust particles fill the air and can easily clog the tool’s vents. Your sander has built-in cooling fans that pull air through the housing to keep the motor from overheating. If those vents get blocked, heat builds up, resistance increases, and the motor struggles to maintain consistent speed.
Even small parts like switches, cords, and bearings play a role in delivering power smoothly. When everything works in harmony, your sander runs strong and steady. But once one element fails, power drops instantly.
In the next section, we will explore the most common reasons your power sander loses power and how to spot each one before it turns into a costly repair.
Common Reasons Your Power Sander Loses Power
When your power sander begins to weaken, it is usually a sign that something inside the tool is restricting electricity or reducing motor efficiency. Most problems are easy to fix once you identify them. Below are the most common causes of power loss and how they affect your sander’s performance.
1. Worn or Damaged Carbon Brushes
Carbon brushes are responsible for transferring electricity to the spinning armature. Over time, friction wears them down, reducing their ability to maintain contact. When this happens, you might hear crackling sounds or notice uneven spinning. Replacing worn brushes is one of the simplest and cheapest ways to restore power. Always check your user manual for brush size and installation instructions.
2. Damaged Power Cord or Plug
A frayed or twisted power cord can interrupt the flow of current to your motor. This often happens when cords are repeatedly bent or pulled during use. If the wire inside breaks or loosens, your sander may lose power or stop suddenly. Inspect your cord for cuts, burn marks, or soft spots. Replacing it immediately prevents further damage and keeps you safe from electric shock.
3. Dust Clogging and Overheating
Wood dust can easily build up inside the sander, blocking airflow and overheating the motor. When the motor gets too hot, it automatically reduces power to protect itself. Cleaning the vents and interior with compressed air after every few uses prevents this issue. Never ignore overheating — it is a clear sign that your tool needs attention.
4. Faulty Switch or Loose Connection
Sometimes the problem is as simple as a loose wire or a dirty switch. If your sander occasionally starts and stops or works only when you wiggle the cord, it could be an internal connection issue. Opening the housing carefully and tightening the connectors can often fix it.
5. Motor or Armature Failure
In rare cases, the armature or motor coils may burn out. This causes low speed, strange noises, or a burnt smell. A professional inspection or replacement may be necessary if your sander still struggles after basic cleaning and brush replacement.
Step-by-Step Troubleshooting Guide
When your sander begins losing power, follow these steps to find the cause quickly and safely.
Step 1: Unplug and Inspect the Exterior
Check for visible damage to the cord, plug, and switch. Look for burn marks or broken casing.
Step 2: Test the Power Source
Sometimes the issue is not the tool but the outlet or extension cord. Plug another device into the same outlet to confirm power flow.
Step 3: Examine the Carbon Brushes
Remove the side caps and inspect the brushes. If they are shorter than half an inch or unevenly worn, replace them with new ones.
Step 4: Clean the Air Vents and Housing
Use compressed air or a small brush to remove dust from the vents, cooling fan, and around the motor. This prevents overheating and improves airflow.
Step 5: Check Internal Connections
If you are comfortable with basic electrical repairs, open the housing to inspect wire connections. Tighten any loose terminals and ensure all components are properly seated.
Step 6: Run a Test at Low Load
After cleaning and checking everything, run the sander at low pressure for a minute. Listen for smooth, steady rotation. If the issue remains, the motor may need replacement.
Preventive Maintenance Tips
Keeping your power sander in top condition is easier than fixing it after a breakdown. Follow these preventive habits to avoid future power loss.
- Clean After Every Use: Dust and fine particles are the biggest enemies of power tools. Wipe down the body and blow out the vents regularly.
- Replace Brushes Periodically: Check the carbon brushes every few months if you use your sander often. Replacing them early prevents sudden power drops.
- Avoid Overloading: Pressing too hard during sanding puts unnecessary strain on the motor. Let the tool do the work; apply light, even pressure.
- Use the Right Extension Cord: Always use a heavy-duty cord that matches your sander’s amperage rating. Thin or long cords reduce voltage and weaken motor performance.
- Store in a Clean, Dry Place: Keep your sander away from moisture and dust when not in use. Proper storage extends the life of internal parts.
Regular care not only prevents power loss but also keeps your sander running efficiently for years.
Repair or Replace: How to Make the Right Decision
When your power sander starts losing power, it is natural to wonder whether you should repair it or simply buy a new one. The answer depends on the type of problem, the cost of replacement parts, and how often you use your tool. Understanding when to fix and when to replace can save both time and money while keeping your projects on track.
1. When Repair Makes Sense
If the issue is minor, such as worn carbon brushes, a dirty commutator, or a loose connection, repairing is the smart move. These fixes are inexpensive and take only a few minutes. A set of carbon brushes or a replacement cord usually costs far less than a new sander. Many users are surprised at how much power returns after a quick cleaning or part swap.
You can also consider repair if your sander is a high-quality brand or professional model. These tools are built with durable components that can last for years once maintained properly. Paying for a new motor or switch might still be cheaper than replacing the entire tool.
2. When Replacement Is the Better Option
Sometimes the cost of fixing a sander is higher than buying a new one. If the motor is burnt out, the armature damaged, or the housing cracked, it may not be worth repairing. Also, if you have already replaced several parts and the tool continues to lose power, it could mean the motor windings are failing internally.
If your sander is more than five years old and heavily used, replacement might be the most practical choice. Modern sanders are designed to be more energy-efficient, produce less vibration, and handle dust better than older models.
3. Balancing Cost and Performance
Compare the total repair cost with the price of a new tool. If the repair is more than half the price of a new sander, replacing it is usually the wiser decision. Look for updated models with improved motor cooling, ergonomic grips, and dust collection features. These upgrades can make sanding easier and extend the life of your new tool.
Before buying, always check the warranty and service options of the brand. A reliable tool backed by good support will pay off in the long run.
In the next section, we will cover Pro Maintenance Tips that help extend your sander’s life and keep its power steady through every project.
Pro Maintenance Tips for Long-Lasting Power
A power sander can last for many years if you maintain it with care and consistency. Small habits practiced regularly can make a huge difference in preventing power loss, overheating, or sudden motor failure. Whether you use your sander every day or only for weekend projects, the following professional maintenance tips will help keep it running at full strength.
1. Keep It Clean After Every Use
Dust is the silent killer of power tools. After every sanding session, unplug the sander and use a soft brush or air blower to clean vents, housing, and around the motor area. This prevents fine particles from clogging the cooling system and ensures proper airflow. A clean sander not only performs better but also stays cooler and lasts longer.
2. Check the Carbon Brushes Regularly
The carbon brushes inside the motor wear down naturally over time. Make it a habit to inspect them every few months. If they are shorter than half their original size or show uneven wear, replace them immediately. Fresh brushes restore power flow to the motor and prevent sparking or stuttering performance.
3. Use the Right Power Source
Always connect your sander to a proper voltage source. If you are using an extension cord, choose one that is heavy-duty and short enough to minimize voltage drop. Thin or long cords can reduce electrical power, causing your sander to feel weak or slow.
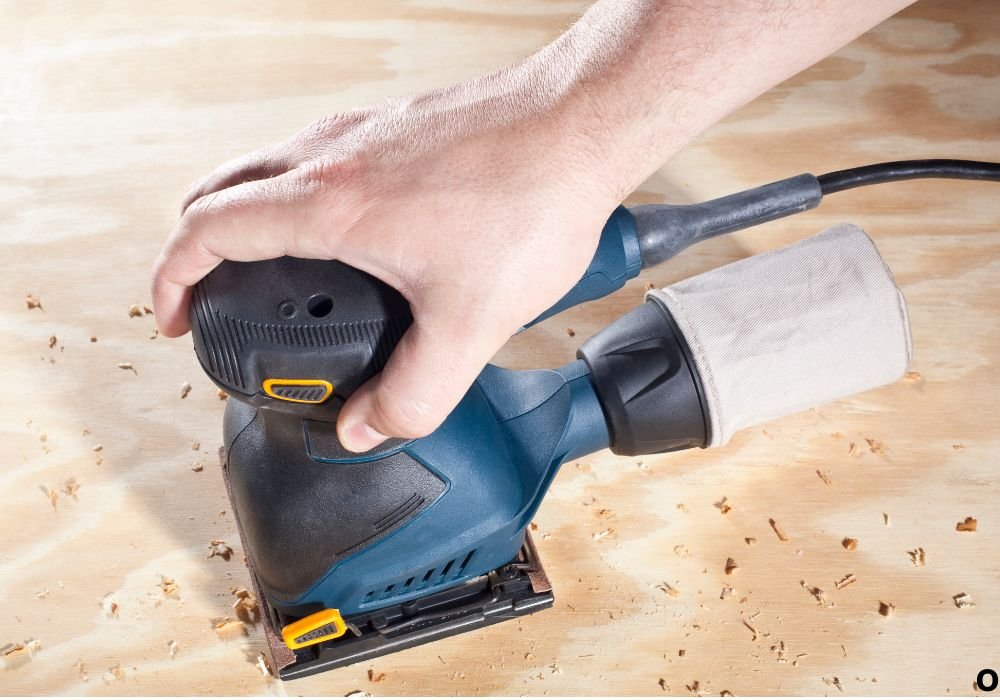
4. Avoid Overloading the Tool
Pressing too hard while sanding forces the motor to work beyond its limit. Instead, let the sander’s own weight and speed do the job. Applying gentle, even pressure reduces heat buildup, preserves motor health, and gives a smoother finish on every project.
5. Give the Motor Time to Cool Down
If you are sanding for long periods, take short breaks between sessions. Allowing the tool to cool down naturally prevents overheating and extends the life of internal components.
6. Store Properly After Every Project
After cleaning, wrap the cord loosely and store the sander in a dry, dust-free area. Avoid damp places like basements or open garages. Moisture can corrode metal parts and damage internal wiring. A storage box or bag keeps the tool safe from dust and accidental damage.
Regular care not only saves money on repairs but also ensures your sander performs at its best whenever you need it.
In the final section, we will discuss how to restore and maintain full power so your sander stays reliable and ready for every project.
A power sander losing strength can feel like the end of a project, but in most cases, it is simply a sign that your tool needs a little care. The motor, brushes, wiring, and vents all work together to keep your sander spinning with steady power. When one of these elements becomes dirty, worn, or loose, performance naturally drops. The good news is that these issues are almost always easy to fix at home.
By cleaning the vents, checking the power cord, replacing worn carbon brushes, and inspecting internal connections, you can restore your sander’s full potential without spending much. Even a few minutes of maintenance can make a weak, fading tool feel brand new again.
Consistent care is the real secret to keeping your power tools strong. Clean after every project, avoid pushing too hard while sanding, and store the tool in a cool, dry place. These small habits protect your investment and prevent costly repairs later.
If you ever find that repairs become too frequent or expensive, consider upgrading to a newer model. Modern sanders are designed with better cooling systems, improved dust collection, and stronger motors, helping you work more efficiently and comfortably.
Remember, losing power does not mean losing value. With the right approach, you can easily bring your sander back to life and keep it performing like new for years to come. Every tool deserves maintenance, and every craftsman deserves a tool that works as hard as they do.
Frequently Asked Questions (FAQs) About Power Sanders Losing Power
1. Why is my power sander losing power during use?
Your sander may be losing power due to worn carbon brushes, a damaged cord, or dust clogging the motor vents. Checking and cleaning these parts usually restores full performance.
2. How can I tell if my carbon brushes are worn out?
If you notice weak spinning, sparking inside the motor, or inconsistent speed, your carbon brushes are likely worn. Replace them if they are shorter than half an inch.
3. Can dust really make my sander lose power?
Yes. Fine dust can block ventilation ports and cause the motor to overheat. This heat reduces torque and power output. Cleaning the vents regularly prevents the issue.
4. Why does my sander only run at full power for a few seconds?
This often happens when the brushes or commutator lose contact due to dirt or wear. Inspect both and clean them with a soft cloth or replace the brushes if needed.
5. What should I do if my sander suddenly stops working?
Unplug it immediately and check the outlet, cord, and switch. If those are fine, inspect internal connections or motor brushes. Never continue using it until the cause is found.
6. Is it safe to repair a sander by myself?
Yes, for basic maintenance like cleaning vents, replacing brushes, or changing cords. But if you suspect a motor or wiring problem, it is safer to contact a professional technician.
7. How often should I clean my power sander?
Clean your sander after every few uses, especially if you work with softwoods that create a lot of fine dust. A quick blow with compressed air helps prevent buildup.
8. Can a weak extension cord reduce my sander’s power?
Absolutely. Using a long or thin extension cord reduces voltage, making your motor run slower and hotter. Always use a heavy-duty cord rated for your tool’s amperage.
9. What are signs of a failing motor in a power sander?
A burning smell, grinding noise, or vibration combined with weak rotation often indicates internal motor damage. If these appear, stop using the tool and have it inspected.
10. How do I keep my sander from overheating?
Keep air vents open, avoid pressing too hard while sanding, and take short breaks during long jobs. Overheating shortens motor life and reduces performance.
11. Why does my sander lose power when I apply pressure?
Too much downward pressure overloads the motor, causing it to slow down. Always let the sander’s own weight and speed handle the sanding process.
12. What type of maintenance extends a sander’s life?
Routine cleaning, replacing brushes, checking cords, and proper storage are key. These habits prevent 90% of performance problems and save money on repairs.
13. Can low voltage at home cause power loss in my sander?
Yes. Fluctuating or low voltage can make your sander feel weak. Try plugging it into a different outlet or using a power stabilizer if you notice frequent drops.
14. Should I replace the motor or buy a new sander?
If replacing the motor costs more than half the price of a new sander, it is smarter to buy a new one. Modern models are more powerful and energy efficient.
15. How long should a power sander last with proper care?
With regular maintenance and moderate use, a quality power sander can last five to ten years or more. Proper cleaning and gentle operation make the biggest difference.
Conclusion: Restore Power and Extend Your Sander’s Life
A power sander losing power is one of the most common problems woodworkers face, but it rarely means your tool is finished. In most cases, it is a small and fixable issue hiding inside — worn brushes, blocked air vents, or loose connections quietly reducing performance. With the right care and a bit of attention, you can bring your sander back to full strength without spending much time or money.
Regular maintenance is the key. Clean your sander after every project, replace carbon brushes when they wear down, and keep air vents free of dust. Avoid overloading the motor by pressing too hard, and give the tool time to cool during long sessions. These small steps prevent overheating, maintain torque, and ensure smoother sanding results.
If repairs start becoming too frequent or costly, do not hesitate to upgrade. Newer sanders are designed for better airflow, stronger motors, and advanced dust control, helping you work faster and cleaner.
Your sander is more than just a power tool — it is a partner in every creative project. Take care of it, and it will return the favor with years of dependable performance, steady power, and perfect finishes on every piece you touch.

I’m Michael R. Turner, the founder, lead writer, and passionate DIY enthusiast behind 101diytools.com. With years of hands-on experience in home improvement and power tools, I built this platform to share practical tips, in-depth guides, and honest reviews to help DIYers of all skill levels tackle projects with confidence and the right tools.