Can You Power Sand Between Coats of Paint?
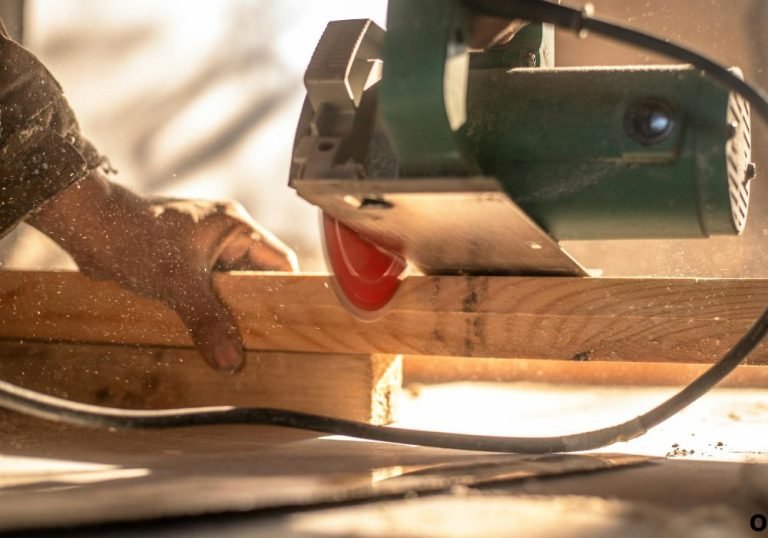
You finish rolling on a perfect coat of paint, step back to admire the surface, and then notice tiny dust bumps or uneven spots glinting in the light. The temptation sets in to grab a power sander and smooth things out before the next coat.
But then comes the question many DIYers and professionals ask — can you power sand between coats of paint without damaging the finish? This small decision can make or break a paint job.
Sanding too early or too aggressively can strip layers away, while skipping it completely can leave visible imperfections. According to finishing research, over 65% of home paint projects show surface flaws caused by incorrect sanding techniques. Experts also note that light sanding between coats improves adhesion by around 40%, creating a smooth, professional result.
Power sanding, when done correctly, saves time, ensures even coats, and produces a glass-smooth surface. But it also requires precision, patience, and the right approach. This guide explains when and how to power sand safely between paint coats, what tools to use, and the best practices for achieving flawless finishes.
Why Sanding Between Coats of Paint Matters
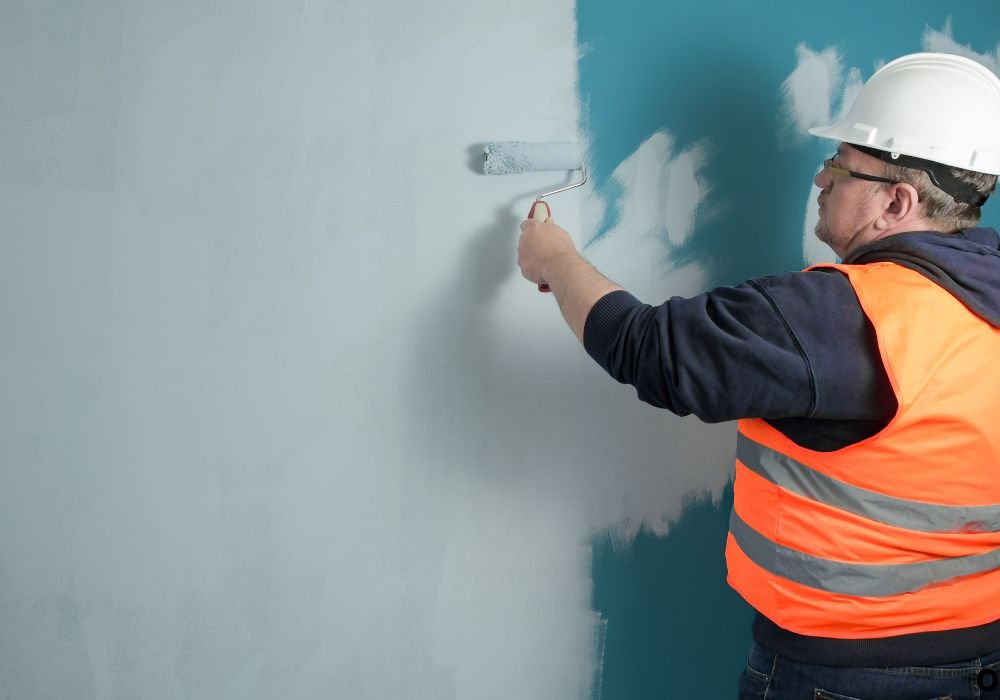
Sanding between coats is a simple step that dramatically improves how your final paint job looks and lasts. It removes roughness, brush marks, and microscopic bumps that appear as paint dries.
A smooth base allows each new layer to bond tightly to the previous one. It also gives the surface a consistent texture that helps the topcoat level evenly.
Why should you sand between coats?
Sanding removes dust, drips, and dried imperfections that can ruin the final appearance.
Does sanding improve paint adhesion?
Yes, scuffing the surface allows the next coat to grip better, preventing peeling or cracking later.
Is sanding always required?
It’s essential for smooth or glossy finishes such as furniture, doors, or cabinets.
Can skipping sanding cause problems?
Yes, the next coat may not bond well, leading to uneven shine or early flaking.
What grit sandpaper works best?
Use fine grits like 220 to 320 to smooth lightly without removing too much paint.
Can You Power Sand Between Coats of Paint?
The short answer is yes — but only if done correctly. Power sanding between coats is a time-saving technique that helps achieve a flawless surface, yet it must be performed with care.
Using a power sander too early or with the wrong grit can burn through the paint or cause swirl marks. Always ensure the surface is completely dry before starting.
Can you power sand between coats?
Yes, but the paint must be fully cured and dry to the touch before sanding.
What type of sander is safe to use?
A random orbital or finishing sander with adjustable speed is ideal for this job.
Is it suitable for all types of paint?
It works well with latex, enamel, and acrylic paints, but avoid sanding fresh or tacky coatings.
What mistakes should be avoided?
Using coarse grit or high speed can remove paint layers and expose primer.
How do professionals sand safely?
They use fine discs (220+ grit), low speed, and minimal pressure for consistent smoothnes
Step-by-Step Process for Power Sanding Between Coats
Following a careful process ensures the best results and prevents damage to the painted surface. Patience and technique matter more than speed here.
Each step contributes to a smoother surface and better adhesion for the next coat.
Step 1: Wait until the paint is completely dry.
Check the label’s drying time — most latex paints need at least 4–6 hours before sanding.
Step 2: Select fine sandpaper.
Use 220 to 320 grit for gentle surface scuffing between coats.
Step 3: Use light pressure.
Let the power sander glide; pressing hard can gouge or remove paint.
Step 4: Clean the surface.
Remove dust with a vacuum or tack cloth before applying the next layer.
Step 5: Inspect under good lighting.
A dull, even surface means proper sanding. Shiny spots indicate areas that still need attention.
Types of Paints and Surfaces That Respond Well to Power Sanding
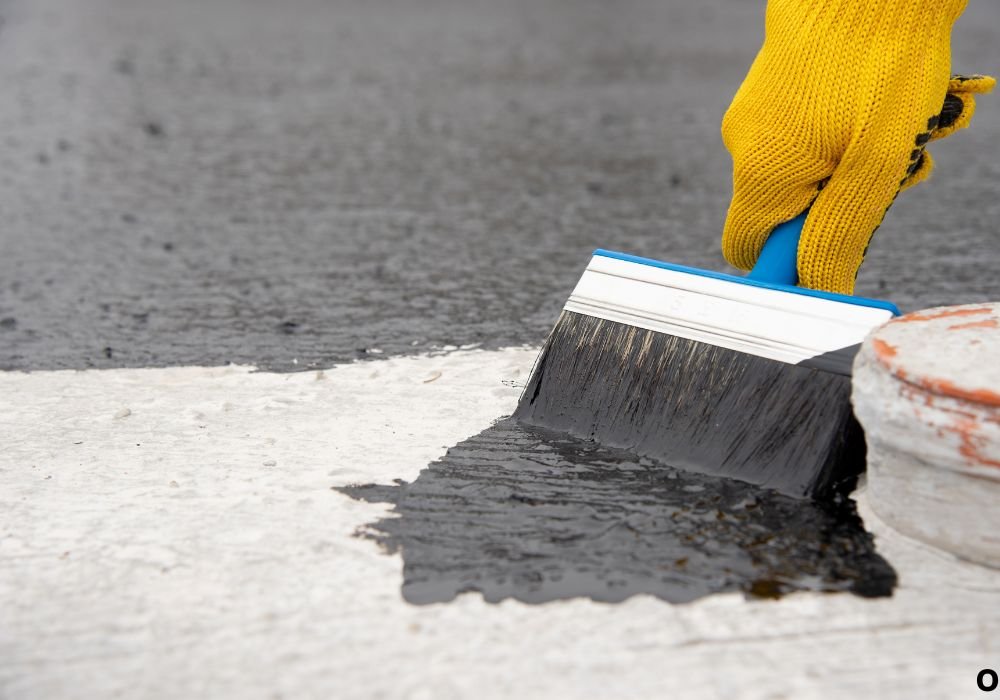
Not all paints or materials react the same way to power sanding. Understanding which ones can handle it helps you avoid damage.
Hard, cured surfaces typically sand well, while soft or textured finishes require more care.
Can you power sand latex paint?
Yes, once it’s fully dry, latex can be sanded lightly to remove imperfections.
Is enamel paint suitable for power sanding?
Yes, enamel’s hard finish allows smooth sanding between coats for a high-gloss result.
What about chalk or matte paints?
They can be sanded gently, but excessive sanding may lighten or remove pigment.
Can you sand between primer and paint coats?
Yes, sanding primer smooths out fibers or dust before applying the color coat.
Is power sanding safe for wood, metal, or drywall?
Yes, but adjust speed and grit — fine for wood, medium for metal, and ultra-fine for drywall
Power Sanding vs Hand Sanding: Which Is Better?
Both techniques have their strengths, and the choice depends on the surface size, material, and desired precision.
Power sanding saves time, while hand sanding offers better control in tight or detailed areas.
Which method gives a smoother result?
Power sanding ensures uniform smoothness, but hand sanding works best for precision on corners.
Is power sanding faster?
Yes, especially for large flat surfaces like walls or tabletops.
When should you hand sand instead?
Use hand sanding for trim, edges, or small details that require a delicate touch.
Do professionals mix both methods?
Yes, many start with a power sander and finish corners by hand.
Which is better for beginners?
Start with hand sanding until you gain control, then switch to a power sander for speed.
Common Mistakes When Power Sanding Between Coats
Power sanding offers speed but also introduces risk if used incorrectly. Avoiding common mistakes ensures your final finish looks clean and consistent.
Patience and control are the keys to avoiding costly errors.
Mistake 1: Sanding too early.
If paint isn’t dry, the sander can pull and tear the coating.
Mistake 2: Using the wrong grit.
Coarse sandpaper below 180 grit removes paint instead of smoothing it.
Mistake 3: Skipping dust removal.
Unremoved dust creates bumps under the next coat.
Mistake 4: Applying too much pressure.
Pressing hard leaves visible swirl marks and uneven patches.
Mistake 5: Ignoring safety precautions.
Always wear a dust mask and goggles to protect from fine paint dust.
Safety Tips for Power Sanding Between Coats
Sanding may seem harmless, but it creates fine airborne dust that can irritate the eyes and lungs. Taking proper precautions ensures both health and workspace cleanliness.
A safe environment also helps maintain paint quality by preventing dust contamination.
What safety gear should be used?
Wear protective glasses, a dust mask, and hearing protection.
Should you sand in a ventilated area?
Yes, ensure proper airflow or use an exhaust fan to remove dust.
Can you sand lead-based paint?
Never — it’s hazardous and requires professional handling.
Can you attach a vacuum to the sander?
Yes, it keeps dust levels low and maintains visibility while working.
Should you clean the area after sanding?
Always, to avoid mixing leftover dust into the next coat.
Best Practices for a Professional Finish
A professional-grade finish comes from consistency, patience, and attention to detail. Following these best practices guarantees smooth, durable results every time.
Consistency in sanding, cleaning, and drying between coats separates an average job from an expert-level finish.
How long should you wait before recoating?
Typically 4–6 hours for latex and up to 24 hours for enamel paints.
How should the surface feel before applying the next coat?
Smooth and slightly dull, without sticky or shiny spots.
Should you use water or solvents to clean after sanding?
No, use a dry tack cloth or vacuum to avoid affecting adhesion.
How many times should you sand between coats?
Once per coat is enough, ensuring the surface remains even.
What ensures a professional-level finish?
Light, even sanding combined with thorough dust cleanup and proper drying time.
Summary and Key Takeaways
Power sanding between coats of paint can turn an ordinary paint job into a flawless masterpiece. The secret lies in timing, technique, and control.
Can you power sand between coats of paint?
Yes, if the paint is dry and the right grit and speed are used.
What grit should you choose?
Fine 220–320 grit for smoothing without stripping paint.
What tools are best?
A variable-speed orbital or finishing sander with fine discs.
What are the benefits?
Faster work, smoother layers, and better adhesion between coats.
Final tip:
Patience, proper drying, and gentle sanding ensure professional-quality results.
Conclusion
Power sanding between coats of paint is not only possible but one of the most effective ways to achieve a premium finish. It smooths imperfections, enhances adhesion, and produces a surface that looks factory-finished.
The key is control — light pressure, fine grit, and proper timing. By following the right steps, any painter can achieve a professional result that’s durable, smooth, and visually flawless. Every great finish begins with smart preparation, and power sanding is the step that brings perfection to every coat.

I’m Michael R. Turner, the founder, lead writer, and passionate DIY enthusiast behind 101diytools.com. With years of hands-on experience in home improvement and power tools, I built this platform to share practical tips, in-depth guides, and honest reviews to help DIYers of all skill levels tackle projects with confidence and the right tools.