How to Power Wash and Re-Sand Pavers Correctly
Over time, patios, driveways, and walkways made of pavers lose their original look. Dirt, moss, and weeds slowly invade the joints, while rain and foot traffic wash away the stabilizing sand that holds everything together.
According to landscaping experts, most paver installations require cleaning and re-sanding every two to three years to maintain stability and prevent surface deterioration. When left unchecked, gaps form between pavers, water seeps in, and weeds take root.
Power washing clears away built-up grime and prepares the joints for new sand. Re-sanding then locks each stone firmly in place, reduces shifting, and restores the neat, finished look.
However, using too much water pressure or the wrong technique can damage pavers or remove too much sand. That’s why following the correct method is crucial for long-term results.
In this guide, you’ll learn how to power wash and re-sand pavers safely and effectively, step by step. You’ll also discover the best tools, materials, and maintenance habits to keep your outdoor surfaces looking beautiful year-round.
Why Power Washing and Re-Sanding Pavers Matters
Paver surfaces are constantly exposed to dirt, rain, and sunlight. Over time, these natural elements break down the joint sand that keeps the pavers tight and level.
Without proper maintenance, sand erosion causes the stones to shift, creating uneven surfaces that trap water and allow weeds to grow. Re-sanding restores the original strength and appearance of your patio or driveway.
What happens if pavers are never re-sanded after cleaning?
The joints will loosen over time, allowing the pavers to shift, sink, or move under pressure.
How does power washing affect the joint sand between pavers?
High-pressure washing removes grime but also washes out existing joint sand, which is why re-sanding afterward is essential.
Is weed growth a sign that joint sand is failing?
Yes. Weeds grow easily when sand washes away, leaving open gaps where moisture and soil settle.
How often should pavers be power washed and re-sanded?
Every two to three years is ideal, depending on weather exposure and traffic levels.
What benefits does re-sanding bring to paver stability and appearance?
It strengthens the joints, prevents movement, enhances color contrast, and extends the surface lifespan.
Preparing the Pavers Before You Start
Preparation makes the entire process more efficient and safer. Start by removing outdoor furniture, planters, and any obstructions from the area. Sweep away loose dirt, leaves, and debris to expose the joints.
Inspect the surface for cracked or uneven pavers that may need leveling or replacement. Choose a dry day with mild temperatures to ensure the surface dries completely after washing.
Why is it important to remove furniture and obstacles first?
Clearing the area ensures you can clean every corner evenly without water or sand splashing onto objects.
How should you inspect pavers for damage before power washing?
Look for cracks, chips, or sinking stones that may need fixing before applying high-pressure water.
What weather conditions are best for this task?
A clear, dry day with low humidity allows for proper drying and better sand adhesion.
What tools and equipment are needed for preparation?
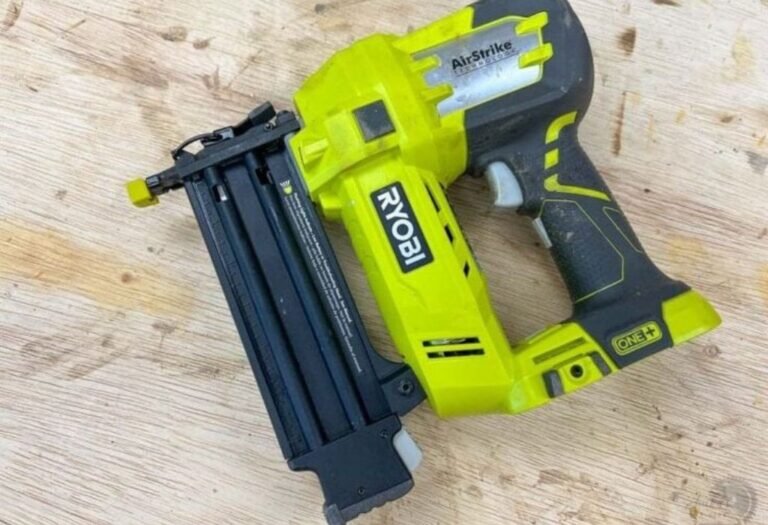
A broom, leaf blower, pressure washer, and protective gear like gloves and eyewear are essential.
Should the old joint sand be completely removed before re-sanding?
No. Remove only loose or eroded sand while leaving stable lower layers intact for support.
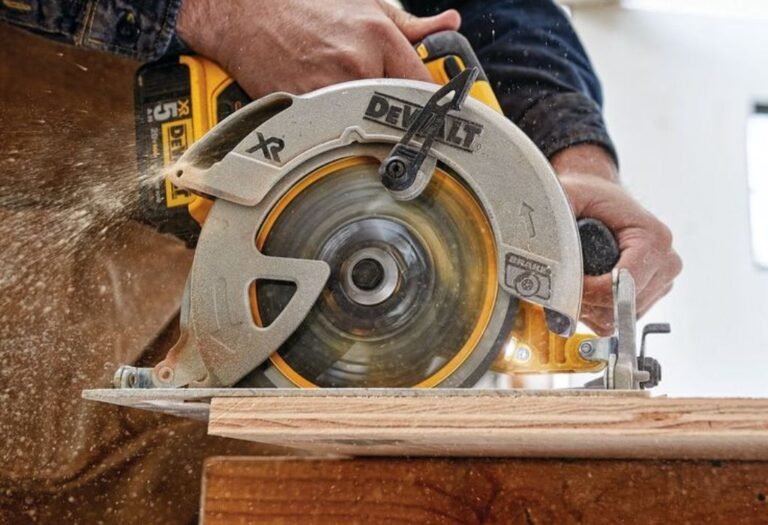
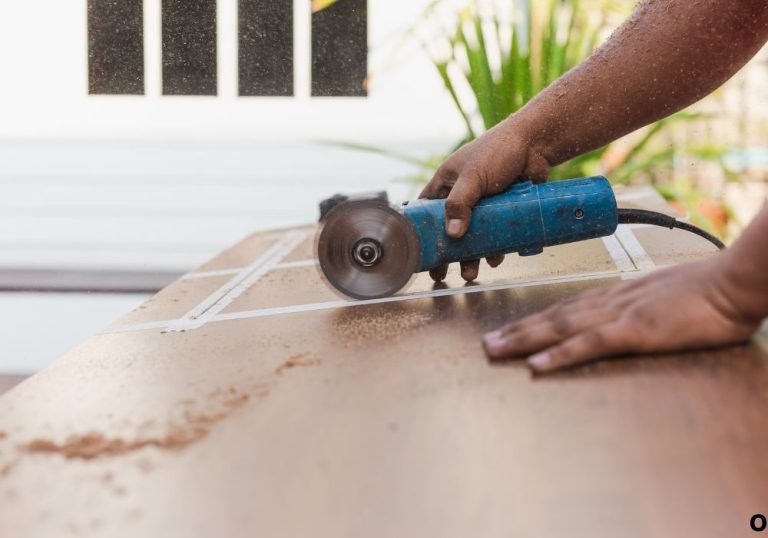
How to Power Wash Pavers Safely Without Damaging Them

Power washing pavers restores their natural color and removes built-up grime, but excessive pressure can cause lasting damage. The goal is to clean the surface without gouging the pavers or blowing out too much joint sand.
Set the pressure washer between 1,500 and 2,000 PSI for concrete or brick pavers. Use a 25- or 40-degree fan nozzle to distribute water evenly and minimize erosion. Keep the nozzle about 12 inches away from the surface.
What PSI and pressure setting is safe for pavers?
1,500–2,000 PSI is ideal for cleaning pavers without damaging the surface or joints.
Which nozzle pattern works best for pavers?
A 25- or 40-degree nozzle provides a wide spray for gentle yet effective cleaning.
How far should the nozzle be held from the surface?
Maintain a distance of about one foot to prevent cutting into the pavers.
What are the risks of using too much pressure?
High pressure can chip the paver surface, dislodge sand, or cause uneven erosion.
Should you avoid spraying directly into the joints?
Yes. Angle the spray slightly and move in sweeping motions to protect the sand between pavers.
Re-Sanding the Pavers: Step by Step
After power washing, allow the pavers to dry completely — ideally for at least 24 hours. Moisture can cause the sand to clump and prevent it from filling joints evenly.
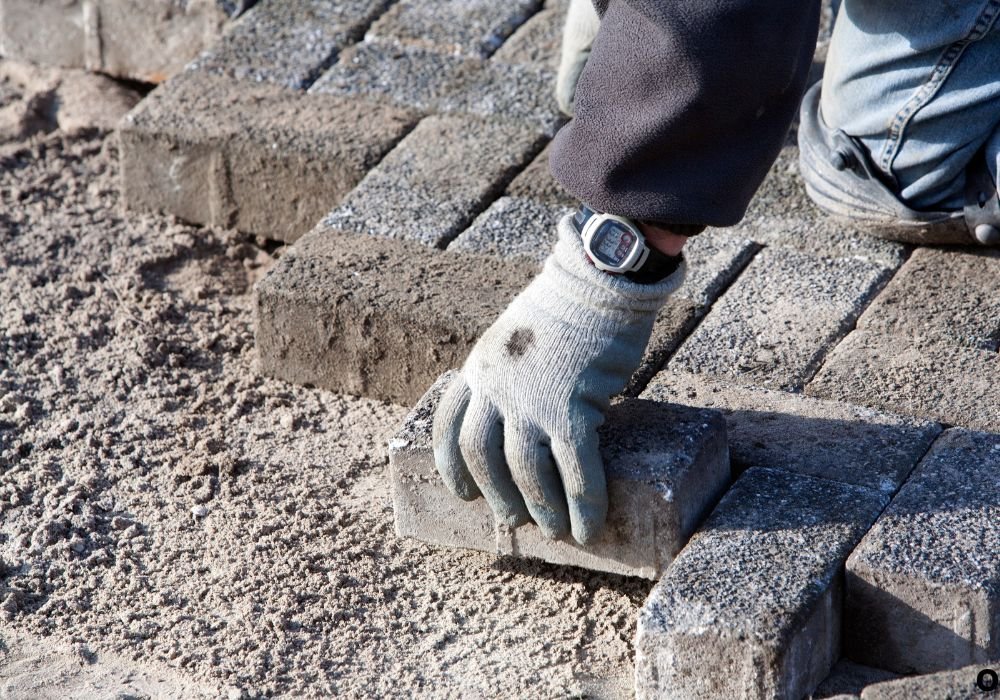
Use polymeric sand for best results. It hardens slightly when wet, creating a durable, weed-resistant bond between pavers. Pour the sand over the surface and use a broom to sweep it diagonally into the joints.
What type of sand should be used for re-sanding pavers?
Polymeric sand is the most effective option for stability, moisture resistance, and weed prevention.
Do joints need to be completely dry before sanding?
Yes. Any moisture will prevent the sand from settling properly and curing as intended.
How should sand be spread and swept?
Spread evenly across the surface and sweep diagonally to push sand into every joint.
Is compaction required after sanding?
Yes. Use a plate compactor or hand tamper to help the sand settle deep into the joints.
How long should you wait before using the area again?
Wait at least 24–48 hours to allow the sand to harden and lock the pavers in place.
Finishing Touches and Maintenance After Re-Sanding
Once sanding is complete, lightly mist the area with water to activate the polymeric binding agents. Avoid overwatering, which can wash away sand or cause haze.
Sealing the pavers adds an extra layer of protection against stains, UV damage, and erosion. Regular inspections help identify early signs of sand loss or movement before problems worsen.
Should you seal the pavers after re-sanding?
Yes. Sealing protects against moisture, fading, and sand washout, extending the surface’s lifespan.
How do you monitor if joints are losing sand again?
Watch for small gaps or weeds growing between the joints, indicating sand erosion.
What simple maintenance keeps pavers looking fresh?
Sweep regularly, remove stains promptly, and rinse with water every few months.
How often should you inspect the paver surface for movement or weeds?
Inspect every six months to ensure stability and address issues early.
What are common mistakes to avoid after re-sanding?
Avoid using high pressure immediately after sanding, and never skip drying or sealing steps.
Conclusion
Power washing and re-sanding pavers is one of the most effective ways to restore the beauty and durability of your outdoor surfaces. A clean, properly sanded patio not only looks great but also resists weeds, erosion, and shifting for years.
By using the right equipment, moderate pressure, and high-quality polymeric sand, you can rejuvenate your pavers safely and efficiently. Follow each step carefully, allow time for drying and curing, and finish with a protective sealant for long-term results.
A few hours of work today will keep your patio, walkway, or driveway strong, stable, and stunning for many seasons to come.

I’m Michael R. Turner, the founder, lead writer, and passionate DIY enthusiast behind 101diytools.com. With years of hands-on experience in home improvement and power tools, I built this platform to share practical tips, in-depth guides, and honest reviews to help DIYers of all skill levels tackle projects with confidence and the right tools.