Best Power Sander to Use for Furniture Refinishing
The moment a beloved side table finally reaches its limit, scratched and dulled by years of use, frustration sets in. The surface feels rough, the old finish is chipped and worn, and yet the thought of hand-sanding every inch brings dread. Picking the wrong tool at this point can turn a promising furniture refinish into a swirl-marked, uneven mess. What if the single decision of which power sander to use for furniture becomes the pivotal turning point in the restoration journey?
Sanding is often described as the invisible step in refinishing, yet it can consume up to 70 % of the total prep time according to experienced woodworkers (woodmagazine.com). Choosing wisely saves hours, avoids ruined veneers and poor finish quality. Right now the global sander-for-furniture market exceeds US $200 million, expanding fast as DIY restoration surges .
Imagine slipping a perfectly balanced random-orbital sander across that tired surface, dust being captured, scratches vanishing, and the grain beneath awakening. That sense of control and efficiency separates a professional-looking refinish from an amateur attempt. Whether tackling an antique veneer or a modern coffee table, the choice of power sander defines speed, precision and finish quality.
This guide explains exactly which power sander to use for furniture, covering tool types, features, usage methods, common mistakes and the next wave of sanding innovations—so you can achieve a flawless, swirl-free finish.
Understanding the Task – What Furniture Refinishing Requires

Furniture refinishing is more than removing old paint or varnish. It’s a delicate process of uncovering wood’s natural beauty without damaging its surface. Every piece—solid oak, pine or thinly veneered walnut—demands the right balance of power and precision.
Before deciding which power sander to use for furniture, you need to understand the refinishing workflow. Over-aggressive sanding ruins veneer layers just millimeters thick, while light sanding leaves traces of old finish that block new stain absorption. The right sander ensures uniform removal, consistent texture and proper surface prep for staining or painting.
A Fine Woodworking survey reports that poor sanding causes 40 % of finish defects during restoration (finewoodworking.com). That means choosing the right sander directly determines professional results.
What does furniture refinishing involve?
It includes stripping the old finish, smoothing the wood and preparing it for stain or paint.
Why is the right sander essential?
Because motion pattern, vibration and aggressiveness determine whether the wood ends up silky-smooth or full of swirl marks.
Can one sander handle all furniture?
No. Each tool behaves differently on veneer, carved legs or wide panels; using one type for all pieces risks damage.
What happens when the wrong sander is used?
Uneven finishes, gouges and visible sanding circles often appear, forcing rework and wasting sandpaper.
How much time can a quality sander save?
Electric orbital sanders reduce sanding time by up to 65 % compared to manual sanding (familyhandyman.com).
Types of Power Sanders Suitable for Furniture
Different sanders deliver different results. Knowing their purpose helps prevent surface damage and improves efficiency.
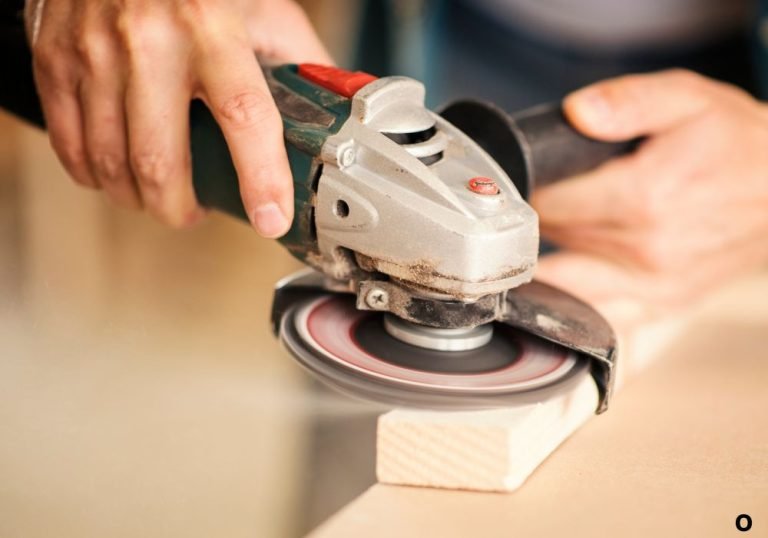
Belt Sander
A belt sander removes material rapidly using a continuous loop of sandpaper. It’s ideal for large, flat surfaces but can easily gouge veneer or softwood if pressed too hard. Professionals reserve it for initial stripping, not final finishing.
When should it be used on furniture?
When you need to remove heavy paint or thick finishes from tabletops or doors—always finishing later with a finer sander.
Main advantage
Fast material removal with consistent linear motion.
Primary drawback
Too aggressive for fine detailing and can quickly ruin delicate wood.
Safety tip
Keep it moving constantly and avoid edges to prevent gouging.
Orbital (Palm) Sander
This tool features a square or rectangular pad that vibrates in small circular motions. It’s lighter, quieter and perfect for smoothing flat panels, frames and legs.
When is an orbital sander best?
When refinishing smaller pieces like chairs, drawers or cabinets where control matters more than speed.
Benefit
Leaves minimal swirl marks when used with fine grit.
Limitation
Slower material removal compared to random orbital or belt sanders.
Extra note
Its square pad reaches into corners that round pads cannot.
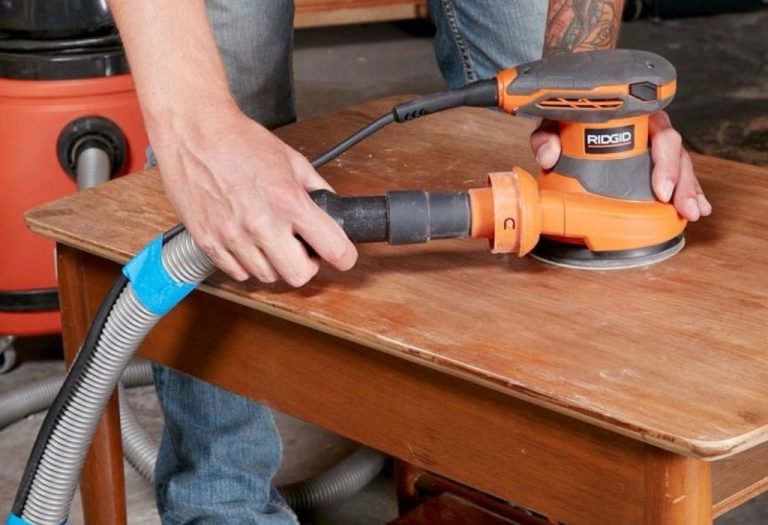
Random Orbital Sander
The most versatile choice for furniture refinishing. It combines circular and elliptical motion patterns, minimizing swirl marks and delivering an ultra-smooth finish.
Why professionals prefer it
It’s powerful enough for removing old varnish yet gentle enough for final surface smoothing.
Performance stat
Random orbital sanders can remove material up to twice as fast as traditional palm sanders while producing a cleaner finish (thisoldhouse.com).
Best use
Tables, dressers, cabinets and any large furniture requiring smoothness without burn marks.
Bonus tip
Always use a 5″ or 6″ pad model with variable speed for optimal control.
Detail or Mouse Sander
A compact sander shaped like an iron, perfect for tight corners and intricate carvings.
Ideal application
Chair spindles, mouldings, legs and other hard-to-reach spots.
Advantage
Lightweight, maneuverable and fits into small decorative crevices.
Drawback
Covers less surface area, so it’s slower for large panels.
Pro tip
Use fine-grit pads and light pressure to preserve detail edges.
Sheet (1/2 or 1/3 Sheet) Sander
This rectangular sander uses standard sandpaper sheets and is known for precision control.
When useful
When sanding large flat doors, table tops or plywood surfaces.
Advantage
Low-vibration performance and minimal swirl risk.
Limitation
Not suited for heavy stripping or deep stock removal.
Key Features to Look for in a Power Sander

Understanding tool features ensures long-term efficiency and better surface results.
Variable Speed Control
Variable speed allows adjusting motion intensity for different woods or layers. Lower speeds protect veneer; higher speeds remove old finishes faster.
Dust Collection System
Built-in dust bags or vacuum ports maintain visibility and protect your lungs. Dust control also prevents particles from embedding into finishes later.
Pad Size and Shape
A 5-inch round pad is the sweet spot for most furniture. Smaller pads give control in tight areas; larger pads handle big tabletops efficiently.
Motor Power and Amperage
Higher amperage motors (3–6 amps) maintain torque under load, useful for stripping thick coatings. For delicate work, lighter motors minimize vibration and over-sanding.
Ergonomics and Vibration Control
Comfortable grip and reduced vibration let you sand longer without fatigue. Less vibration improves precision and control, especially during finishing.
Compatibility with Vacuum Systems
Models that connect to shop vacs improve dust collection efficiency by over 80 % (ahouseinthehills.com).
Why these features matter
Each one directly affects surface quality, comfort and speed—three core factors in professional-grade refinishing.
Choosing the Best Power Sander for Your Furniture Project
Selecting the right sander depends on project size, material, detail level and your skill.
Large tabletops need wider pads and steady torque, while antique veneers require lightweight control. Knowing where your project fits avoids costly damage.
Which sander suits large flat surfaces?
A 5″ random orbital sander with dust extraction gives clean, even results without leaving swirl marks.
What about antique veneer?
Choose a small random orbital or palm sander at low speed with fine grit between 180–220 to protect thin layers.
Which tool for carved or detailed pieces?
A detail sander handles intricate corners where bigger sanders can’t reach.
Is cordless worth it?
Modern brushless cordless sanders provide freedom without much power loss, ideal for small to medium furniture pieces.
Budget considerations
Spending slightly more on variable speed and vibration control increases lifespan and results dramatically.
How to Use a Power Sander Safely and Effectively
Even the best sander can cause damage if used incorrectly. Technique matters as much as the tool itself.
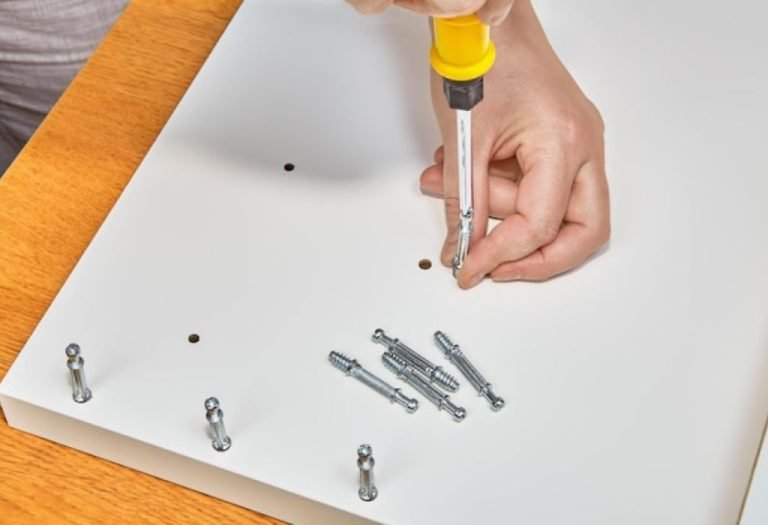
Step 1: Prepare the workspace
Secure the furniture, remove hardware, ensure ventilation and connect dust collection.
Step 2: Select proper grit sequence
Start coarse (80–100) for old finishes, then medium (120–150) for smoothing, finishing with fine (180–220) for polishing.
Step 3: Sand with steady motion
Keep the sander flat and move with overlapping passes along the grain. Avoid tipping edges or staying in one spot.
Step 4: Manage dust
Use vacuum-assisted ports to keep air clear. Fine dust can dull new finishes and pose health hazards.
Step 5: Inspect after each stage
Wipe dust away and examine under angled light to spot remaining finish or scratches before moving to finer grit.
Best practice statistic
Proper grit progression and dust removal increase finish adhesion by up to 30 % (woodworkersjournal.com).
Common safety rules
Wear a respirator, safety glasses, and hearing protection. Disconnect power before pad changes, and never use torn or clogged discs.
Common Mistakes and How to Avoid Them
Many refinishing attempts fail due to small avoidable errors.
Applying too much pressure
Pressing hard slows the motor and causes gouges. Let the tool’s weight do the work for a uniform finish.
Skipping grits
Jumping directly from coarse to fine leaves deep scratches visible under paint or stain.
Ignoring dust extraction
Dust buildup clogs discs and creates bumps in the finish. Always connect to a shop vacuum when possible.
Using the wrong sander
A belt sander on veneer or a detail sander on a tabletop leads to uneven results and frustration.
Neglecting ergonomics
Ignoring vibration leads to fatigue, shaking hands and inconsistent pressure across surfaces.
Why these mistakes matter
They waste time, sandpaper and sometimes entire furniture pieces, costing more than the right sander ever would.
Future Trends in Power Sanders for Furniture

Tool innovation is transforming how woodworkers and DIYers approach refinishing.
Brushless Motors
New models use brushless technology for efficiency and longevity. They deliver smoother operation, less heat and extended life.
Improved Dust Extraction
Manufacturers focus on sealed systems and HEPA-rated filters that remove up to 99 % of fine dust, keeping workshops cleaner.
Cordless Efficiency
Lithium-ion batteries now power full-size sanders for 30 – 45 minutes of continuous runtime—ideal for mobile projects or outdoor refinishing.
Smart Controls
Bluetooth connectivity and digital speed regulation are emerging, allowing users to monitor vibration, runtime and maintenance needs.
Eco-friendly Designs
Recyclable housings, lower-emission motors and sustainable abrasives align with the green-furniture restoration movement.
Takeaway
The next generation of sanders will blend precision, intelligence and sustainability—making refinishing faster, cleaner and safer for both users and the environment.
Conclusion
Choosing which power sander to use for furniture determines how professional your final result looks. The ideal tool depends on project type, material and finish expectations.
For most refinishing tasks, a random orbital sander remains the most balanced option, offering speed, smoothness and minimal swirl marks. Pair it with good dust collection, proper grit progression and patience, and even an old dresser can look brand new again.
Before starting your next project, ask yourself: Which sander will give me the smoothest finish without ruining the wood? Choose wisely, follow correct technique and you’ll save time, reduce effort and achieve furniture surfaces that shine with craftsmanship.

I’m Michael R. Turner, the founder, lead writer, and passionate DIY enthusiast behind 101diytools.com. With years of hands-on experience in home improvement and power tools, I built this platform to share practical tips, in-depth guides, and honest reviews to help DIYers of all skill levels tackle projects with confidence and the right tools.