Should You Sand or Power Wash the Deck First? Explained
A dull, gray deck is a common sight after months of rain and sun exposure.
You decide to refinish it, but there’s one big question — should you sand or power wash the deck first?
The right sequence can mean the difference between a smooth, long-lasting finish and peeling stain within weeks.
According to Consumer Reports, 65% of deck refinishing failures are caused by poor surface prep, not bad products.
That’s why understanding when to wash, sand, and finish is key to restoring your deck’s natural beauty.
This guide breaks down every step of the process, explaining the correct order, techniques, and tools you’ll need.
Understanding What Each Step Really Does
Proper deck preparation involves two major stages — cleaning and sanding.
Both are essential, but they serve very different purposes.
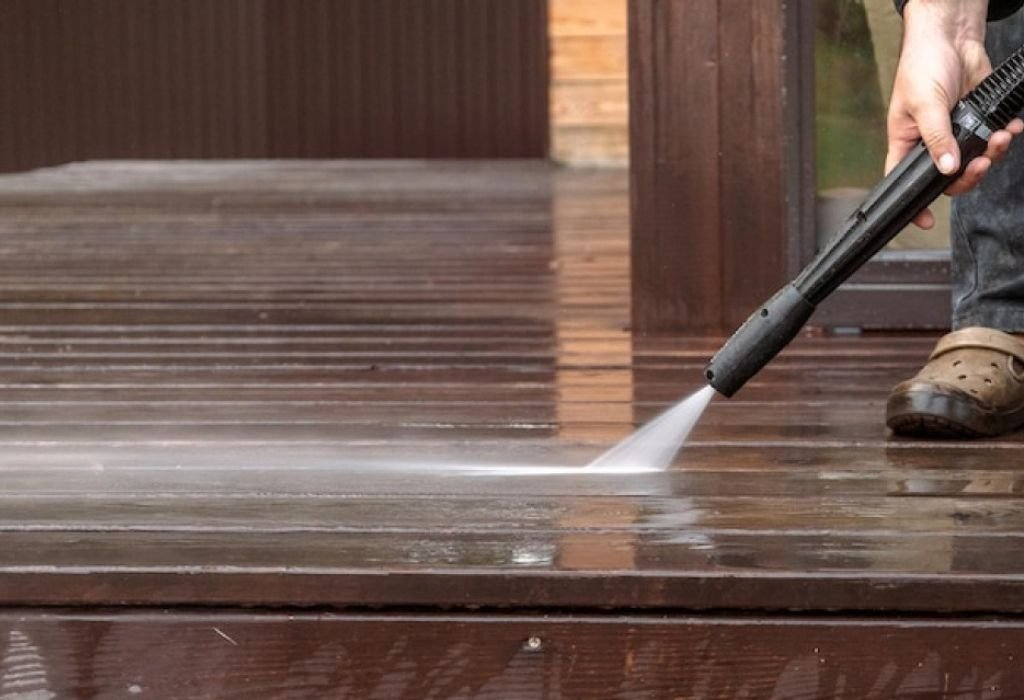
What Power Washing Actually Does
Power washing removes dirt, mildew, and old finishes.
It opens the wood grain, allowing stains or sealers to penetrate deeper.
What does power washing remove?
It eliminates dirt, mold, and gray oxidized fibers that block new coatings.
Is power washing the same as soft washing?
No. Soft washing uses lower pressure and chemical cleaners to reduce damage on softer woods.
Does washing raise the grain?
Yes. Moisture causes fibers to swell, leaving a slightly rough texture that often requires sanding.
How does it help the finish last longer?
By opening the pores, it ensures deeper and more even stain absorption.
What Sanding Does for a Deck
Sanding smooths the raised grain and removes imperfections.
It creates an even surface that improves stain adhesion and appearance.
Why is sanding necessary?
It removes splinters, flattens uneven boards, and enhances overall texture.
Can sanding replace cleaning?
No. Sanding alone traps dirt inside pores and reduces the stain’s ability to bond.
What grit should be used?
60–80 grit is ideal for deck boards, and 80–100 grit for railings or softer wood.
Does sanding make stain absorb better?
Yes, by exposing fresh fibers and reducing surface contamination.
The Short Answer — Which Should Come First
The correct order is almost always power wash first, sand after it dries.
Cleaning removes debris so sanding can smooth clean wood instead of grinding in dirt.
Should you sand or power wash first?
Always power wash or clean before sanding for better results.
Why not sand first?
Sanding first pushes dust and mildew deeper into pores, weakening finish adhesion.
Can sanding ever come before washing?
Only for small spot repairs, followed by another cleaning cycle.
What’s the best approach for an old, stained deck?
Strip or wash first, then sand once the wood is fully dry and clean.
Deck Condition Checklist — Choose the Right Path
The correct prep method depends on your deck’s current condition.
Inspect the boards carefully before deciding.
If the deck has mold or algae:
Use a cleaner with mildewcide and rinse gently before sanding.
If boards are rough and splintered:
Clean first, dry completely, then sand to restore a smooth texture.
If old stain is peeling:
Strip or power wash first, then sand to feather edges and level surfaces.
If it’s a brand-new deck:
Let it weather for 4–6 weeks, clean it, and do a light sanding to remove mill glaze.
If unsure:
Do a water-bead test — if water soaks in quickly, the surface is ready for sanding and staining.
Wood Type, Age, and Deck Material Make a Difference
Different woods react differently to pressure, moisture, and abrasives.
Adjust your cleaning and sanding based on material and age.
Softwoods vs Hardwoods
Softwoods like cedar and pine require low pressure to avoid damage.
Hardwoods like mahogany or ipe can handle slightly higher PSI and finer sanding.
Do softwoods scar easily?
Yes. Keep water pressure between 500–800 PSI with a 25°–40° fan tip.
Do hardwoods need brightening after cleaning?
Yes, use a wood brightener to restore color and open dense grain for finishing.
Should composite decks be sanded?
No. Most composite manufacturers warn against sanding, which removes the protective cap.
Age and Fasteners
Older decks need different prep than new lumber.
Watch for loose fasteners or raised nails before you start.
What is mill glaze on new boards?
A shiny surface from factory planing that blocks stain absorption.
How to handle raised fasteners?
Set all screws and nails below the surface before cleaning or sanding.
Does age change your prep order?
Yes, older decks require deep cleaning first to remove years of buildup.
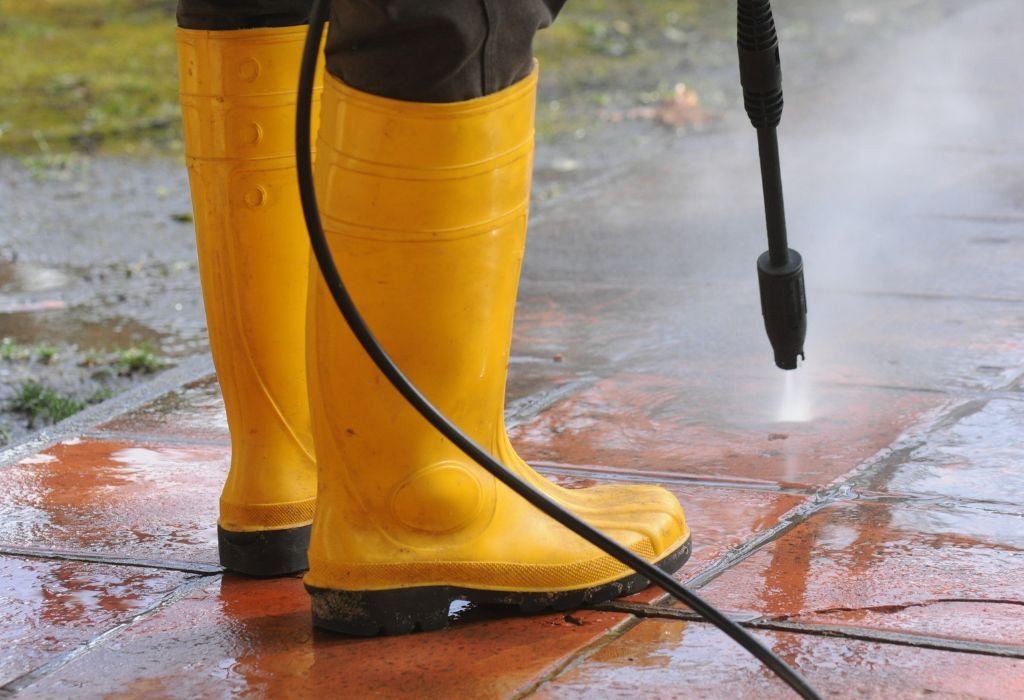
Safe Power Washing Settings
Improper pressure washing is the top cause of deck damage before refinishing.
Always balance cleaning strength with wood protection.
What PSI is safe for wood decks?
Softwoods: 500–800 PSI. Hardwoods: up to 1,200 PSI.
Which nozzle should you use?
A 25° or 40° tip spreads pressure safely.
What distance should you maintain?
8–12 inches from the surface with smooth, even passes.
Should detergents be added?
Yes. Deck cleaners reduce the required pressure and kill mildew more effectively.
What happens if pressure is too high?
It gouges wood fibers, leaving uneven textures and fuzzy grain.
Drying Time and Moisture Before Sanding
Sanding wet wood can ruin both the tool and the surface.
Always let the deck dry thoroughly after washing.
How long should you wait after washing?
24–48 hours in warm weather; longer if humid.
What moisture level is ideal?
Under 15% before sanding or staining. Use a moisture meter for accuracy.
What happens if you sand too soon?
Wet fibers clog sandpaper and tear instead of cutting smoothly.
How to check if it’s ready?
Press a moisture meter or do a plastic-sheet test — if condensation forms, wait longer.
Smart Sanding Tips and Grit Selection
Once dry, sanding transforms the deck surface for finishing.
Use proper tools and grits to avoid swirl marks and uneven texture.
Which sander type is best?
A random orbital sander covers boards efficiently and reduces visible patterns.
What grit should you start with?
60–80 grit for most surfaces; avoid finer grits that close pores.
Should you sand with or across the grain?
Always sand with the grain to prevent visible scratches.
Do you need to vacuum afterward?
Yes, remove all dust before applying brighteners or finishes.
What’s the danger of over-sanding?
Over-polishing seals the wood, preventing stain absorption and causing blotchy results.
Clean-Then-Sand vs Sand-Then-Clean Workflows
Understanding the pros and cons of both orders clarifies why the cleaning-first approach wins.
Clean → Dry → Sand → Finish
This is the professional standard for nearly every deck.
It ensures deep cleaning, proper fiber lifting, and smooth finishing.
Why clean first?
It removes grime and mildew before sanding touches the surface.
When to add brightener?
After cleaning and before drying, to neutralize cleaner pH and restore natural color.
Why vacuum after sanding?
Dust particles prevent stain penetration and can cause rough spots.
Can you stain immediately after sanding?
Yes, once dust is gone and the surface moisture is below 15%.
Sand → Clean → Dry → Finish (Rarely Used)
This method applies only for small spot repairs or isolated boards.
It should always be followed by another rinse and full drying cycle.
When is this order acceptable?
When smoothing localized rough patches on an already clean deck.
Why is it risky?
Post-sanding washing raises the grain again, forcing re-sanding.
How can it be made safer?
Use gentle cleaners and allow ample drying before finishing.
Deck Chemicals, Strippers, and Brighteners
Chemical products can enhance prep results if used correctly.
They remove old coatings, balance wood pH, and prevent uneven staining.
When to use a deck stripper?
When heavy stain buildup or paint needs removal.
Why apply a brightener after cleaning?
It restores natural color and improves stain absorption.
How much rinsing is needed?
Rinse thoroughly with clean water to remove residue.
Do you need protective gear?
Yes — gloves, goggles, and respirators for safety with alkaline or acid products.
Safety and Environmental Best Practices
Deck prep involves water, chemicals, and high-pressure equipment.
Working safely protects you and your surroundings.
How to protect plants and landscaping?
Pre-wet shrubs and cover with breathable tarps.
How to manage runoff?
Direct wastewater to gravel or lawn areas; avoid drains and waterways.
How to prevent injuries?
Wear non-slip shoes, keep cords away from wet zones, and use eye protection.
Are there quiet hours or neighbor concerns?
Yes, perform noisy washing during permitted daytime hours to avoid complaints.
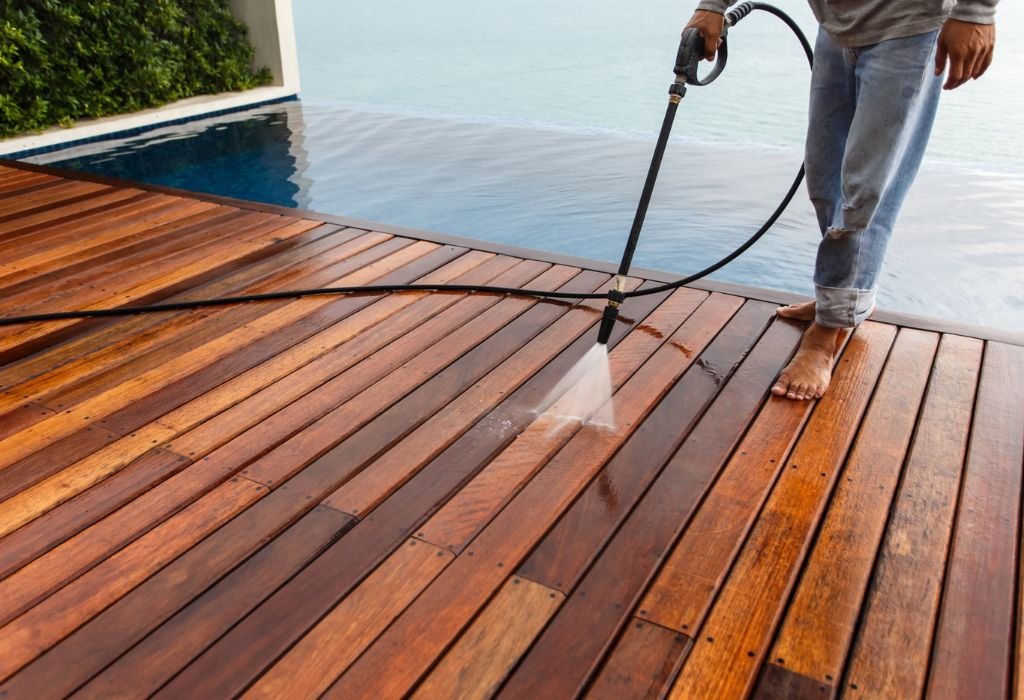
Timing the Finish After Prep
Timing determines how well your deck absorbs stain or sealer.
Rushing can ruin days of careful prep.
How soon can you apply stain after sanding?
When wood is dry, dust-free, and moisture is within the manufacturer’s limits.
What type of stain works best?
Penetrating semi-transparent stains allow natural movement and easier maintenance.
Should you apply one coat or two?
Follow the label — over-applying can create tacky, uneven surfaces.
What weather is ideal?
Dry conditions between 50°F–85°F with no rain expected for at least 24 hours.
Troubleshooting Common Issues
Even after prep, a few problems can appear.
These are the most common — and how to fix them.
Fuzzy grain after washing:
Let dry, then lightly sand with 80 grit and vacuum.
Uneven color or tiger stripes:
Caused by inconsistent washing distance — re-sand and restain.
Blotchy finish after staining:
Due to over-sanding or uneven moisture. Apply a toner coat to even it out.
Peeling after weeks:
Usually from trapped moisture or missed contaminants — strip, clean, and repeat the correct sequence.
Cost and Time Expectations
Deck preparation takes more time than staining, but it’s worth every hour.
How long does it take?
Cleaning and drying: 1–3 days. Sanding: 2–6 hours. Finishing: another full day.
DIY vs professional cost:
DIY can cost $80–$150 in materials; pros charge $2–$4 per square foot depending on condition.
Are rentals worth it?
Yes, renting a professional washer and orbital sander can cut labor time in half.
Future Maintenance to Avoid Heavy Prep Next Time
Routine maintenance extends your deck’s life and saves future effort.
What yearly care helps?
Wash lightly once a year with mild cleaner to prevent buildup.
How to avoid full sanding again?
Recoat penetrating stains every 2–3 years before heavy wear appears.
Can you skip power washing next time?
If the deck is kept clean, a soft wash or hand scrub may be enough.
How to know it’s time for new finish?
When water no longer beads on the surface, it’s ready for a refresh.
Conclusion
Power washing should always come before sanding for most decks.
Cleaning clears debris and mildew, while sanding fine-tunes the surface for finish adhesion.
The perfect deck prep follows a simple order — clean, dry, sand, vacuum, and then finish.
By respecting drying time, proper PSI, and sanding technique, your stain will bond better and last longer.
A little preparation prevents premature peeling, saving you time and money.
So before you grab the sander, power wash first — your deck will thank you later.

I’m Michael R. Turner, the founder, lead writer, and passionate DIY enthusiast behind 101diytools.com. With years of hands-on experience in home improvement and power tools, I built this platform to share practical tips, in-depth guides, and honest reviews to help DIYers of all skill levels tackle projects with confidence and the right tools.