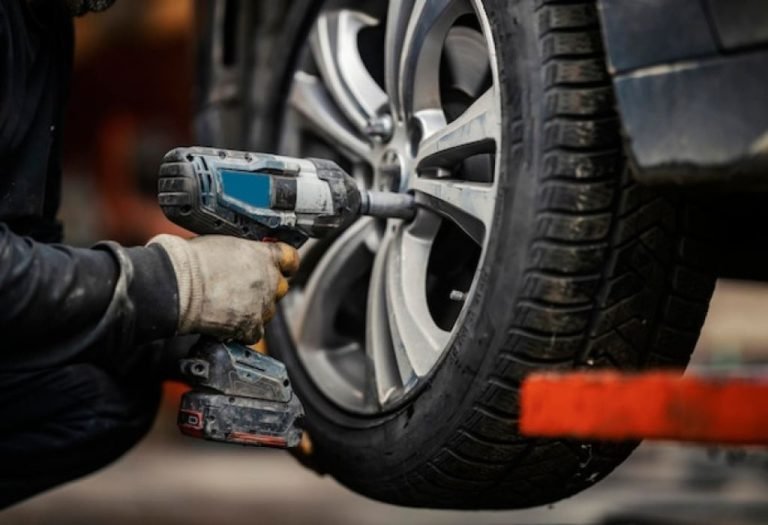
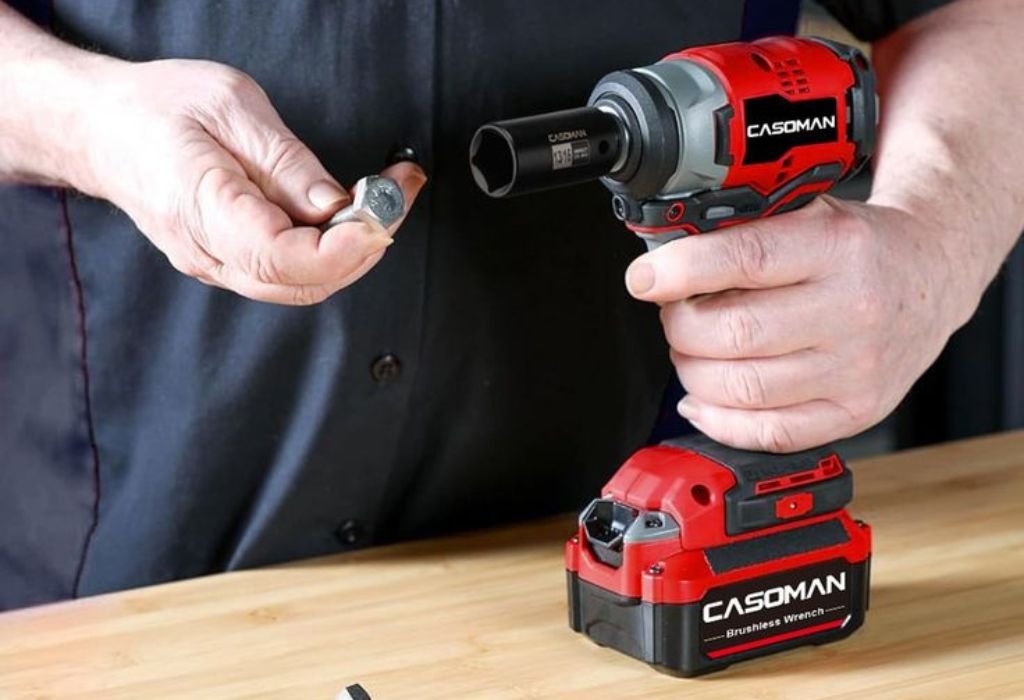
How to Get a Socket Off an Impact Wrench Fast
Getting a socket stuck on an impact wrench is one of those frustrating moments every DIYer or mechanic eventually faces.
You pull, twist, and tug, but the socket just won’t budge — and forcing it only risks damaging your tool. The good news is, learning how to get a socket off an impact wrench doesn’t require brute strength or expensive equipment. It just takes patience, the right tools, and proper technique.
Sometimes the culprit is a tiny detent pin that refuses to release. Other times, corrosion, grime, or a bent retaining ring locks the socket in place.
These issues are surprisingly common, especially if your impact wrench hasn’t been cleaned or lubricated in a while.
According to a ToolGuyd report, over 30% of stuck-socket incidents happen due to misalignment between the detent pin and socket hole. That means even a simple twist at the wrong angle can trap your socket firmly on the anvil.
Another survey from Garage Tool Advisor found that improper lubrication is one of the top three reasons sockets get jammed on power tools.
This guide breaks down every method you can use to safely and quickly remove a stuck socket — from pressing the detent pin and using a vise or punch to applying lubricant or controlled heat.
You’ll also learn how to prevent it from happening again, ensuring your impact wrench stays in top shape for years to come.
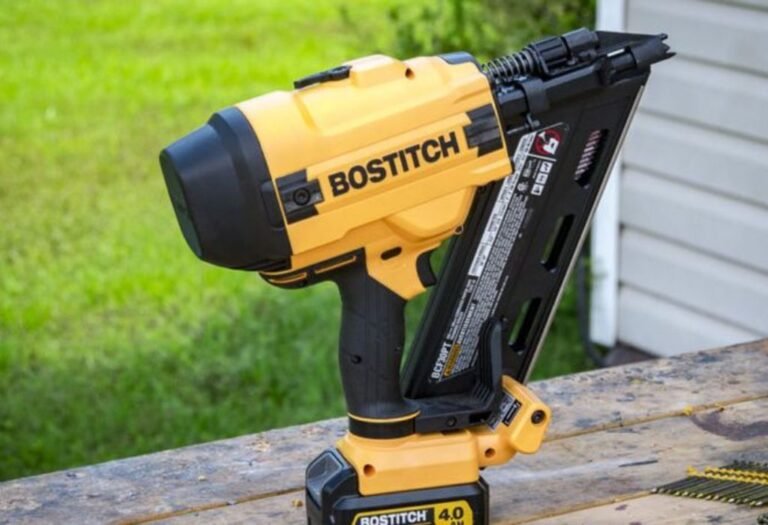
Why Sockets Get Stuck on an Impact Wrench
Understanding why sockets get stuck helps you avoid making the same mistake twice. Impact tools face high torque, vibration, and pressure — all of which can cause a socket to bind tightly around the anvil. Here are the common reasons this happens.
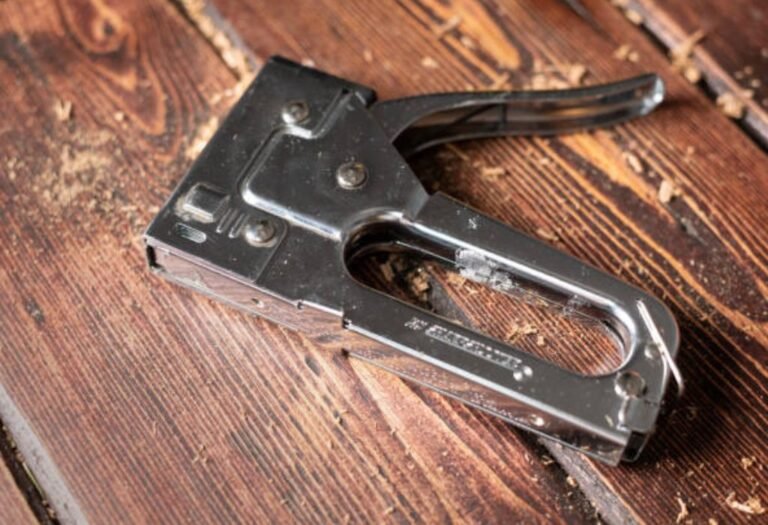
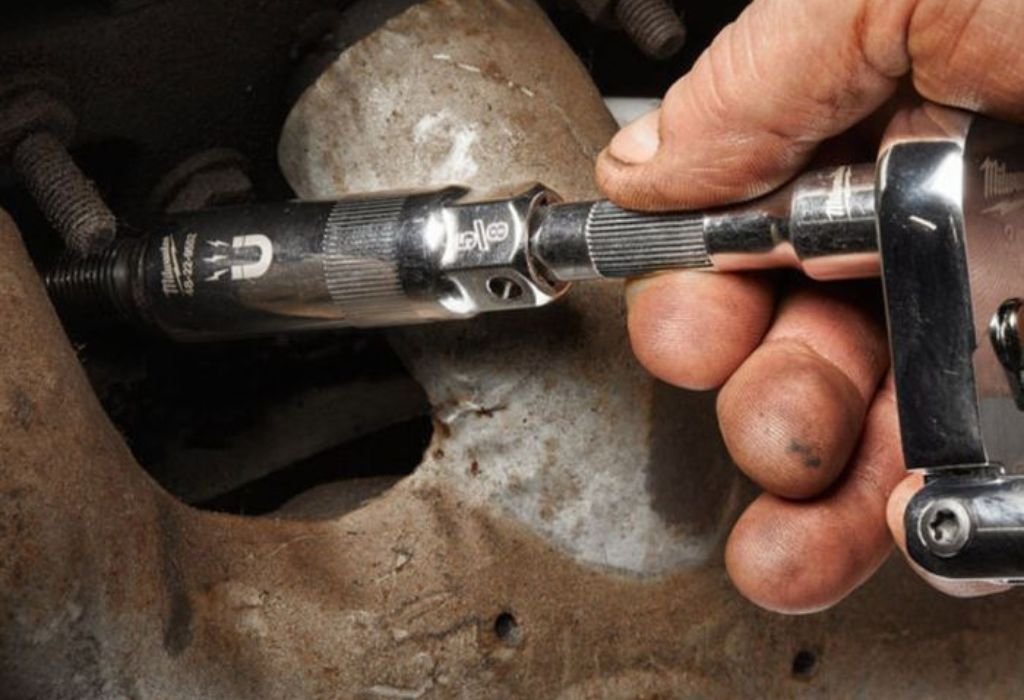
1. Retention Mechanisms – Detent Pins and Hog Rings
Most impact wrenches use detent pins or hog rings to hold sockets in place.
A detent pin is a small spring-loaded pin on the anvil that clicks into a hole or groove inside the socket. This ensures a tight, secure fit during heavy torque use. However, if dirt builds up or the pin gets jammed, removing the socket becomes extremely difficult.
Some models use hog ring retainers, which are metal clips that expand slightly as the socket slides on, gripping the groove. Over time, these rings can stiffen, rust, or wear down, causing sockets to seize up.
2. Friction, Corrosion, and Dirt Build-Up
Impact wrenches are used in oily, dusty, and humid environments. Moisture and debris often collect around the socket base, creating corrosion that “welds” metal parts together. This microscopic bonding of rust and friction makes it hard to pull the socket free — especially if it hasn’t been removed in a while.
3. Misalignment and Wrong Socket Type
Using hand (chrome) sockets instead of impact sockets is a big mistake. Chrome sockets have thinner walls and a tighter fit that can deform under torque, locking them onto the anvil. Similarly, if the detent pin doesn’t align perfectly with the socket hole, it can wedge itself halfway and trap the socket in place.
4. Heat and Torque Stress
Continuous use at high torque generates heat, which causes metal expansion. When the tool cools down, it can contract unevenly, leading to a tight or seized connection. That’s why sockets often feel stuck right after extended use.
5. Lack of Maintenance
Skipping routine cleaning or lubrication is a common cause. Without oil, the detent pin and anvil can dry out, collect grime, and rust — increasing friction and making socket removal a battle every time.
Safety Precautions Before You Begin
Before trying to remove the stuck socket, take a few precautions to avoid injuries or damage:
- Disconnect power – Unplug or remove the battery/air hose before touching the tool.
- Wear eye protection – A sudden release or metal fragment could fly off unexpectedly.
- Use gloves – Protect your hands from slipping or pinching while pulling.
- Avoid excessive force – Don’t hammer the anvil directly; use controlled taps.
- Work on a steady surface – Use a vise or workbench to secure your tool safely.
A calm, careful approach prevents accidents and ensures your wrench and sockets stay intact.
Method 1: Depress the Detent Pin (Preferred and Safest Way)
This is the most direct and effective way to release a socket when it’s stuck because of the detent pin.
Step 1: Find the Detent Pin Hole
Inspect the socket for a small side hole near its base. That’s where the detent pin sits. Rotate the socket slowly until the hole aligns with the pin inside the anvil.
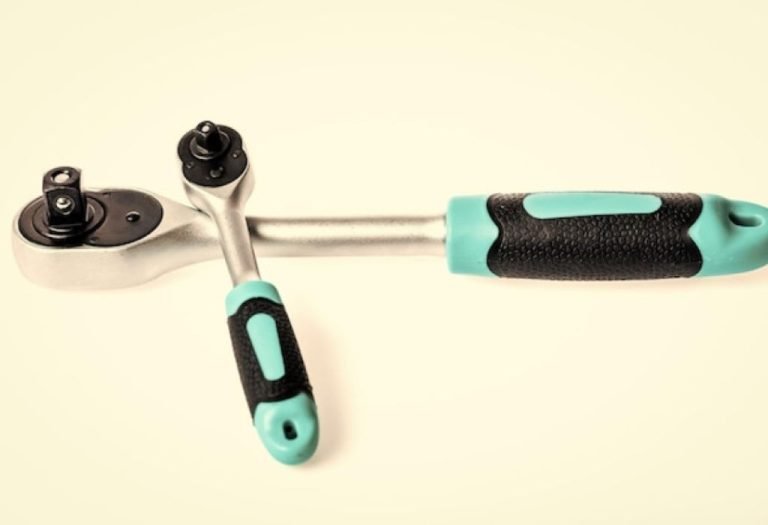
Step 2: Use a Pin Punch or Small Screwdriver
Insert a pin punch, small screwdriver, or even a stiff paper clip into the hole to press the detent pin down. While holding it depressed, gently pull the socket outward. This releases the locking mechanism and allows the socket to slide off.
Step 3: Lubricate if the Pin Feels Stiff
If pressing the pin doesn’t help, apply a drop of penetrating oil (like PB Blaster or WD-40) into the hole. Wait a few minutes to let the oil loosen the mechanism, then try pressing the pin again.
Step 4: Lightly Tap Around the Socket
If the socket still resists, use a small rubber mallet to tap around its base while keeping the pin pressed. The vibration can free minor rust or debris binding the parts.
Method 2: Use a Vise and Punch
If the detent pin method doesn’t work, this mechanical approach is your next best option.
Step 1: Secure the Socket in a Vise
Clamp the socket gently in a bench vise — just tight enough to hold it firmly, without crushing it. Make sure the wrench handle is free to move.
Step 2: Tap the Wrench Outward
Using a soft punch (aluminum, brass, or wooden dowel) and a hammer, tap the back of the impact wrench’s anvil lightly. Alternate sides while tapping to avoid bending or scarring the metal.
Step 3: Apply Penetrating Oil if Needed
If the socket is rusted, spray lubricant into the joint area and let it soak for 10–15 minutes. The oil will reduce friction and make removal easier.
Step 4: Twist and Pull Gently
Once loosened, twist the wrench back and forth while pulling out. Avoid jerking or hitting hard — steady force works best.
Method 3: Reverse Torque Release
Sometimes, controlled reverse torque can break the binding.
Step 1: Set the Wrench to Reverse Mode
Turn on the reverse rotation (counterclockwise) on your impact wrench.
Step 2: Hold and Pull
Hold the socket firmly with one hand while briefly triggering the wrench in reverse. The torque shock can free the stuck connection.
Important: Use very short bursts and low torque. Overdoing it may damage your tool or send the socket flying.
Method 4: Lubrication and Penetrating Oil Treatment
If friction, corrosion, or debris is the issue, lubrication is your best friend.
Step 1: Apply Penetrating Oil
Use a straw nozzle to direct oil like WD-40, Kroil, or Liquid Wrench into the gap between the socket and anvil. Let it penetrate for 15–30 minutes.
Step 2: Tap Lightly While Soaking
Tap gently around the socket while waiting — this helps the oil seep into micro gaps and loosen rust.
Step 3: Wipe and Pull
After soaking, wipe away excess oil and twist-pull the socket slowly. If it still sticks, repeat the oiling process one more time.
Method 5: Apply Controlled Heat (Use With Caution)
Thermal expansion is a reliable way to loosen metal bonds — but it must be done carefully.
Step 1: Use a Heat Gun or Propane Torch
Direct the heat at the socket only, avoiding the wrench body or internal parts. Heat causes the socket to expand slightly, freeing it from the anvil’s grip.
Step 2: Combine Heat with Light Taps
After 30–60 seconds of heating, use a mallet to tap the socket gently while pulling. This combined vibration and expansion usually breaks it loose.
Step 3: Safety First
Avoid overheating — discoloration or smoke means you’ve gone too far. Keep a fire extinguisher or damp cloth nearby in case of emergencies.
Method 6: Prying or Wedge Technique
This method is for stubborn cases when other approaches fail.
Step 1: Insert a Thin Wedge or Flathead Screwdriver
Slide a thin flathead screwdriver or metal shim between the socket and anvil base. Work it slowly around the circumference.
Step 2: Use Opposing Leverage
Insert two screwdrivers on opposite sides and twist gently to create even pressure. Avoid sudden movements that could deform the socket.
Step 3: If All Else Fails, Cut the Socket
As a last resort, you can use a rotary tool or metal saw to cut a slit down the side of the socket. Pry it open carefully with a chisel. This will destroy the socket but protect your impact wrench.
Troubleshooting and Common Issues
Socket Stuck Without Visible Hole
If there’s no hole for a detent pin, your wrench likely uses a hog ring. In this case, rely on lubrication, reverse torque, or vise methods to break the grip.
Rust or Corrosion
If rust has bonded the metals, soak overnight in penetrating oil before applying heat or tapping methods.
Bent Anvil or Damaged Pin
If your anvil is visibly deformed or the detent pin is jammed permanently, replacement parts might be needed. Forcing it may worsen the damage.
Socket Spinning but Won’t Slide Off
This indicates internal corrosion or vacuum-tight friction. Lubricate and use the vise-and-tap method for gradual release.
How to Prevent a Socket from Getting Stuck Again
Once you’ve freed your socket, a few habits can stop this from happening again.
- Lubricate the Anvil Regularly – Apply a drop of oil before sliding on each socket.
- Clean After Each Use – Wipe away metal dust, dirt, and oil residue from the anvil and sockets.
- Use Only Impact-Rated Sockets – Chrome sockets are for hand tools, not power impacts.
- Align the Pin and Hole Properly – Press slowly and check alignment before fully seating the socket.
- Inspect Retaining Rings and Pins – Replace worn parts before they jam or rust.
- Avoid Extreme Torque for Small Sockets – Oversized torque increases friction and heat buildup.
- Store Tools in a Dry Place – Humidity accelerates rusting and binding issues.
These preventive measures will make every socket change quick, smooth, and frustration-free.
Conclusion
Learning how to get a socket off an impact wrench is about precision, not power. From pressing the detent pin and using a vise, to applying oil or gentle heat, each method solves a specific type of problem. Always start with the least aggressive option and progress only as needed.
Regular cleaning, lubrication, and the use of correct sockets can prevent most sticking issues before they start. With a bit of patience and care, your impact wrench will perform reliably — and your sockets will slide on and off effortlessly every time you use them.

I’m Michael R. Turner, the founder, lead writer, and passionate DIY enthusiast behind 101diytools.com. With years of hands-on experience in home improvement and power tools, I built this platform to share practical tips, in-depth guides, and honest reviews to help DIYers of all skill levels tackle projects with confidence and the right tools.