How to Control Torque with an Impact Wrench Tool
Torque control is one of the most crucial factors when using power tools like an impact wrench.
A slight miscalculation can strip threads, break bolts, or cause parts to loosen over time. Yet, many DIYers and even professionals struggle to master how to control torque with an impact wrench effectively.
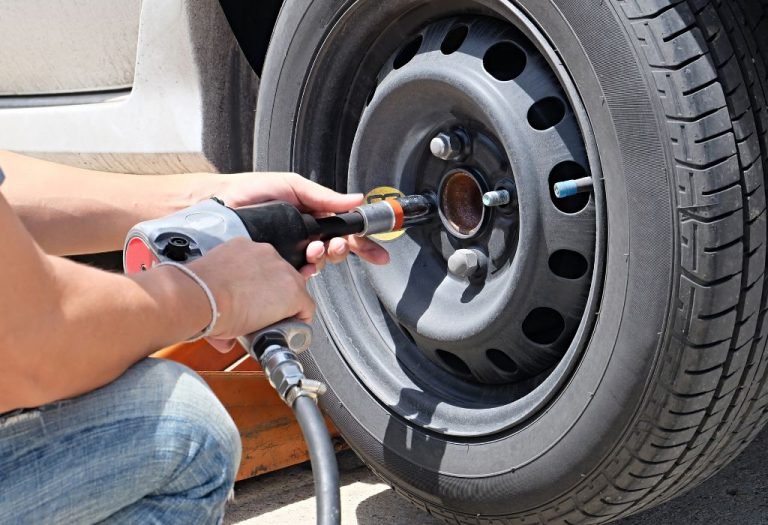
Imagine tightening a wheel lug nut and realizing later that it’s either overtightened and warped the brake rotor or too loose, putting your safety at risk.
According to a study by Fastener Engineering, over 30% of mechanical failures in assemblies come from improper torque application — showing how easily an unchecked impact wrench can turn convenience into costly damage.
Unlike a torque wrench that delivers precise and steady pressure, an impact wrench works through rapid bursts of rotational force. These hammering impacts make it tricky to predict exactly how much torque is being applied.
Without control, users risk overtightening fasteners, damaging threads, or compromising joint integrity—especially in automotive, machinery, or construction work.
Fortunately, there are proven methods to keep torque under control. From adjusting air pressure in pneumatic models to using torque-limiting extensions .
variable-speed triggers, and final verification with a calibrated torque wrench—each technique helps achieve safer, more consistent tightening results.
In this guide, you’ll learn how to control torque with an impact wrench step by step. We’ll explore how torque control works, common mistakes to avoid, and the most effective techniques to ensure every bolt and nut is tightened to perfection—without damaging your tools or materials.
2. Understanding Torque and Impact Wrenches
Before learning how to control torque with an impact wrench, it’s essential to understand what torque is and how these tools generate it. Torque is simply the twisting force applied to rotate an object, such as a bolt or nut. It’s measured in Newton-meters (Nm) or foot-pounds (ft-lb). The right torque ensures that a fastener is secure without being overstressed.
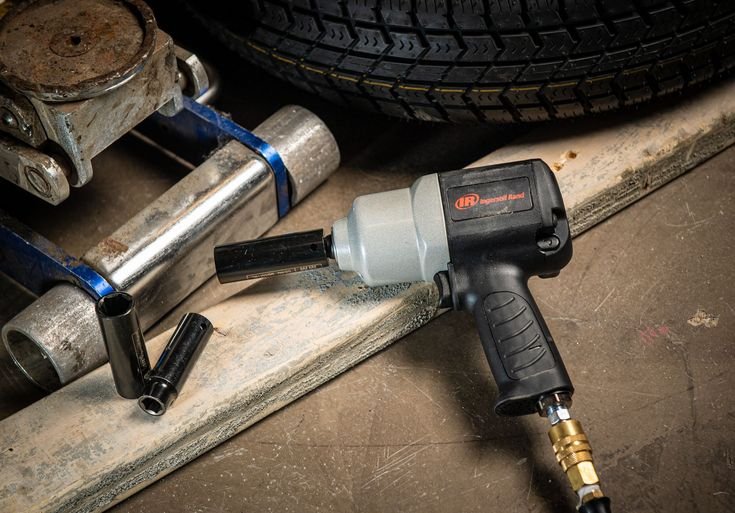
An impact wrench uses a hammer-and-anvil mechanism to deliver high bursts of torque through short, repetitive impacts. This design gives it incredible loosening and tightening power but makes it harder to achieve consistent torque values. Unlike a torque wrench, which gradually applies controlled pressure, an impact wrench delivers force in pulses — meaning each trigger pull can result in variable torque depending on duration, air pressure, or battery power.
There are three main types of impact wrenches:
- Pneumatic (air-powered): Most commonly used in workshops and automotive settings; relies on compressed air pressure for torque output.
- Cordless (battery-powered): Portable and convenient, with variable-speed triggers for better control.
- Corded (electric): Reliable for consistent power, often used in assembly lines.
Each has its pros and cons regarding torque control. Pneumatic wrenches allow air-pressure adjustments, while cordless models rely on electronic torque management and trigger sensitivity. Knowing your tool’s working torque range—the practical, repeatable torque it delivers during normal operation—is key to precision.
3. Why Torque Control Matters
Controlling torque isn’t just about performance—it’s about safety, accuracy, and longevity. When torque is not managed, several issues arise:
- Over-tightening: Threads can strip, bolts may stretch, or components could warp.
- Under-tightening: Fasteners may loosen under vibration, leading to mechanical failure.
- Uneven tightening: Unequal clamping force across multiple fasteners can distort assemblies like wheels or flanges.
In critical applications like automotive lug nuts or industrial machinery, an error of just 10% in torque can create significant problems. A study by Machinery Lubrication Journal found that even small over-tightening deviations cause up to 25% premature fastener fatigue.
That’s why learning how to control torque with an impact wrench is essential. Proper control ensures fasteners are tightened within specifications, preserving part integrity and preventing rework or failure.
4. Methods to Control Torque with an Impact Wrench
Now that you understand torque fundamentals, let’s dive into the most reliable methods professionals use to manage torque output.
4.1 Use a Torque-Limiting Extension (Torque Stick)
One of the simplest and most effective methods to control torque is using a torque stick—also called a torque-limiting extension bar. These extensions are engineered to flex at a specific torque limit, absorbing excess impact energy once the target torque is reached.
How it works:
A torque stick is placed between the impact wrench and socket. As torque increases, the stick flexes and stops transferring further force beyond its rated value. For example, a 100 ft-lb torque stick will stop tightening around that mark, even if the wrench continues hammering.
Advantages:
- Affordable and easy to use.
- Provides reasonably consistent torque output.
- Available in various torque ratings for different applications.
Limitations:
- Accuracy can vary ±10–15%.
- Must always confirm with a calibrated torque wrench afterward.
Torque sticks are ideal for repetitive jobs such as tightening wheel lug nuts where consistent torque is critical but ultra-precision isn’t required.
4.2 Adjust Air Pressure (for Pneumatic Tools)
For air impact wrenches, air pressure directly affects torque output. The higher the air pressure, the more torque the tool generates. To reduce torque, simply lower the regulator setting on the compressor or use an in-line air regulator.
Recommended method:
- Check the manufacturer’s torque vs. pressure chart.
- Reduce air pressure gradually—start around 90 PSI and adjust downward for lower torque.
- Never drop below the tool’s minimum operational pressure (often 60 PSI).
Pros:
- Smooth control of torque without additional accessories.
- Useful for multiple torque ranges in one setup.
Cons:
- Not precise without calibration.
- Air fluctuations can cause inconsistent results.
This method works best in professional environments with stable air systems and pressure gauges.
4.3 Use a Variable-Speed Trigger or Power Settings
Modern cordless impact wrenches often include variable-speed triggers or torque control modes that allow gradual torque buildup. Lightly squeezing the trigger delivers low torque; pressing fully releases maximum power.
Steps for control:
- Start with gentle trigger pressure to snug the fastener.
- Release and check fit.
- Gradually increase trigger pressure until desired tightness is achieved.
Some advanced models, like those from Milwaukee or DeWalt, include smart torque settings labeled as “Low,” “Medium,” or “High.” Selecting the right mode lets you prevent overtightening automatically.
Tip: Combine variable trigger control with final torque verification for the best accuracy.
4.4 Tighten in Stages (Progressive Tightening Method)
The progressive tightening method ensures even torque across multiple fasteners—especially important when tightening wheel nuts, flanges, or engine covers.
Procedure:
- Make an initial pass at low torque (30–40% of final value).
- Perform a second pass at 70–80%.
- Finish with a torque wrench to the exact specification.
This staged approach minimizes stress buildup and prevents warping or uneven clamping. Even though impact wrenches deliver torque quickly, using them progressively helps distribute load evenly across fasteners.
4.5 Use Short, Controlled Bursts
Instead of holding the trigger continuously, apply short, controlled bursts of power. Each burst delivers a small, measurable increase in torque. This gives better feedback and minimizes the risk of overshooting the desired torque range.
Professional technicians often count the number of impacts needed for a specific torque, creating consistency through repetition. While not perfectly precise, this method trains your hand-eye coordination and improves “torque feel.”
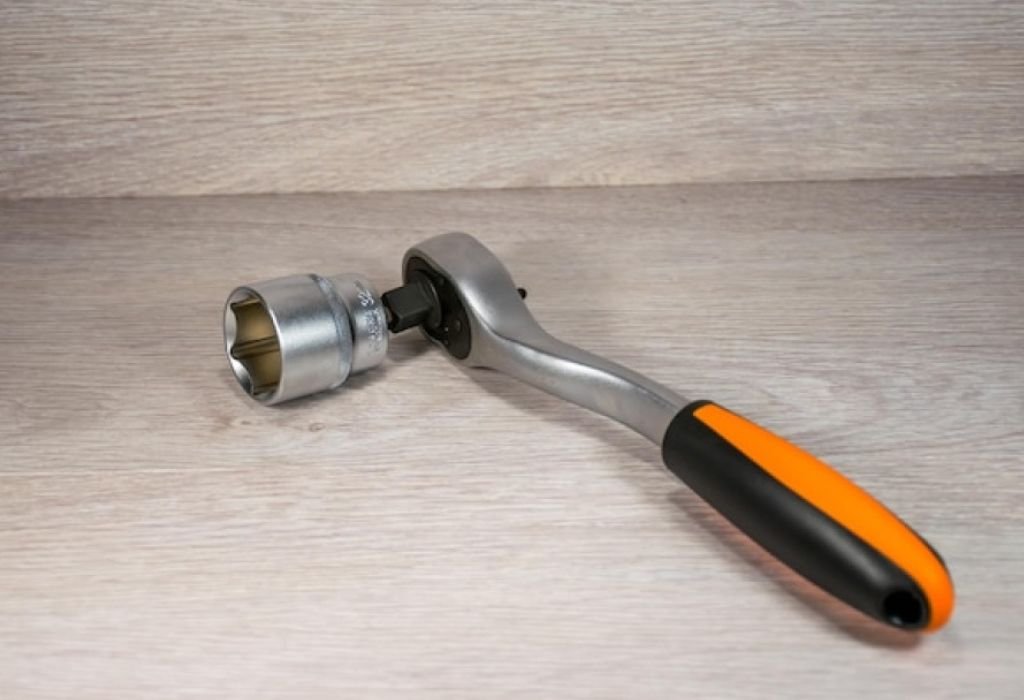
4.6 Verify with a Torque Wrench
No matter which method you use, always verify final torque using a calibrated torque wrench. Impact wrenches can vary due to air pressure, battery charge, or tool wear. Verification ensures accuracy within manufacturer specifications.
Best practice:
- Set the torque wrench to the target value.
- Re-check all fasteners in a star pattern or sequence recommended by the manufacturer.
- Adjust any under-tightened bolts manually.
This final check is your guarantee that each fastener meets proper torque without the risk of over-tightening.
5. Best Practices for Torque Accuracy
Achieving consistent torque isn’t only about tools—it’s also about technique, environment, and maintenance.
5.1 Choose the Right Impact Wrench Size
Match the wrench’s torque range to the task. Using a 1/2-inch impact wrench rated at 700 ft-lb for a 90 ft-lb job leaves little room for fine control. A smaller 3/8-inch model may offer better sensitivity.
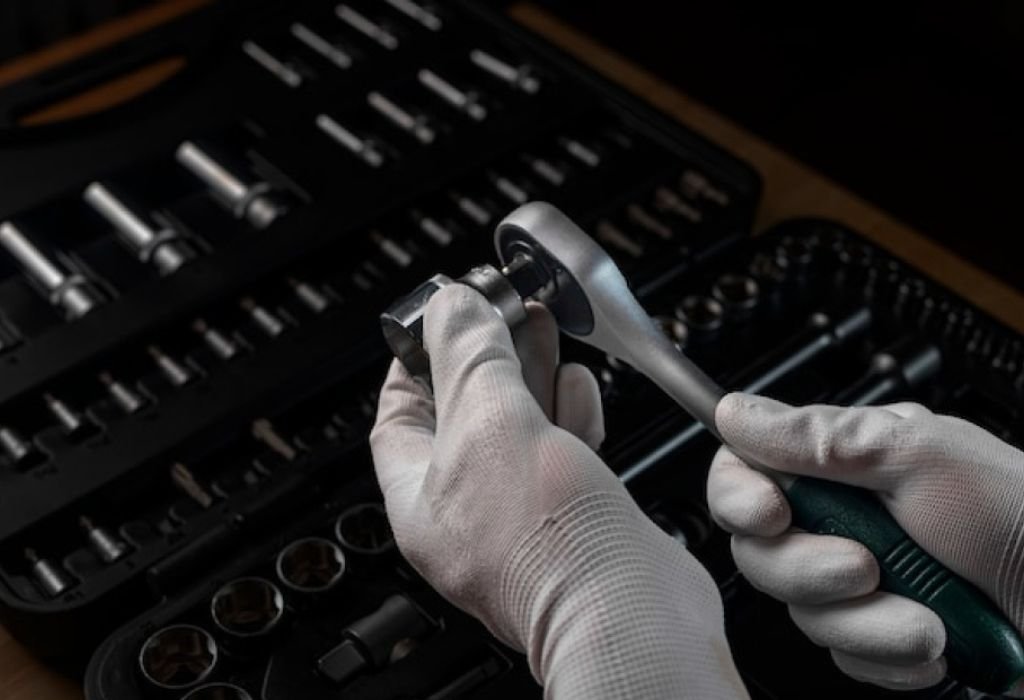
5.2 Use Quality Impact Sockets
Always use impact-rated sockets. They’re built to withstand hammering forces without distorting torque transfer. Avoid chrome or regular sockets—they can shatter or give false torque readings.
5.3 Keep Tools Calibrated
Tool wear, lubrication issues, and internal friction all affect torque accuracy. Regular calibration ensures consistent results. Service pneumatic tools every 6 months and check battery torque tools annually.
5.4 Maintain Stable Air Supply
For air wrenches, maintain constant pressure using regulators and filters. A fluctuation of ±10 PSI can significantly change torque output.
5.5 Practice Trigger Discipline
Torque control improves with practice. Develop the “feel” of tightening by working on non-critical fasteners first, observing how long it takes to reach a snug fit, then confirming with a torque wrench.
6. Step-by-Step Workflow: How to Control Torque with an Impact Wrench
Step 1: Identify the required torque value (check manufacturer’s spec sheet).
Step 2: Choose your control method (torque stick, air regulation, or trigger control).
Step 3: Prepare the tool—set correct air pressure or select torque mode.
Step 4: Tighten fasteners gradually using short bursts or staged tightening.
Step 5: Verify each fastener with a torque wrench to exact specification.
Step 6: Record results if required for quality control or safety documentation.
This workflow balances efficiency and accuracy—allowing you to take full advantage of your impact wrench without sacrificing control.
7. Real-World Examples
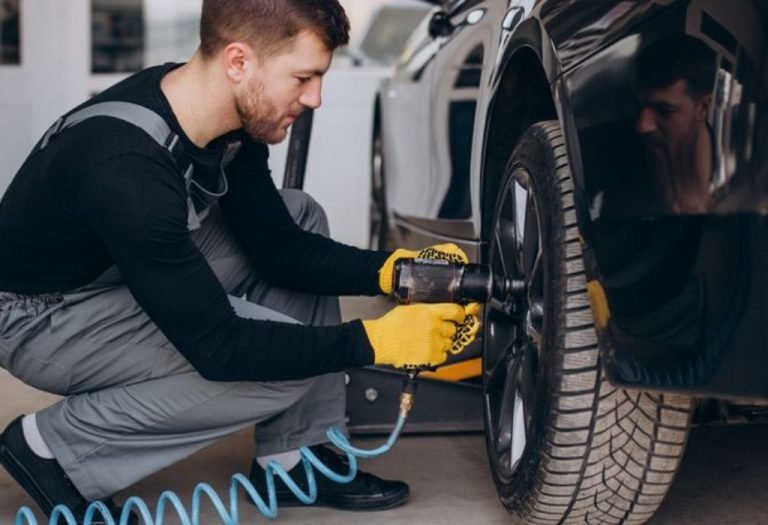
Example 1: Automotive Wheel Lug Nuts
- Tool: 1/2-inch pneumatic impact wrench.
- Torque Stick: 100 ft-lb rating.
- Process: Apply torque stick, tighten in star pattern, finish with torque wrench.
- Result: Even clamping and no rotor warping.
Example 2: Machinery Assembly
- Tool: Cordless impact wrench with variable trigger.
- Air Regulation: Not applicable; used “Medium Torque” mode.
- Process: Tighten bolts in two stages, verify with torque wrench.
- Result: Consistent torque across 20 fasteners with <5% variation.
Example 3: Home DIY Projects
- Tool: Budget electric impact wrench.
- Method: Controlled bursts and manual torque verification.
- Result: Proper fastener tension without stripped threads.
8. Troubleshooting Common Torque Issues
Problem: Bolts over-tightened or threads damaged.
Cause: Holding trigger too long or excessive air pressure.
Fix: Use torque sticks or lower PSI, apply shorter bursts.
Problem: Fasteners too loose after tightening.
Cause: Air pressure too low or incorrect torque stick.
Fix: Increase pressure slightly and confirm with torque wrench.
Problem: Inconsistent torque readings.
Cause: Fluctuating compressor pressure or worn tool parts.
Fix: Check air regulator and maintain your impact wrench regularly.
9. FAQs About Torque Control
Q: Can I set exact torque on my impact wrench?
A: Most impact wrenches don’t have exact torque adjustment, but combining air regulation or torque sticks gets you close. Always verify with a torque wrench.
Q: Are torque sticks reliable?
A: Yes, when matched properly to your torque specification and used with consistent air pressure, they provide repeatable results within ±10%.
Q: Why not just use a torque wrench for everything?
A: Impact wrenches save time on repetitive tasks. The torque wrench ensures final precision. They complement, not replace, each other.
Q: How often should I calibrate my torque tools?
A: Every 6–12 months depending on usage. High-volume shops should calibrate quarterly.
10. Conclusion
Mastering how to control torque with an impact wrench means combining the right technique, settings, and verification. Use torque sticks for consistent results, regulate air pressure for control, leverage variable triggers for precision, and always confirm with a torque wrench.
Proper torque management doesn’t just protect fasteners—it ensures safety, prolongs tool life, and builds confidence in your work. Whether you’re tightening wheel lugs, assembling machinery, or completing home projects, controlling torque transforms your impact wrench from a brute-force tool into a precision instrument.

I’m Michael R. Turner, the founder, lead writer, and passionate DIY enthusiast behind 101diytools.com. With years of hands-on experience in home improvement and power tools, I built this platform to share practical tips, in-depth guides, and honest reviews to help DIYers of all skill levels tackle projects with confidence and the right tools.