Learn How To Use Brad Nailer Like A Pro Easy Steps
To use a brad nailer like a pro, safety is paramount—always wear eye and hearing protection. Learn to correctly load fasteners, adjust air pressure and depth settings for a flush finish, and practice proper grip and firing techniques to ensure precise, professional results on trim, molding, and other woodworking projects. Mastering these steps will empower you to tackle tasks with confidence and efficiency.
Hey there, fellow DIY enthusiast! Ever found yourself staring at a pile of beautiful trim, a crafting project, or a wonky cabinet door, wishing you had a magic wand to make it all come together seamlessly? I’ve been there. Fumbling with a hammer and tiny finishing nails can be a recipe for frustration, bent nails, and dents in your pristine wood. It’s enough to make you want to throw in the towel!
But what if I told you there’s a tool that can transform these fiddly tasks into quick, satisfying successes, leaving you with results that look like they were done by a pro? Enter the humble, yet mighty, brad nailer. This incredible tool is a game-changer for anyone working on delicate trim, molding, small assemblies, or even intricate craft projects. It’s less intimidating than its bigger cousins (like framing nailers) and surprisingly easy to master.
If you’ve been hesitant to add a brad nailer to your toolkit, or you’ve got one gathering dust and aren’t sure where to start, you’re in the right place. In this guide, we’re going to walk through everything you need to know, from understanding your tool to firing those perfect, near-invisible fasteners. Get ready to learn how to use a brad nailer like a pro, making your next project smoother and your results more impressive than ever before!
Key Takeaways
- Prioritize Safety: Always wear eye protection before operating.
- Select Right Brads: Match nail length to material thickness for best results.
- Adjust Air Pressure: Set optimal PSI for flush, consistent nail drives.
- Always Test Fire: Practice on scrap material to perfect settings and aim.
- Hold Nailer Firmly: Keep perpendicular for precise, straight nail placement.
- Control Nail Depth: Use adjustment for flush or slightly recessed brads.
- Perform Regular Cleaning: Maintain your tool for consistent, reliable performance.
📑 Table of Contents
Understanding Your Brad Nailer: What It Is and Why You Need One
Before we dive into the nitty-gritty of using it, let’s get acquainted with this fantastic tool. Knowing what a brad nailer is designed for will help you understand its strengths and how it fits into your workshop.
What is a Brad Nailer?
A brad nailer is a power tool designed to drive thin, 18-gauge nails, often called “brads,” into wood. These brads are typically 5/8 inch to 2 inches long. Because they are so thin, they leave a very small hole, which is easily filled with wood putty, making them perfect for finish work where you want the fasteners to be as inconspicuous as possible. Think of it as a super-precise, super-fast hammer that leaves almost no trace.
Types of Brad Nailers
Just like cars, brad nailers come in a few different models, each with its own power source. Understanding these can help you choose the best one for your needs:
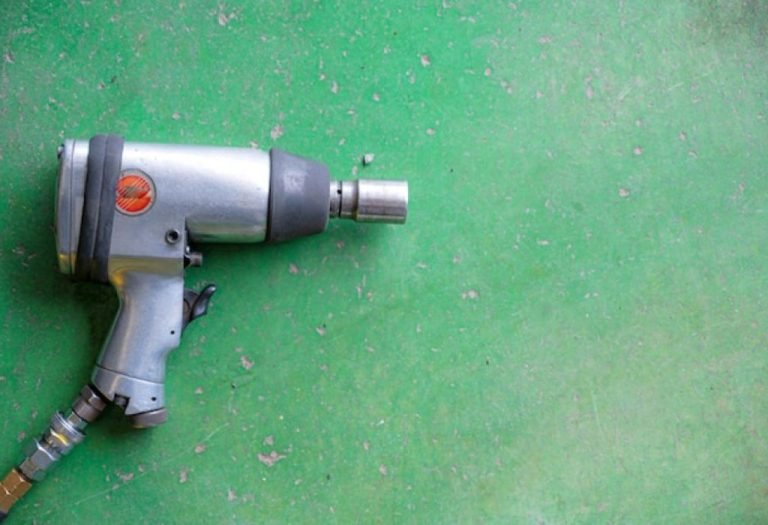
- Pneumatic Brad Nailers: These are powered by an air compressor. They are often the most powerful and lightweight option for their size. If you already have an air compressor, this might be a great choice. The downside? You’re tethered to a hose and a noisy compressor.
- Cordless (Battery-Powered) Brad Nailers: These run on rechargeable batteries, offering fantastic portability and convenience. You can take them anywhere without worrying about cords or compressors. They tend to be a bit heavier and often pricier than pneumatic models, but the freedom they offer is invaluable.
- Electric (Corded) Brad Nailers: These plug directly into an electrical outlet. They offer consistent power without needing a compressor, but you’re always connected to a cord. They are a good entry-level option for light-duty work but aren’t as common as the other two types for professional or heavy DIY use.
No matter which type you choose, the basic principles of how to use a brad nailer remain largely the same.
Safety First: Essential Precautions Before You Start
Every power tool comes with a golden rule: safety first! A brad nailer is no exception. Taking a few moments to prepare safely can prevent accidents and ensure your project is fun, not frightening.
Personal Protective Equipment (PPE)
Please, please, please don’t skip these:
- Safety Glasses: This is non-negotiable. Nails can ricochet, or wood chips can fly. Protect your eyes!
- Hearing Protection: Especially if you’re using a pneumatic brad nailer (compressors are loud!) or working for extended periods, ear protection is a good idea.
- Gloves: While not always mandatory, gloves can protect your hands from splinters and give you a better grip on the tool and material.
Tool Safety Checks
- Read the Manual: Yes, really! Every tool is a little different. Your tool’s manual has specific safety warnings and operating instructions.
- Inspect Your Tool: Before each use, quickly check your brad nailer for any damage, loose parts, or frayed cords/hoses. Never use a damaged tool.
- Disconnect Power/Air: Always disconnect the power source (unplug, remove battery, or disconnect air hose) when loading nails, clearing jams, or making adjustments. This prevents accidental firing.
Setting Up Your Brad Nailer for Success

Proper setup is key to getting clean, professional results. Let’s get your brad nailer ready for action!
Loading Nails
Loading nails into your brad nailer is usually straightforward, but nail orientation matters. Most brad nailers have a magazine that slides open. You’ll typically insert a strip of brads with the points facing forward, ensuring they’re seated correctly. Always double-check your manual if you’re unsure.
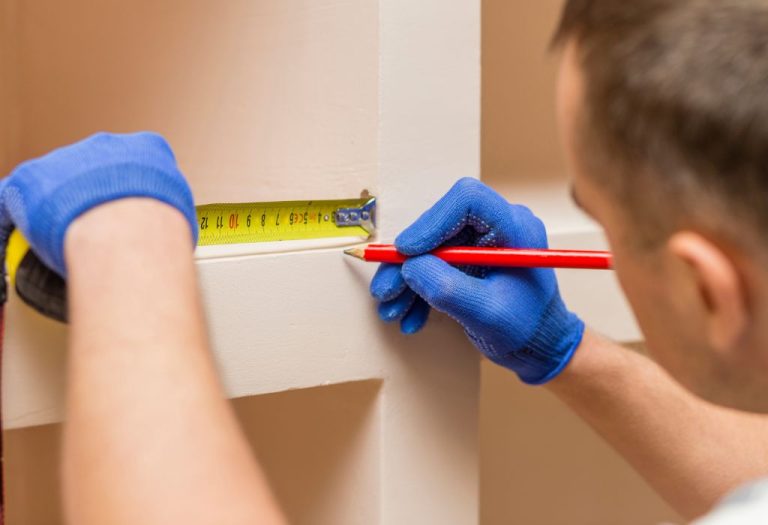
Pro Tip: Choosing the Right Nail Length: A good rule of thumb is that the nail should be about three times the thickness of the material you’re attaching. For example, if you’re attaching a 1/4-inch trim piece, you’d want a 3/4-inch nail. Make sure the nail won’t go completely through your base material!
Adjusting Depth and Pressure (if applicable)
This is crucial for ensuring your nails are set just right – not proud (sticking out) and not too deep (damaging the wood).
- Depth Adjustment: Most brad nailers have a depth adjustment dial or lever near the nose of the tool. This controls how deep the nail is driven. Start with a medium setting.
- Air Pressure (Pneumatic): If you have a pneumatic brad nailer, the air pressure from your compressor also affects nail depth. Start around 70-90 PSI and adjust as needed.
- Test, Test, Test: Always test your settings on a scrap piece of wood that matches your project materials. Fire a few brads. If they’re sticking out, increase the depth setting or air pressure. If they’re too deep, decrease them.
Connecting Power/Air
Once loaded and adjusted, connect your power source. For pneumatic brad nailers, attach the air hose. For cordless, insert the charged battery. For electric, plug it in. Now your brad nailer is ready to fire!
Mastering the Technique: How To Use A Brad Nailer
Okay, it’s showtime! Holding your brad nailer and firing it correctly will ensure your projects look fantastic.
Proper Grip and Stance
Hold your brad nailer firmly with one hand, like you’re shaking hands with it, wrapping your fingers around the handle. Keep your other hand away from the firing path. Stand in a balanced, comfortable position, ready to apply steady pressure.
Positioning the Tool
Place the nose of the brad nailer squarely on the surface where you want to drive the nail. Make sure it’s flat against the material. Apply firm, downward pressure to compress the safety contact tip. Most brad nailers won’t fire unless this tip is fully depressed, which is a great safety feature.
The Firing Sequence
Once the contact tip is fully depressed:
- Engage the safety mechanism (if your brad nailer has a two-stage trigger, where you depress the tip first, then pull the trigger).
- Pull the trigger firmly and steadily.
- Hold the brad nailer steady for a split second after firing to ensure the nail is fully seated and prevent bounce-back.
- Release the trigger and lift the tool.
Tips for Clean Results
- Shoot Straight: Aim for a straight shot into the wood. Angled shots can sometimes cause nails to bend or poke out the side.
- Avoid Knots: Try to avoid firing into wood knots. They are very dense and can cause nails to bend, jam, or deflect.
- Check Nail Path: Be mindful of what’s behind your workpiece. You don’t want to accidentally nail into electrical wires, pipes, or anything else you didn’t intend to.
- Dealing with Misfires/Jams: If your brad nailer misfires or jams, immediately disconnect the power/air source! Then, refer to your manual for clearing instructions. Often, there’s a quick-release latch on the nose to access the jammed nail.
Common Projects and Advanced Tips
Now that you’re comfortable with the basics, let’s explore some fantastic ways to put your brad nailer to good use and keep it in top shape.
Everyday Uses for Your Brad Nailer
You’ll be surprised how often you reach for your brad nailer once you get the hang of it:
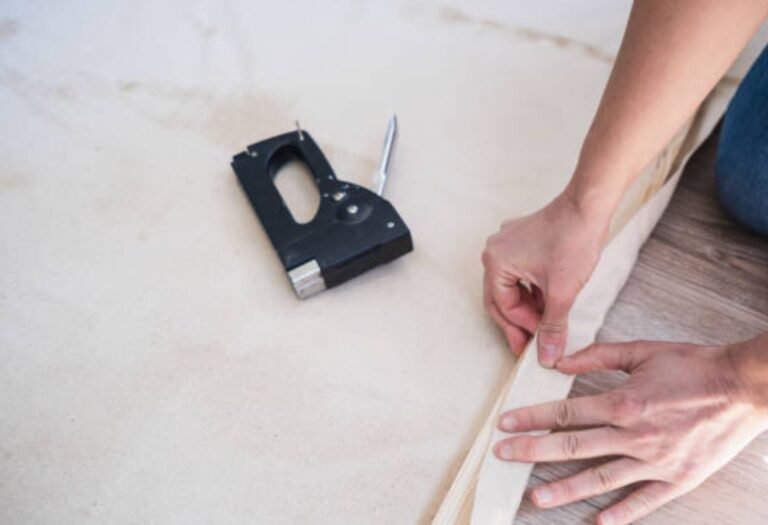
- Installing Trim and Molding: This is arguably where a brad nailer shines brightest. Baseboards, crown molding, door and window casings – it makes these tasks incredibly fast and easy.
- Attaching Small Pieces of Wood: Perfect for securing small strips, battens, or decorative elements that might split with larger nails.
- Craft Projects: From building small frames to assembling intricate wooden boxes, a brad nailer offers precision and speed.
- Cabinet Repairs: Reattaching loose backing or trim on cabinets becomes a breeze.
- Temporary Fastening: Sometimes you need to hold pieces together temporarily while glue dries. Brads are great for this as they leave minimal marks.
Troubleshooting and Maintenance
Even pros run into occasional issues. Knowing how to troubleshoot and maintain your brad nailer will save you headaches.
- Nails Not Sinking Completely: This is a common issue. Try increasing your depth adjustment or air pressure (for pneumatic tools). Make sure you’re applying firm, consistent downward pressure on the tool. Also, check that you’re using the correct nail length for your materials.
- Jams: As mentioned, always disconnect power/air first. Open the magazine or the nosepiece (as per your manual) and carefully remove the bent or stuck nail with pliers. Never force it.
- Regular Cleaning: Keep your brad nailer clean. Wipe off dust and debris, especially around the nose and magazine area.
- Lubrication (Pneumatic Only): If you have a pneumatic brad nailer, a few drops of pneumatic tool oil into the air inlet before each use will keep the internal O-rings lubricated and prolong the tool’s life.
Finishing Touches
The beauty of using a brad nailer is how discreet the fasteners are. Once your project is nailed:
- Wood Putty: Use a small dab of wood putty on each nail hole. Choose a color that matches your wood or the final paint color.
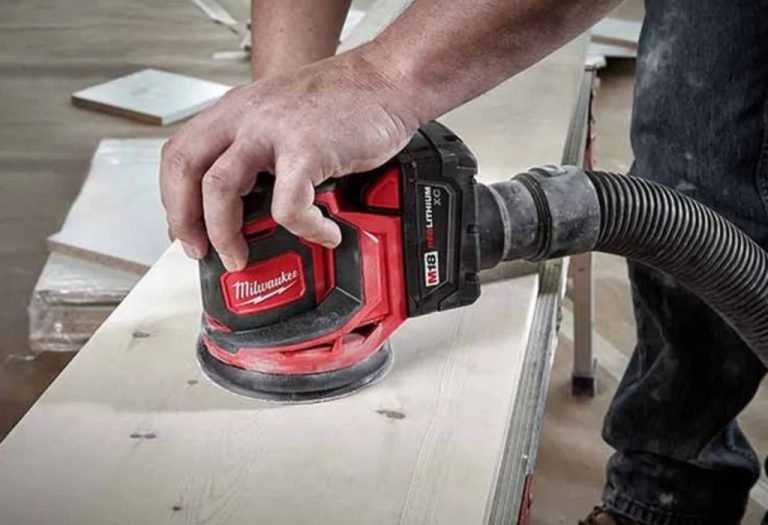
- Sanding: Once the putty is dry, lightly sand it smooth with fine-grit sandpaper.
- Painting/Staining: Now your project is ready for its final finish, with virtually invisible fasteners.
Conclusion
Congratulations! You’ve just taken the first big step towards mastering your brad nailer. It might seem like a lot to take in at once, but trust me, with a little practice, this tool will become one of your most beloved companions in the workshop. The satisfaction of effortlessly attaching trim, assembling a small craft, or making a quick repair, all with near-invisible fasteners, is truly rewarding.
So, go ahead, grab your brad nailer, dust off that safety gear, and start experimenting on some scrap wood. You’ll quickly build confidence and discover just how much easier and more professional your projects can look. Welcome to the world of flawless finishes and efficient crafting – you’ve got this!
Frequently Asked Questions
What safety precautions should I take when using a brad nailer?
Always wear safety glasses to protect your eyes from flying debris, and consider ear protection for prolonged use. Ensure the workpiece is stable and keep your fingers clear of the nailing area to prevent accidental injury.
How do I load a brad nailer and what air pressure should I use?
To load, simply pull back the magazine latch, insert the brads, and close the magazine until it clicks. For air pressure, start around 70-90 PSI and adjust as needed to achieve flush nail placement without over-penetration into your material.
What’s the best technique for firing a brad nailer to get a clean finish?
Hold the brad nailer firmly and squarely against the workpiece, ensuring the nose of the tool is fully depressed to engage the safety mechanism. Pull the trigger smoothly while maintaining steady pressure to drive the brad cleanly.
My brads aren’t going in flush; how do I adjust the depth on my brad nailer?
Most brad nailers have a depth adjustment dial or lever located near the nose of the tool. Turn it incrementally to increase or decrease the nail’s penetration until you achieve a perfectly flush or slightly countersunk finish.
What are the common uses for a brad nailer?
A brad nailer is ideal for delicate trim work, attaching small decorative moldings, crafting projects, and installing thin panels where a larger nail would split the wood. Its small 18-gauge brads leave minimal holes, making it perfect for visible applications.
How can I prevent the brad nailer from leaving marks on my wood surface?
Ensure the tool’s nose is clean and free of debris, and apply firm, even pressure directly perpendicular to the workpiece. Many brad nailers come with a non-marring tip that you can attach to protect delicate surfaces; always use it when working on finished or soft materials.

I’m Michael R. Turner, the founder, lead writer, and passionate DIY enthusiast behind 101diytools.com. With years of hands-on experience in home improvement and power tools, I built this platform to share practical tips, in-depth guides, and honest reviews to help DIYers of all skill levels tackle projects with confidence and the right tools.