How to Change a Craftsman Circular Saw Blade Easily
You’ve got your wood measured, the saw ready, and the project lined up. But just as you start cutting, sparks fly and smoke rises — your blade has gone dull. This is a clear sign that your Craftsman circular saw needs a new blade.
Changing the blade might sound intimidating at first, but it’s actually one of the easiest maintenance tasks. Whether you’re switching to a finer-tooth blade for plywood or replacing a worn one, the process takes only a few minutes with the right steps.
This detailed guide will walk you through every part of changing your Craftsman circular saw blade — from safety precautions to reinstalling the blade perfectly for smooth, clean cuts.
Why You Need to Change Your Saw Blade
A dull blade does more than slow down your work; it can overheat, burn wood, and even damage the motor.
As blades wear, they lose sharpness and start producing rough edges and splinters. You might also notice smoke, burning smells, or the saw pulling to one side while cutting.
Replacing the blade ensures smoother cuts, reduces strain on the motor, and extends the life of your saw.
Tools You’ll Need for Blade Replacement
Before starting, gather the necessary tools and materials:
- Replacement Craftsman-compatible circular saw blade
- Allen wrench or blade wrench (often included with your saw)
- Gloves for safety
- Work gloves or rag to hold the blade
- Safety goggles
Having everything ready makes the process faster and prevents mid-task searching.
Step 1: Unplug or Remove the Battery
Safety first — always disconnect the saw from power before working near the blade.
If you have a corded Craftsman saw, unplug it completely. For cordless models, remove the battery pack. This eliminates any chance of accidental activation while handling the blade.
Step 2: Engage the Blade Lock
Most Craftsman circular saws feature a spindle lock button, located near the blade guard or motor housing.
Press and hold this button to lock the blade in place. This prevents the blade from spinning as you loosen the bolt. If your model doesn’t have a lock, wedge a small wooden block between the teeth and the saw base to stop rotation.
Step 3: Loosen the Arbor Nut
Use the included wrench to turn the arbor nut counterclockwise. This nut secures the blade to the spindle.
If the nut is tight, apply steady pressure — don’t jerk it suddenly. For models with a blade lock, hold the lock button while turning the wrench to prevent movement.
Once it loosens, remove the nut and the outer washer carefully.
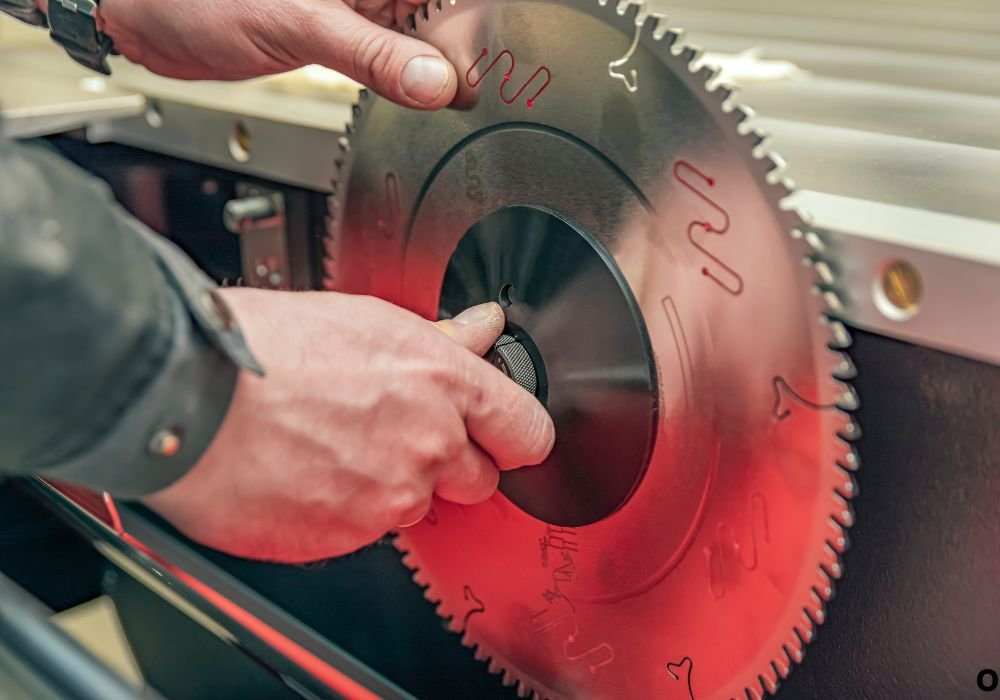
Step 4: Remove the Old Blade
Lift the blade guard to expose the blade and gently slide the blade off the spindle.
Be cautious — even dull blades can have sharp edges. Hold the blade with a rag or gloves to avoid cuts. Set the old blade aside safely, preferably in its original packaging or a protective sleeve.
Step 5: Install the New Blade
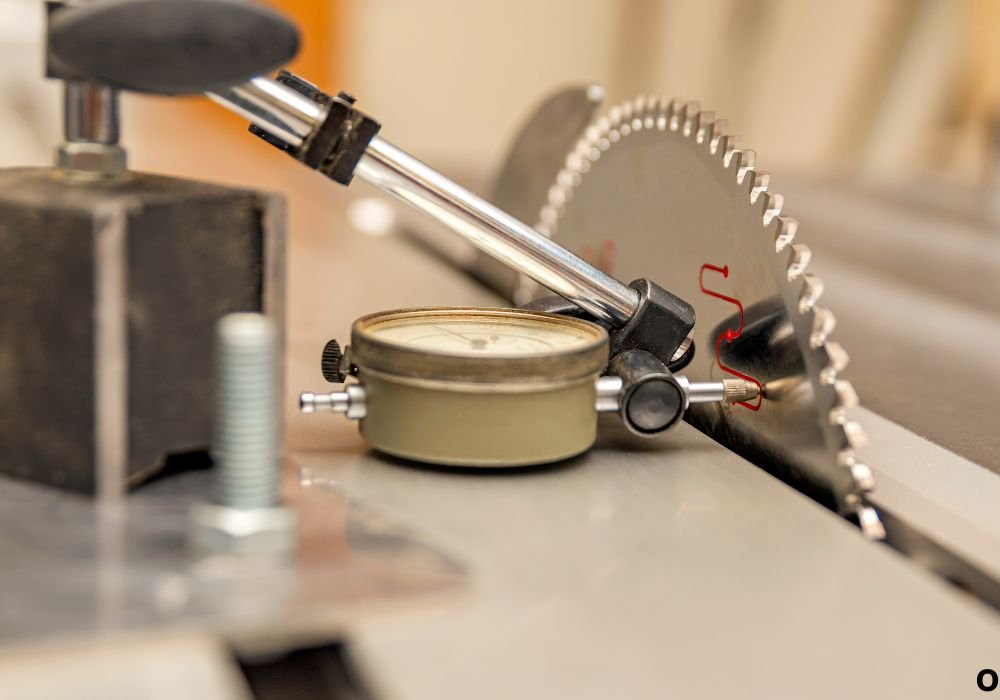
Check the directional arrow printed on both the saw guard and the blade. These arrows must align for correct rotation.
Slide the new blade onto the spindle, ensuring the teeth face forward (toward the cutting direction). Reinstall the outer washer and hand-tighten the arbor nut before securing it with the wrench.
Step 6: Tighten the Blade Nut Securely
Hold the blade lock again, and turn the wrench clockwise to tighten the arbor nut.
The nut should be snug but not overly tight — just enough to hold the blade firmly in place. Overtightening can damage the threads or cause future removal problems.
Step 7: Check Blade Alignment and Spin
Before reconnecting power, release the blade guard and spin the blade manually to ensure it moves freely.
If you feel friction or misalignment, stop and readjust. The guard should lower and raise smoothly without catching on the blade edge.
Step 8: Plug In and Test the Saw
Now, reconnect the power or battery and perform a quick test cut.
Run the saw for a few seconds without cutting to confirm smooth rotation and no wobbling. If you hear grinding or rattling, recheck the washer placement and tighten the arbor nut slightly more.
How Often Should You Change the Blade?
The lifespan of your circular saw blade depends on usage and material type.
Frequent users who cut hardwood or MDF should replace the blade every few months, while occasional users might go years before noticing performance loss.
If you see burn marks, uneven cuts, or excessive resistance, it’s time for a replacement.
Tips to Extend Blade Life
Proper care can make your blade last longer and perform better:
- Keep blades clean from pitch and resin buildup.
- Store them in a dry, flat place to avoid warping.
- Avoid forcing the saw through hard material.
- Use the right blade type for the job (wood, metal, masonry).
Regular cleaning with blade cleaner or mild degreaser restores sharpness and reduces friction.
Common Mistakes to Avoid
Many DIYers make the mistake of forgetting to unplug the saw before changing the blade — a serious hazard.
Another common error is mounting the blade backward, which causes poor cuts and kickback. Always follow directional arrows carefully.
Also, avoid over-tightening the arbor nut or cross-threading it, as that can damage your saw permanently.
Safety Precautions When Handling Blades
Even when not spinning, circular saw blades can cause injuries. Always handle with gloves and never touch the sharp edge directly.
Ensure the guard is fully functional before cutting again. If your saw’s guard sticks or feels stiff, clean it with compressed air and light lubrication.
Troubleshooting Blade Issues
If your saw still performs poorly after blade replacement, the issue might be alignment, arbor wear, or motor strain.
Check the arbor shaft for debris or damage. If your saw vibrates excessively, it may require professional servicing.
Always inspect both the inner and outer washers for flatness; warped washers can cause blade wobble.
Frequently Asked Questions
Can I use any brand of blade on a Craftsman circular saw?
Yes, as long as the blade size, arbor diameter, and RPM rating match your saw’s specifications.
Which way should the blade teeth face?
The teeth should point forward, in the same direction as the saw’s rotation arrow.
Do Craftsman saws come with a wrench?
Most models include a wrench stored in the handle or base. If missing, use a compatible hex key or adjustable wrench.
Why is my new blade smoking during cuts?
You might be cutting too fast, the blade could be misaligned, or it’s unsuitable for the material type.
How do I clean old saw blades?
Soak in a blade cleaner or mild degreaser, scrub gently with a nylon brush, and dry completely before reusing.
Conclusion
Changing a Craftsman circular saw blade is one of the simplest maintenance tasks, yet it makes a huge difference in performance.
By following the steps above — from unplugging and locking the spindle to aligning the new blade — you’ll ensure safer, smoother, and faster cuts.
With a fresh blade and proper care, your Craftsman saw will continue to deliver precise, professional-quality results on every project.

I’m Michael R. Turner, the founder, lead writer, and passionate DIY enthusiast behind 101diytools.com. With years of hands-on experience in home improvement and power tools, I built this platform to share practical tips, in-depth guides, and honest reviews to help DIYers of all skill levels tackle projects with confidence and the right tools.