How to Cut Metal Roofing with a Circular Saw Safely
You set out to install a new metal roof, confident that your circular saw will slice through the panels easily. But as soon as the blade meets the metal, sparks fly, and the saw screeches in protest. The cut edges turn jagged, and the smell of burning paint fills the air.
This happens to many DIYers who underestimate how tough metal roofing can be. Cutting these sheets demands the right blade, technique, and safety precautions. With a few adjustments, you can achieve clean, accurate cuts that fit perfectly and maintain the roof’s finish.
In this guide, we’ll walk through blade choices, setup, cutting techniques, and safety tips so your circular saw can handle metal roofing efficiently.
Understanding Metal Roofing Sheets
Metal roofing panels are made of galvanized steel, aluminum, or copper, each with unique hardness levels. Steel is the toughest and requires high-quality carbide or metal-cutting blades.
The sheets are thin but strong, which means vibration and heat can quickly warp the metal if you cut too fast. Understanding this helps you adjust speed, pressure, and cooling for smoother results.
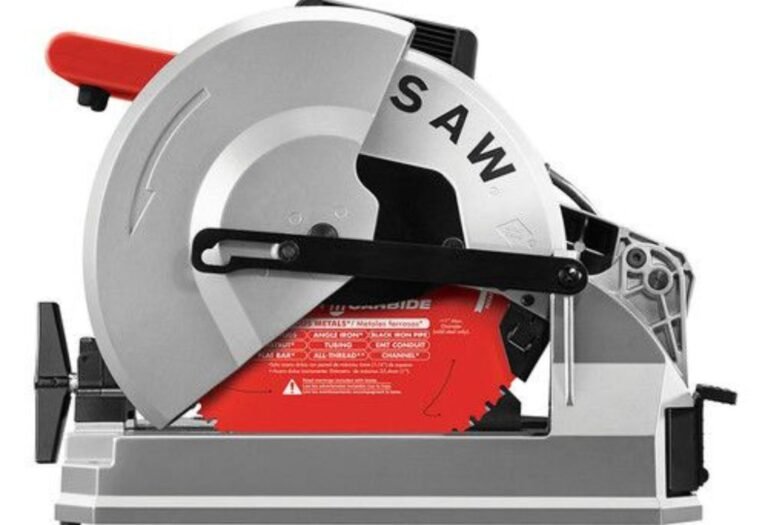
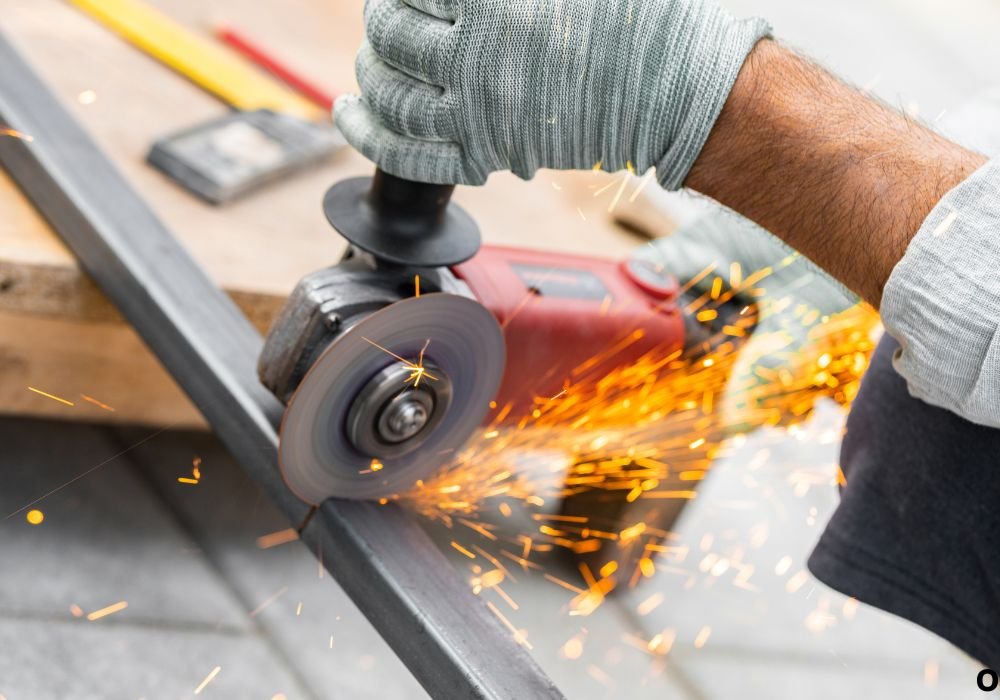
Choosing the Right Blade for Metal Cutting
A regular wood-cutting blade is useless for metal. You’ll need a carbide-tipped or ferrous-metal cutting blade designed for steel or aluminum.
Carbide blades have fewer, stronger teeth and are made to withstand friction and heat. Avoid abrasive discs; they wear down quickly and scatter sparks. Always match the blade’s RPM rating with your circular saw’s maximum speed.
Safety Gear and Work Area Preparation
Cutting metal produces sharp edges, sparks, and hot chips. Proper protection is non-negotiable.
Wear safety goggles, gloves, long sleeves, hearing protection, and steel-toe boots. Keep flammable materials away and work outdoors or in a ventilated area.
Clamp your metal sheets securely to prevent movement, and mark your cutting lines clearly before powering up the saw.
Marking and Measuring for Precise Cuts
Metal roofing needs accurate cuts to ensure panels align and overlap correctly. Use a straightedge or chalk line to mark your cut path.
If the panels have corrugations, mark across the ridges slowly, ensuring visibility from every angle. Double-check your measurements—metal panels are costly to replace once trimmed wrong.
Setting Up the Circular Saw
Before cutting, unplug the saw and install the correct metal-cutting blade firmly. Adjust the cutting depth slightly deeper than the metal sheet’s thickness.
Set the saw speed to moderate if variable speed control is available. Position your sheet on a flat surface with the finished side facing down to reduce visible burrs.
How to Cut Metal Roofing Step by Step
Place the saw blade just above the marked line and power up the tool. Let it reach full speed before touching the metal surface.
Push the saw steadily through the sheet without forcing it. Keep a firm grip and move smoothly to prevent the blade from binding. Maintain even pressure until the entire line is complete.
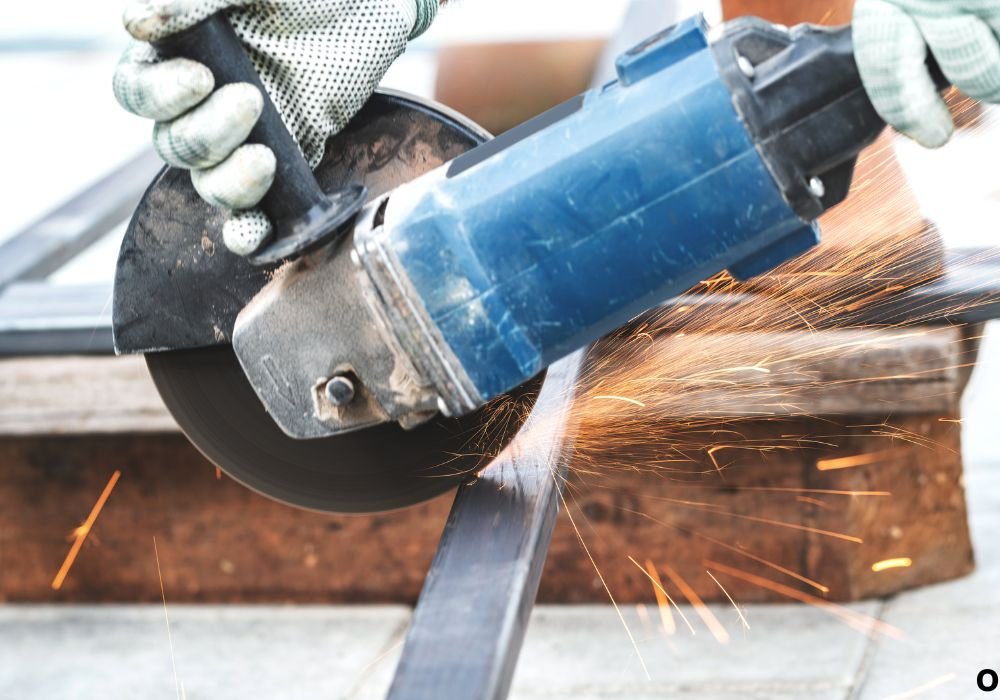
Controlling Heat and Sparks
Metal cutting generates heat that can damage paint coatings or distort the panel. Avoid long, continuous cuts that overheat the blade.
If possible, take short pauses to let both blade and material cool. Using a cold-cut metal blade minimizes sparks and prevents heat discoloration. Always direct sparks away from yourself and other surfaces.
Dealing with Burrs and Sharp Edges
After cutting, the edges may feel rough or sharp. Use a metal file or deburring tool to smooth them.
This step not only improves appearance but also prevents injury during installation. You can also apply a rust-inhibitor spray or touch-up paint to exposed edges for corrosion protection.
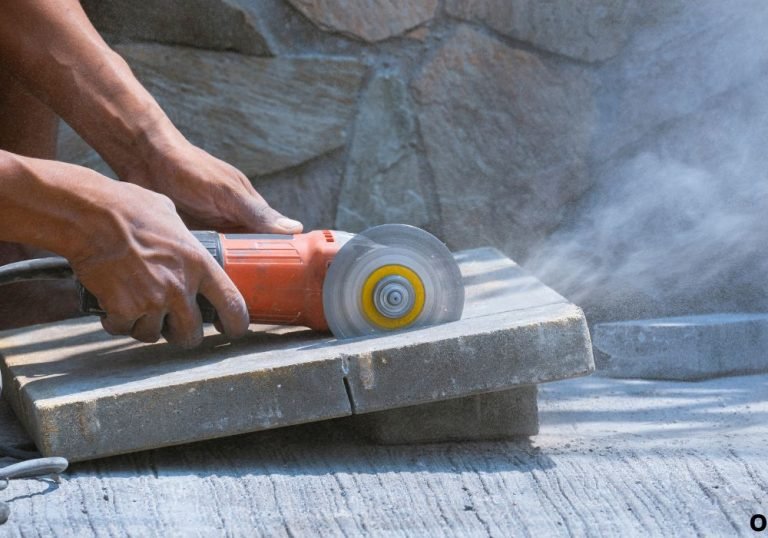
Alternative Tools for Metal Roofing Cuts
Although circular saws are powerful, sometimes smaller tools work better for tricky angles. Tin snips, nibblers, or electric shears can help make curved or corner cuts.
Using them along with a circular saw gives you flexibility—saw for long straight cuts, and snips for finishing details.
Common Mistakes to Avoid
Rushing through cuts or using the wrong blade are the most common issues. They cause sparks, rough edges, and warped panels.
Another mistake is cutting metal roofing with the painted side up—this scratches the visible surface. Always face the finished side downward when cutting.
Maintenance After Cutting
Clean off all metal shavings immediately after cutting. These can rust and stain your panels if left behind.
Wipe the area with a dry cloth and inspect the blade for dullness or debris. Proper care ensures your saw stays efficient for the next roofing project.
Frequently Asked Questions
Can you cut metal roofing with a regular circular saw?
Yes, but only if you use a metal-cutting or carbide-tipped blade—never a wood blade.
Should the painted side face up or down when cutting?
Keep the painted or finished side facing down to prevent scratches and visible burrs.
Do metal-cutting blades create sparks?
Some do. Use cold-cut or carbide blades to reduce sparks and heat buildup.
Can I use water to cool the blade?
Generally, no. Water can cause rust on metal roofing—take breaks instead to prevent overheating.
What’s the best way to avoid rough edges?
Use steady pressure, the right blade, and finish with a deburring tool after cutting.
Conclusion
Cutting metal roofing with a circular saw is simple when you use the right equipment and technique. A carbide or metal-cutting blade, slow steady motion, and careful preparation make all the difference.
Always protect yourself, mark lines accurately, and handle edges safely. With these tips, you’ll achieve clean cuts that fit perfectly and keep your new roof looking professional.

I’m Michael R. Turner, the founder, lead writer, and passionate DIY enthusiast behind 101diytools.com. With years of hands-on experience in home improvement and power tools, I built this platform to share practical tips, in-depth guides, and honest reviews to help DIYers of all skill levels tackle projects with confidence and the right tools.